Understanding Light for Aerial Photography
Light Makes or Breaks Every Photo
You can have perfect camera settings, beautiful composition, and a stunning location, but if the light is wrong, the photo will be flat. Light is the one thing you can’t control in post-production. You have to be there when it’s right.
Golden Hour: Your Best Friend
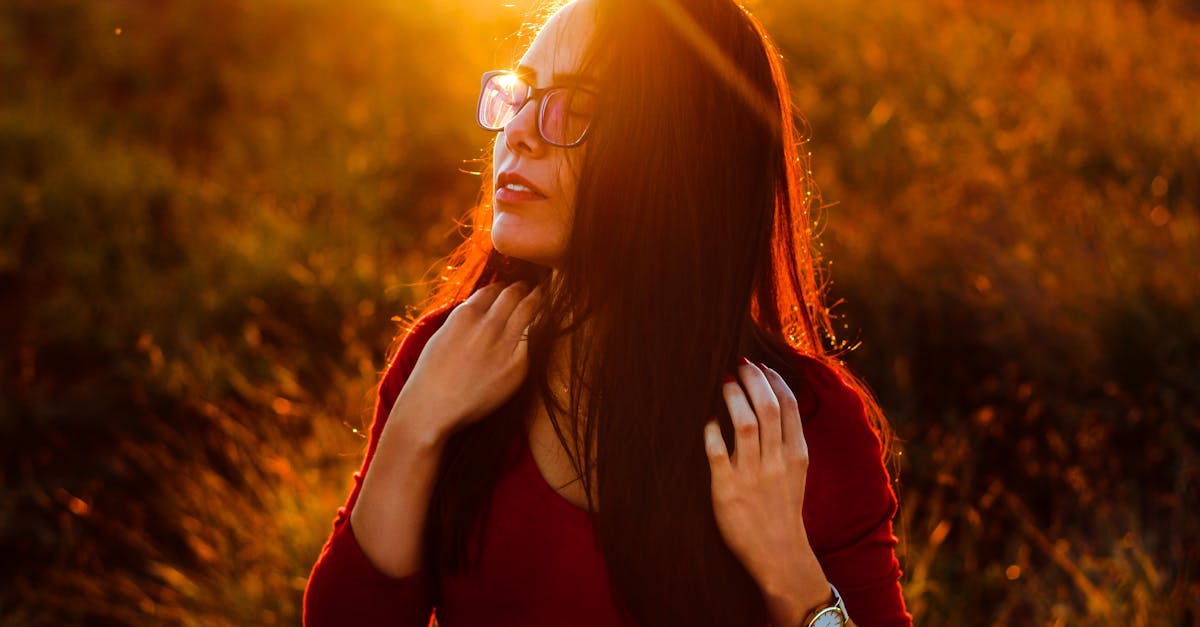
The hour after sunrise and the hour before sunset produce the best light for aerial photography. Here’s why:
- Warm color temperature: golden tones make landscapes look inviting
- Low angle: long shadows add depth and texture to terrain
- Soft contrast: no harsh shadows or blown-out highlights
- Visible gradients: sunsets paint the sky with color layers you can’t get at noon
Serious drone photographers plan their entire shoot schedule around golden hour. If you’re photographing a specific location, check when sunrise/sunset happens and position yourself accordingly. Apps like PhotoPills show exactly where the sun will be at any time.
Blue Hour
The 20-30 minutes before sunrise and after sunset produce a different kind of magic:
- Deep blue sky with warm horizon glow
- Even, soft light with minimal contrast
- City lights start to appear against the blue sky
- Perfect for urban aerial photography and moody landscapes
Blue hour photos have a distinct quality you can’t replicate at any other time.
Sun Direction Matters
The direction of the sun relative to your subject completely changes the image:
| Direction | Effect | Best For |
|---|---|---|
| Front-lit (sun behind you) | Even illumination, saturated colors | Top-down shots, real estate |
| Side-lit (sun to the side) | Dramatic shadows, texture, depth | Landscapes, terrain, mountains |
| Backlit (sun in front) | Silhouettes, lens flare, atmosphere | Dramatic shots, sunset reveals |
Finding the Right Direction
- Know which way your subject faces
- Use a sun position app to see where light falls at your planned time
- Fly around the subject to test different angles. The best angle often isn’t obvious from the ground.
Weather as Creative Tool
Overcast Days
Flat light isn’t always bad. Overcast conditions produce:
- Even lighting with no harsh shadows
- Saturated colors (no glare washing things out)
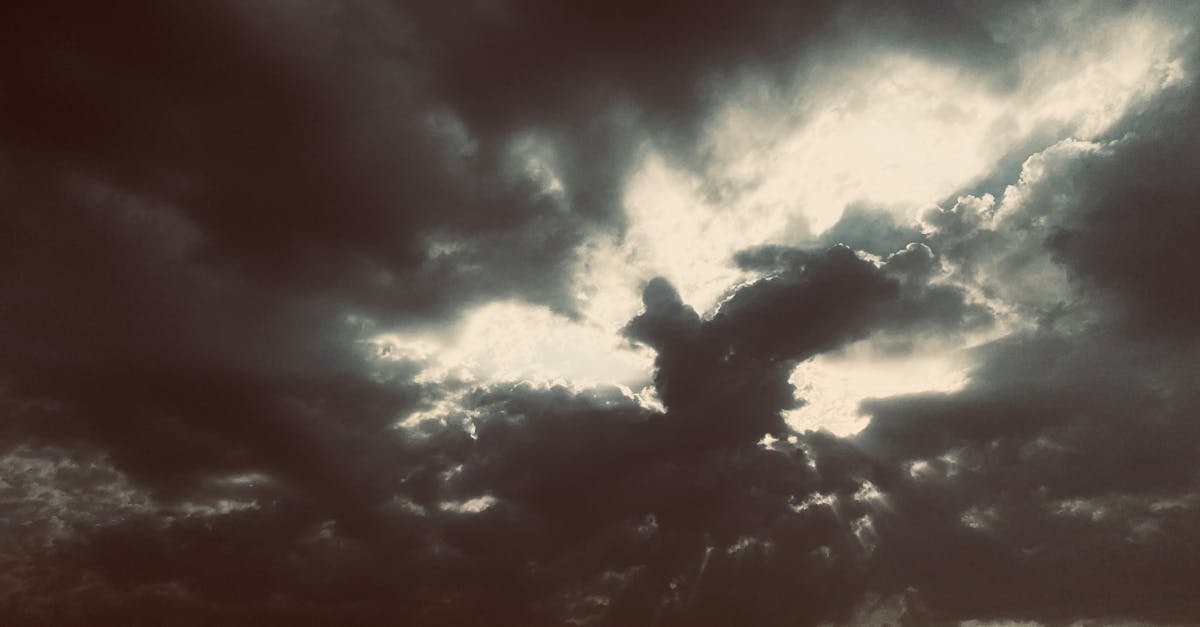
- Great for top-down shots where you don’t want shadow interference
Fog and Mist
Creates layered, atmospheric images with depth:
- Mountains emerging from fog look dramatic
- Coastal fog adds mystery to beach and cliff shots
- Forests in mist have an ethereal quality
After Rain
Everything looks more saturated and alive. Wet surfaces reflect light. Puddles create mirror effects from above. The air is clearer with less haze.
Many photographers pack up when clouds roll in. Mistake. Overcast and foggy conditions produce moody photos that look different from the golden-hour shots everyone else captures. Use the weather to your advantage.
Haze and How to Deal With It
Aerial photos often have atmospheric haze, especially at distance or altitude. In editing:
- Dehaze slider in Lightroom cuts through atmospheric haze effectively
- Increase contrast to restore punch
- Boost vibrance (not saturation) to bring back muted colors
Quick Check
Q: When is golden hour? A: The hour after sunrise and the hour before sunset. It produces warm tones, long shadows, and soft contrast.
Q: What’s blue hour good for? A: Urban aerials and moody landscapes. You get a deep blue sky with warm horizon glow and even soft light.
Q: Why is side-lighting effective for landscapes? A: It creates dramatic shadows that reveal terrain texture and depth. Flat front-lighting doesn’t show relief.
What’s Next?
You understand light. Now let’s compose photos that use that light effectively.
Pilot Institute: learn to see light like a photographer.