Lightroom Editing Workflow
Why Lightroom
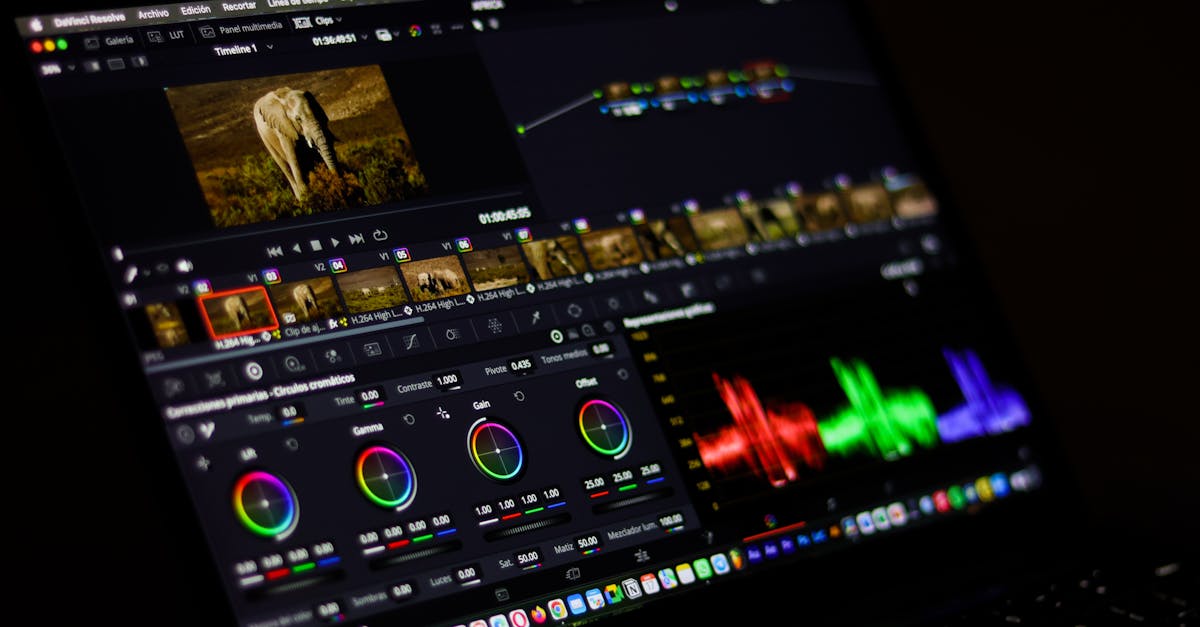
Adobe Lightroom is the standard for photo editing because it’s designed for photographers, not graphic designers. It handles RAW files natively, offers non-destructive editing, and makes batch processing efficient.
DaVinci Resolve and Photoshop are powerful alternatives, but Lightroom’s photo-specific workflow makes it the fastest path from RAW file to finished image.
The Universal Editing Sequence
Every aerial photo follows the same basic workflow. Master this sequence and you can edit any image:
Step 1: Import and Organize
- Import RAW files into Lightroom
- Flag winners (press P) and rejects (press X)
- Rate your best shots (press 1-5)
- Only edit your top-rated images. Don’t waste time on mediocre shots.
Step 2: Correct the Horizon
Straighten the horizon first. Crooked horizons are the #1 sign of amateur aerial photos. Use Lightroom’s crop tool with the level adjustment.
Step 3: Basic Tone Adjustments
Work through the Basic panel in order:
- Exposure: set the overall brightness
- Highlights: pull down to recover sky detail
- Shadows: lift to reveal shadow detail
- Whites: set the bright point (hold Alt/Option while adjusting to see clipping)
- Blacks: set the dark point (hold Alt/Option while adjusting)
Step 4: Add Punch
- Contrast: slight boost for impact
- Clarity: adds midtone contrast (use sparingly; too much looks artificial)
- Dehaze: cuts through atmospheric haze (essential for aerial photos)
Step 5: Color
- Vibrance: boosts muted colors without oversaturating already-colorful areas (prefer this over Saturation)
- Saturation: use only if vibrance isn’t enough
- White balance: fine-tune temperature and tint if needed
Vibrance is smart saturation. It targets muted colors while protecting skin tones and already-saturated areas. Saturation cranks everything equally, often creating garish results. Use Vibrance first.
Step 6: Tone Curve
Add a mild S-curve for contrast and richness:
- Pull the darks down slightly
- Push the lights up slightly
- This adds “pop” without the heavy-handed contrast slider
Step 7: Sharpening and Noise Reduction
- Sharpening: set Amount to 40-60, Radius to 1.0, hold Alt while adjusting Masking to target edges only
- Noise Reduction: start at 20-30 Luminance for clean ISO 100 images, higher for noisy shots
Step 8: Local Adjustments
Use graduated filters and brush tools for:
- Darkening a bright sky (graduated filter)
- Brightening a specific shadow area (brush tool)
- Adding warmth to a sunset area (brush tool with temperature shift)
Photo-Type-Specific Adjustments
Top-Down Photos
Common issues: hazy, under-saturated, low contrast
- Dehaze +15-25: cuts atmospheric haze
- Contrast +20-30: restores punch
- Vibrance +15-25: brings out muted colors
Landscape Photos
Common issues: dynamic range, sky vs. foreground exposure
- Highlights -50 to -80: recover sky
- Shadows +30 to +50: reveal foreground
- Graduated filter on sky: darken sky separately
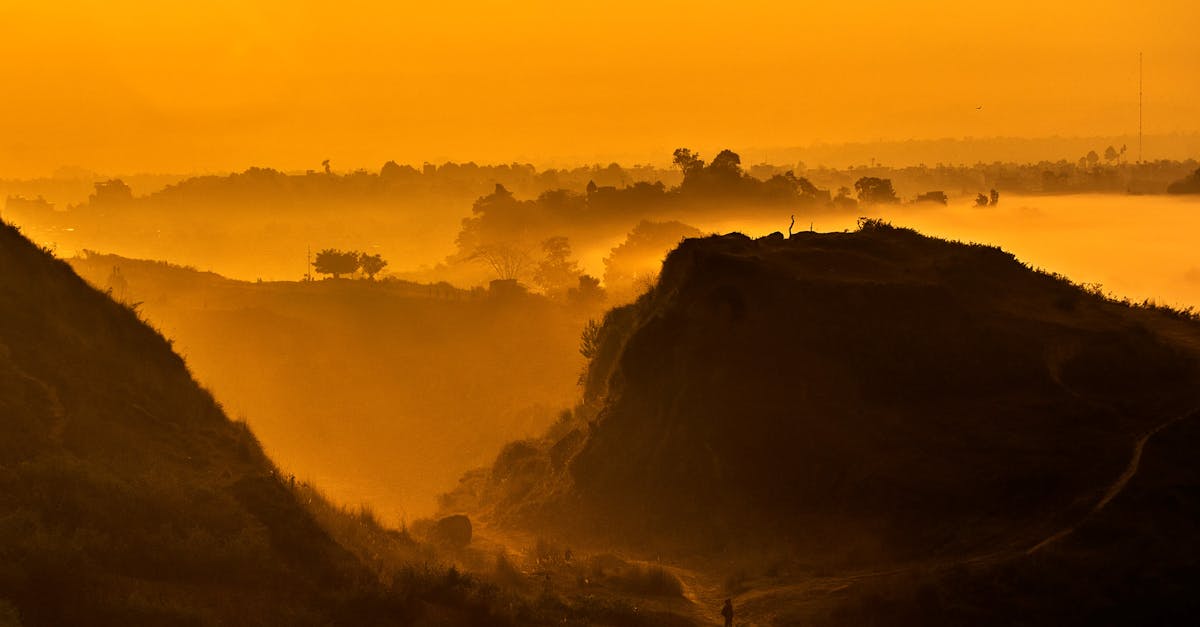
Sunset/Golden Hour Photos
Common issues: backlit subjects, color balance
- Warm white balance: lean into the golden tones
- Dehaze +10-15: enhances sunset colors
- Shadows +40+: recover backlit subjects
Quick Check
Q: What should you fix first in Lightroom? A: The horizon. Crooked horizons are the #1 sign of amateur aerial photos.
Q: Why prefer Vibrance over Saturation? A: Vibrance is smart. It targets muted colors while protecting already-saturated areas and skin tones.
Q: What’s the essential adjustment for aerial photos? A: Dehaze. It cuts through atmospheric haze that flattens aerial images.
What’s Next?
Basic editing is covered. Let’s explore advanced techniques for standout photos.
Pilot Institute: from RAW to remarkable.