10 Principles of Great Aerial Photography
Principles That Travel With You
Gear changes. Software updates. These ten principles are permanent.
1. Shoot RAW, Always
RAW files preserve every bit of data your sensor captures. JPEG throws away information you can never get back. The editing flexibility of RAW is worth the larger file sizes. If your drone supports RAW, use it. Every time.
2. Light Before Location
A boring location in golden-hour light beats a stunning location at noon. Plan your shoots around the light, not just the destination. The best photo of your life will be taken during golden hour or blue hour.
3. Compose With Purpose
Every photo should have a clear subject. Ask yourself: “What am I photographing, and why does it look interesting from above?” If you can’t answer that, you’re just pressing the shutter button at random.
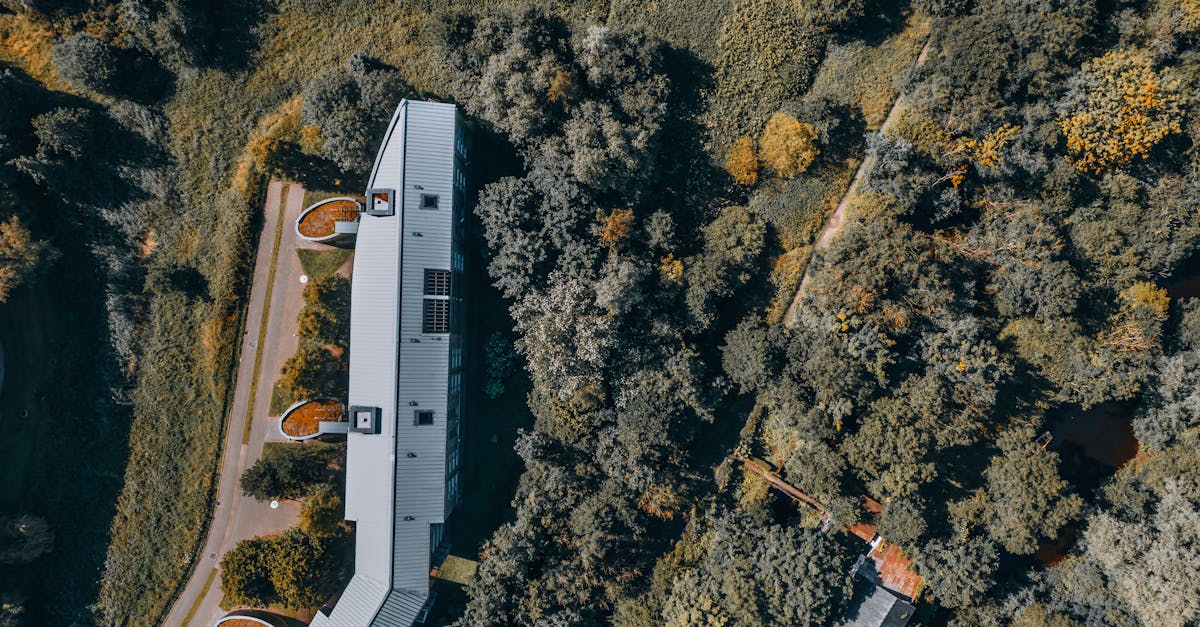
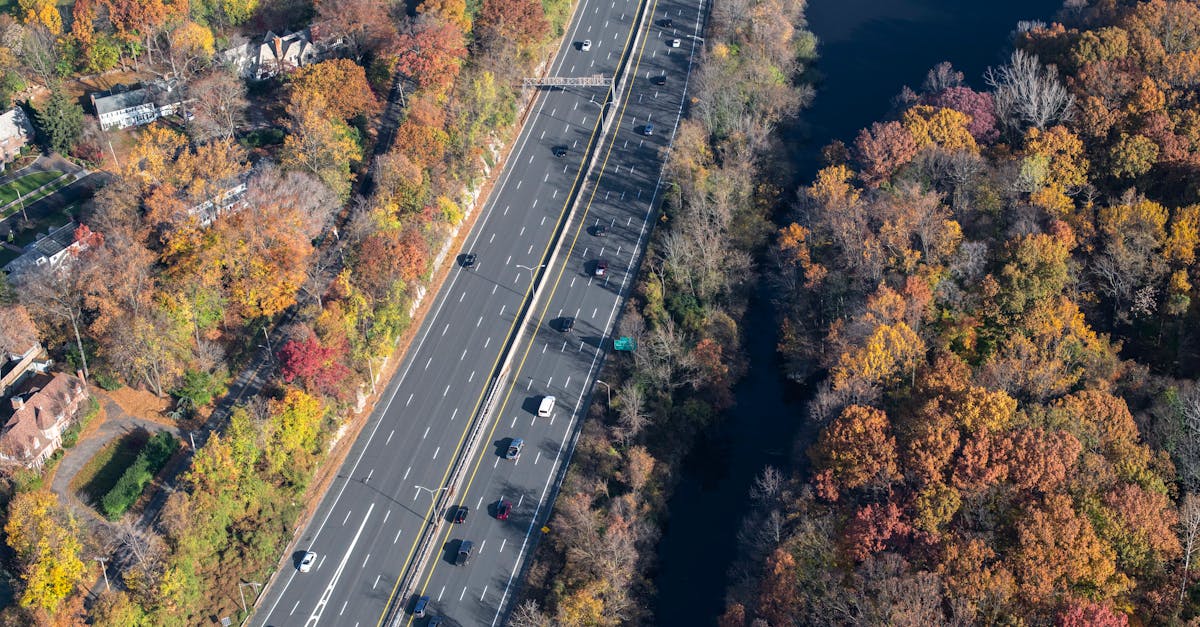
4. Fly Lower Than You Think
The most compelling aerial photos are taken between 50-150 feet, not at maximum altitude. Low enough for texture and detail, high enough for context. Photos from 400 feet look like satellite imagery.
5. Use AEB for Everything Important
Three bracketed exposures take one second to capture and give you HDR dynamic range in post. There’s no reason not to use AEB for landscape and sunset shots. This is the biggest quality upgrade available.
6. Protect Your Highlights
Blown-out sky pixels contain zero data. No editing tool can recover detail that wasn’t captured. Underexpose slightly to protect highlights, then lift shadows in Lightroom. RAW files have plenty of shadow recovery latitude.
7. Edit With a Light Touch
The best editing is invisible. Oversaturated colors, excessive clarity, and heavy contrast look artificial. Enhance what’s there, don’t create something that wasn’t. If people can tell it’s heavily edited, you’ve gone too far.
Walk away from your edit for 10 minutes, then come back. Does it still look natural? If you’re unsure, you’ve probably over-edited. Pull everything back 10-20% and it’ll look better.
8. Study Other Photographers
Dissect photos you admire. Where is the subject? How is the light falling? What’s the composition? What editing choices were made? Analyzing others’ work to develop your eye will accelerate your growth more than any camera upgrade.
9. Cull Ruthlessly
Take 100 photos on a shoot. Edit 10. Share 3. Your audience judges you by your worst public photo, not your best. Quality over quantity, always.
10. Practice Consistently
Aerial photography combines piloting skills, camera knowledge, compositional eye, and editing craft. No single lesson makes you great. Consistent practice over weeks and months does. Fly weekly, edit every session, and review your old work to track your progress.
Cross-Reference: Keep Learning
- Master the rules and regulations in our Part 107 course
- Turn your skills into income with our Drone Business course
- Perfect real estate shooting in our Real Estate course
- Take your drone abroad with our Travel & Adventure course
Quick Check
Q: Why should you always shoot RAW? A: RAW preserves all sensor data, giving full editing flexibility for exposure, white balance, and color. JPEG throws away information permanently.
Q: What’s the ideal altitude for compelling aerial photos? A: 50-150 feet. High enough for context, low enough for texture and detail.
Q: What’s the edit test? A: Walk away for 10 minutes, then return. If the edit still looks natural, it’s right. If you’re unsure, pull everything back 10-20%.
Congratulations
You’ve completed the Drone Photography Masterclass. You now understand camera settings, light, composition, shooting techniques, HDR and panorama, Lightroom editing, and how to share your work with the world.
Your camera is ready. The golden hour is coming. Go shoot.
Pilot Institute: the foundation behind every great aerial photo.