Night & Twilight Aerial Photography
Why It Matters
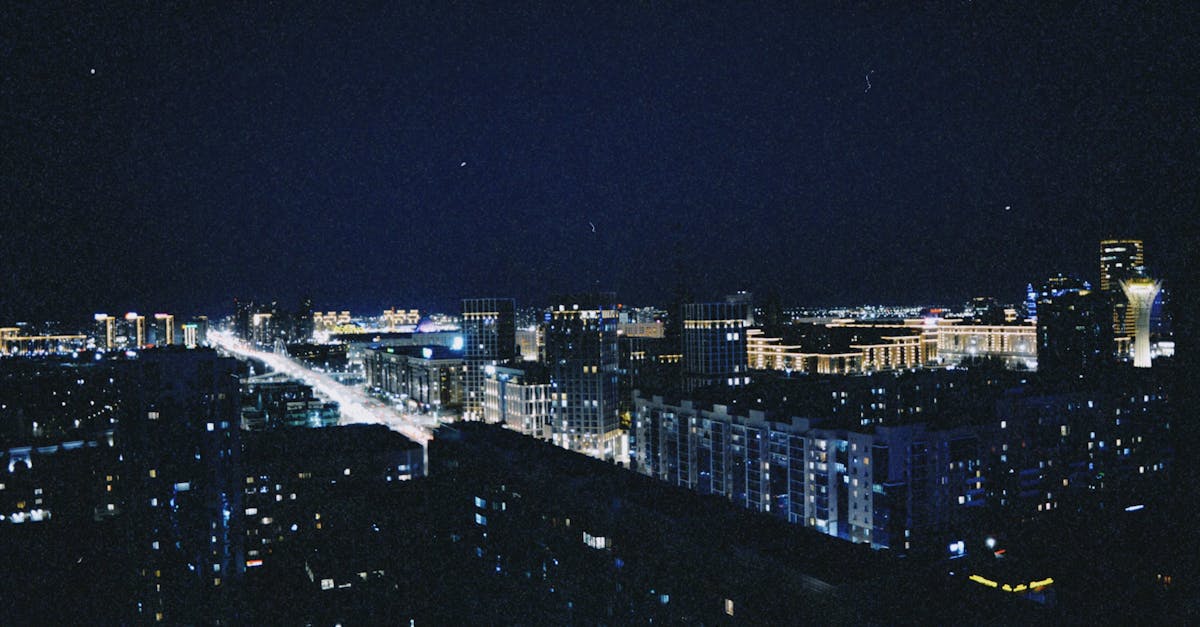
The most dramatic drone photos happen when most pilots have packed up. Blue hour (that 20-30 minute window after sunset) creates conditions you won’t find during the day. City lights glow against a deep blue sky. Landmarks become illuminated subjects against a moody backdrop. The light is unique.
But night shooting introduces specific challenges: noise, legal restrictions, and the risk of losing your drone in the dark.
Legal Considerations First
Under Part 107, you may fly at night only if your drone has FAA-compliant anti-collision lights visible for 3 statute miles. Many countries prohibit night flying entirely. Check local regulations before every night shoot. Flying illegally at night carries steep fines and enforcement is increasing as drone detection systems expand.
The Blue Hour Window
Blue hour isn’t actually an hour. It’s roughly 20-30 minutes after sunset (or before sunrise) when the sky turns a deep, rich blue while the ground is dark enough for artificial lights to glow.
Why Blue Hour Beats Full Dark
- The sky still has enough light to show color and detail, not just a black void
- City lights, building lights, and streetlights are on and visible
- The blue sky creates a dramatic contrast with warm artificial light
- There’s still enough ambient light for your drone’s sensors to function
Timing
- Start setting up 30 minutes before sunset. You want to be in the air as the sun disappears.
- The best photos happen 10-25 minutes after sunset
- After 30 minutes, the sky goes fully dark and you lose the blue
- Use an app like PhotoPills or Sun Surveyor to get exact sunset and blue hour times for your location
Camera Settings for Night
Night photography pushes drone sensors to their limits. Your settings need to compensate:
| Setting | Daytime | Night/Twilight |
|---|---|---|
| ISO | 100 | 200-800 (keep as low as possible) |
| Shutter Speed | 1/200-1/1000s | 1/10-1/60s |
| Aperture | f/2.8-f/5.6 | f/2.8 (wide open for maximum light) |
| White Balance | Sunny/Cloudy | Manual 4000-5000K or Custom |
| Format | RAW | RAW (absolutely critical) |
Key Rules
- Keep ISO as low as you can. Every ISO increase adds noise. The small sensor in most drones produces significant noise above ISO 800.
- Use a longer shutter speed, but be careful. Any drone movement during a long exposure creates blur. In calm conditions, 1/30s is often achievable; 1/10s requires near-zero wind.
- Shoot wide open. Use your widest aperture (usually f/2.8) to gather maximum light.
- Lock white balance manually. Auto white balance shifts unpredictably in mixed artificial lighting.
The best night photos aren’t taken in full darkness. Fly just after sunset, when city lights have turned on but the sky still holds blue. You can always darken the image in editing to look more like night, but you can’t recover sky detail that was never captured.
Managing Noise
Noise is the primary challenge of night drone photography. Three approaches:
1. Exposure Stacking
Take 3-5 identical frames (drone hovering perfectly still) and blend them in Photoshop or Lightroom. Because noise is random (appearing in different places in each frame), blending averages it out while keeping the actual scene detail sharp. This is the most effective technique.
2. Expose Bright, Then Darken in Edit
Slightly overexpose your night shots (without blowing out highlights in the lights themselves), then darken in post. Bright shadows contain less noise than underexposed shadows that you lift later.
3. Noise Reduction in Post
Lightroom’s Luminance noise reduction at 30-50 handles moderate noise. For heavy noise, dedicated tools like Topaz DeNoise or DxO PureRAW produce cleaner results with more detail preservation.
Finding Good Night Subjects
Not everything looks good from above at night. Look for:
- City skylines and downtown areas: thousands of lights creating patterns
- Illuminated landmarks: temples, churches, monuments lit at night
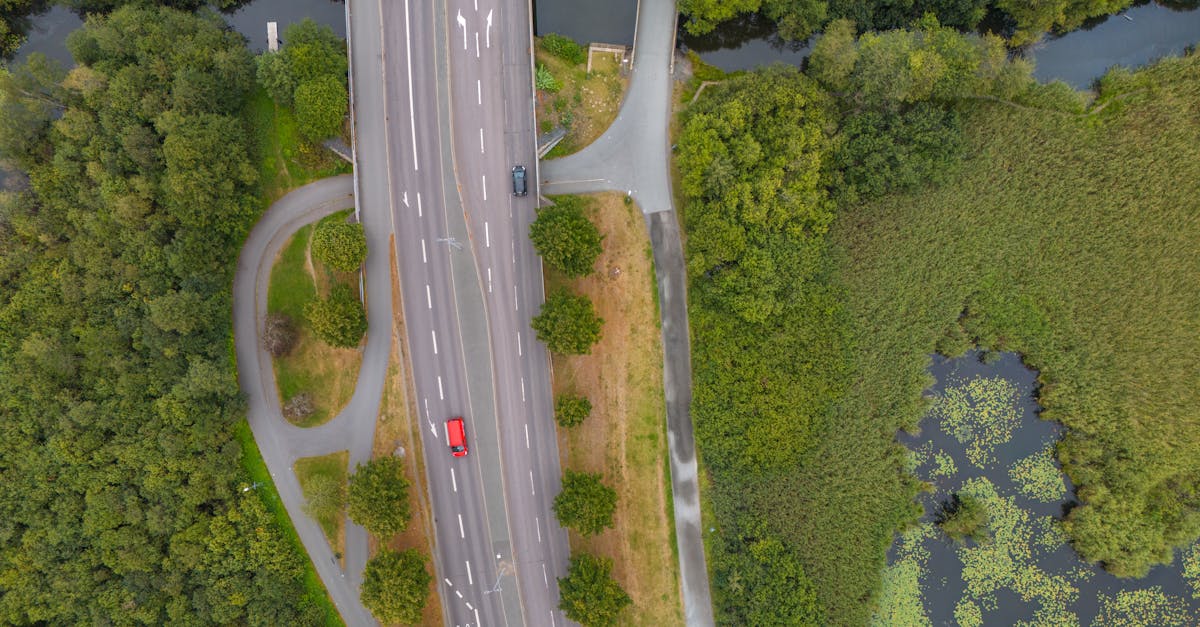
- Bridges and highways: light trails from vehicles
- Harbors and waterfronts: reflections of city lights on water
- Sports fields and stadiums: dramatic pools of artificial light
Scout your night shooting locations during the day using Google Maps satellite view. Identify takeoff spots, check for obstacles that will be invisible at night, and plan your flight paths. Arriving at an unfamiliar location in the dark with a drone creates unnecessary risk.
Quick Check
Q: What is blue hour and how long does it last? A: The 20-30 minute window after sunset when the sky turns deep blue while ground lights are visible. It’s not a full hour, despite the name.
Q: What’s the most effective way to reduce noise in night drone photos? A: Exposure stacking. Take multiple identical frames and blend them. Because noise is random, averaging multiple exposures removes it while preserving real detail.
Q: Why should you scout your night location during the day? A: Obstacles like power lines, trees, and buildings are invisible at night. Daytime scouting identifies hazards and lets you plan safe flight paths.
What’s Next?
Night shooting covered. Next let’s explore one of the most photogenic subjects from above: water.
Pilot Institute: capture what others miss.