HDR & Panorama Techniques
Beyond Single Shots
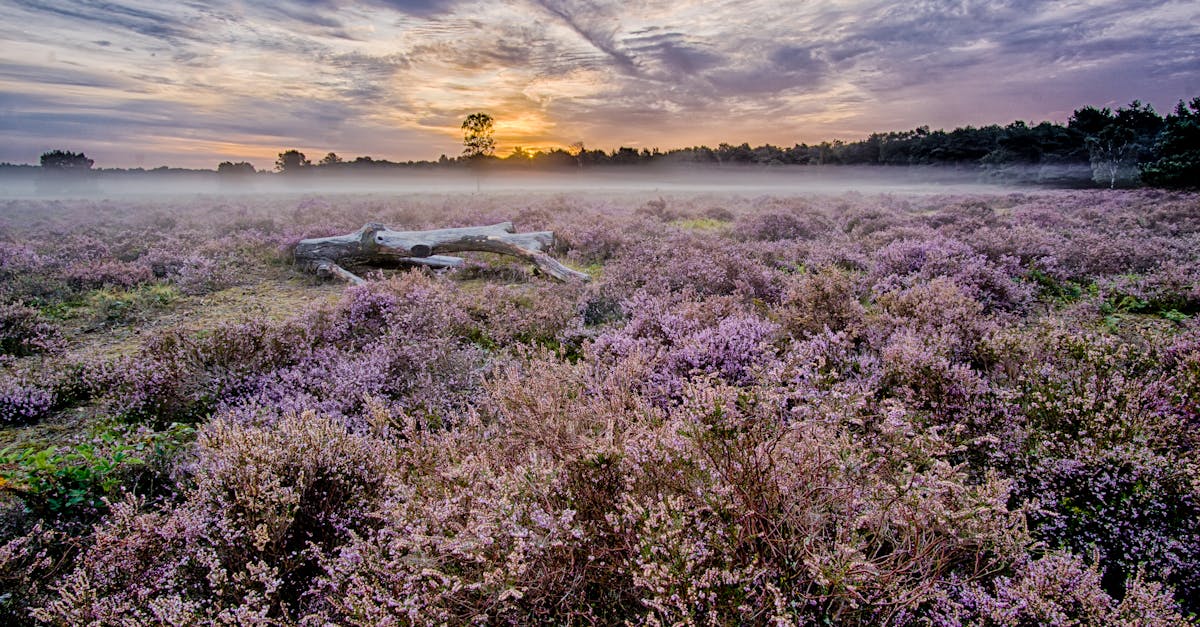
Your drone’s sensor has limited dynamic range (less than a DSLR). Single shots often can’t capture the full range of light in a scene. HDR and panorama techniques overcome this limitation.
HDR: High Dynamic Range
What HDR Does
HDR combines multiple exposures of the same scene into one image with substantially more dynamic range. Shadows that were pure black and highlights that were pure white both reveal detail.
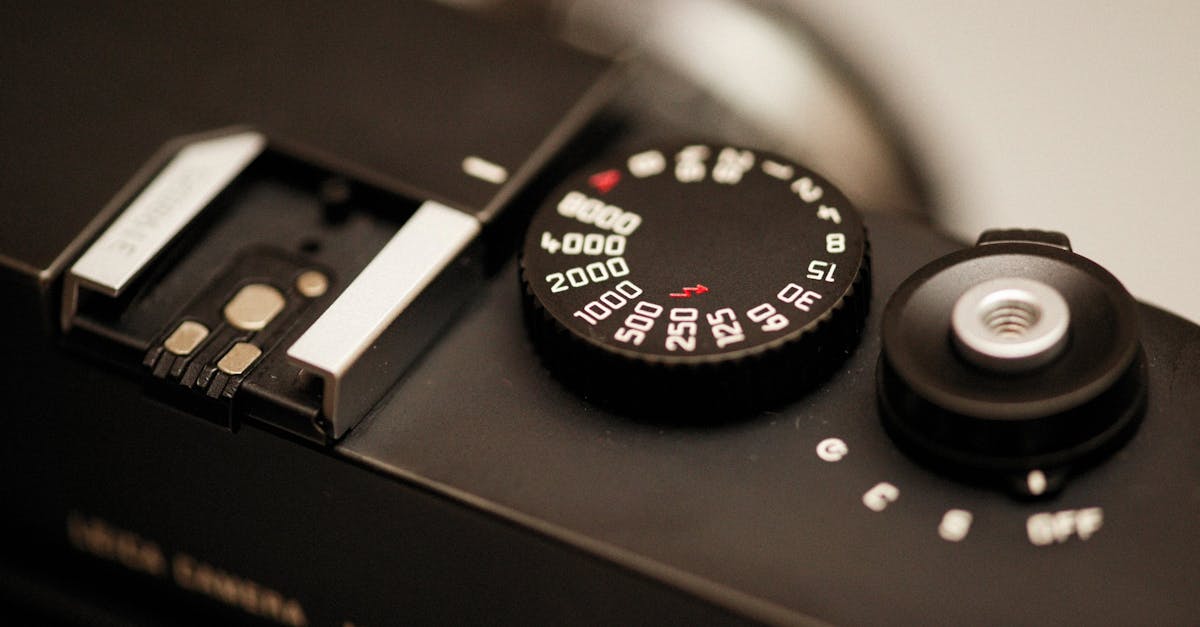
Step 1: Enable AEB Mode
In your drone’s camera settings, switch from single shot to AEB (Auto Exposure Bracketing). This takes 3 or 5 photos in rapid succession at different exposures:
- 3-shot AEB: -1EV, 0EV, +1EV (under, normal, over)
- 5-shot AEB: -2EV, -1EV, 0EV, +1EV, +2EV
Step 2: Shoot
- Keep the drone perfectly still (hover, don’t move). The shots must align.
- Use a high shutter speed to minimize movement between frames
- Take multiple AEB sets at each angle for safety
Step 3: Merge in Lightroom
- Select the 3-5 bracketed images
- Right-click, Photo Merge, HDR
- Enable Auto Align (critical: there’s always tiny drone movement)
- Enable Auto Settings for a starting edit
- Click Merge. Lightroom creates a single DNG file with the full dynamic range.
HDR provides the largest quality upgrade for drone photography. The merged image has significantly more editing flexibility: you can recover shadow detail AND highlight detail that’s impossible in a single exposure. Use AEB for every important landscape shot.
Panoramas: Ultra-Wide Aerials
Why Panoramas
Drone cameras have a fixed focal length. You can’t zoom out. Panoramas let you create ultra-wide images by stitching multiple photos together.
Types of Panoramas
| Type | How to Shoot | Result |
|---|
| Horizontal pano | Rotate the drone horizontally, overlapping each shot by 30-40% | Ultra-wide landscape | | Vertical pano | Tilt gimbal from horizon to ground, overlapping shots | Tall, portrait-format landscape | | Spherical pano | Use your drone’s built-in panorama mode (if available) | 360 degree image |
Shooting a Manual Panorama
- Set camera to manual exposure: identical settings for every shot
- Lock white balance: same setting for every shot
- Start at one edge of the scene
- Rotate the drone slowly, overlapping each frame by 30-40%
- Shoot 5-10 frames depending on the scene width
- Keep the drone at a constant altitude and distance
Merging in Lightroom
- Select all panorama images
- Right-click, Photo Merge, Panorama
- Choose projection: Spherical (best for wide angles) or Cylindrical (best for horizontal sweeps)
- Check Auto Crop to remove uneven edges
- Click Merge
HDR Panorama (The Pro Move)
Combine both techniques: shoot AEB at each panorama position, then merge into an HDR panorama. Lightroom handles this automatically when it detects bracketed panorama sets.
If your white balance or exposure changes between frames, the panorama will have visible color/exposure bands. Lock everything in manual before starting the pano sequence.
Quick Check
Q: What does AEB mode do? A: Takes 3-5 photos at different exposures in rapid succession, which you merge into a single HDR image.
Q: How much should frames overlap in a panorama? A: 30-40% overlap ensures the stitching software can align and blend the images.
Q: What’s an HDR panorama? A: Shooting AEB brackets at each panorama position, then merging everything. This combines an ultra-wide view with maximum dynamic range.
What’s Next?
Captured and merged. Now let’s edit everything in Lightroom.
Pilot Institute: techniques that separate pros from amateurs.