Advanced Editing Techniques
Beyond Basic Edits
Once you’ve mastered the standard workflow, these techniques will push your aerial photos further.
ND Filters for Long Exposure
Long exposure from a drone creates effects impossible to achieve any other way: silky water, light trails, and motion blur that changes how a scene looks.
The Setup
- Attach a strong ND filter (ND16-ND64) to cut light dramatically
- Set shutter speed to 1-6 seconds
- ISO 100, aperture as high as possible
- Hover perfectly still: any drone movement during a multi-second exposure creates blur
What Long Exposure Does
- Water: turns waves and waterfalls into silky, smooth surfaces
- Traffic: car headlights become flowing light trails
- Clouds: capture cloud movement over several seconds
Multi-second exposures from a hovering drone are technically challenging. Even gentle wind creates enough movement to blur the image. Practice in calm conditions first. Not every attempt will work. Shoot many frames.
Polarizing Filters
A polarizing filter (often combined with ND filters) reduces glare and reflections:
- Over water: cuts surface glare, revealing what’s below
- Sky enhancement: deepens blue skies
- Foliage: reduces leaf glare, revealing richer greens
- Wet surfaces: reduces reflection, shows texture
Rotate the filter (if adjustable) while watching the live view to see the polarization effect change. Maximum effect occurs when the sun is 90 degrees to your shooting direction.
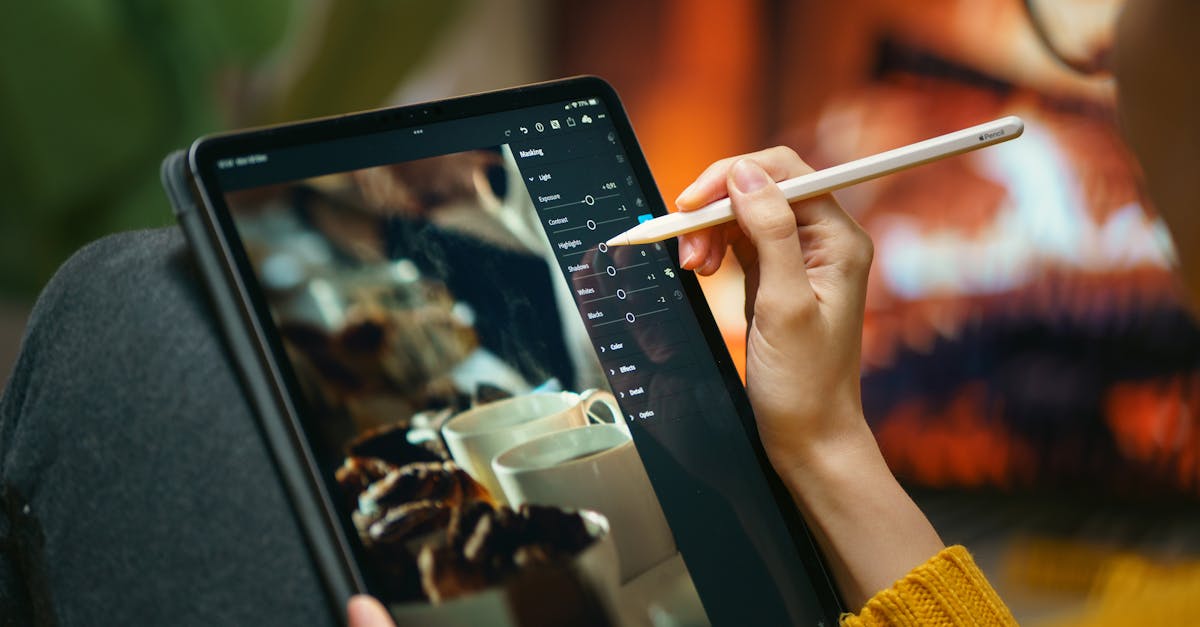
Noise Reduction
Drone sensors produce visible noise, especially in shadows and at higher ISO. Two approaches:
In-Camera
- Shoot at ISO 100 whenever possible
- Expose correctly. Underexposed shadows get noisy when lifted.
In Post-Processing
- Lightroom’s built-in noise reduction: Luminance slider, start at 20-40
- Detail preservation: too much noise reduction destroys fine detail (leaves, textures)
- Third-party plugins: tools like Topaz DeNoise or DxO PureRAW produce cleaner results for challenging shots
Developing Your Style
Consistency is what separates hobbyists from professionals. Develop a recognizable editing style:
Choose a Color Palette
- Warm and golden: push temperature toward warm tones
- Cool and moody: lean into blues and teals
- High contrast black and white: remove color entirely for graphic impact
Create Presets
Once you’ve developed an edit you love, save it as a Lightroom preset. Apply it to future photos for instant consistency. Most professional drone photographers have 3-5 custom presets they use regularly.
Batch Editing
Edit one photo from a shoot, then sync those settings to all similar photos in Lightroom. This maintains consistency across a set and saves time.
Your editing style will change as you improve. Don’t lock yourself into one look forever. Experiment, refine, and let your taste evolve. The preset is a starting point, not a prison.
Quick Check
Q: What does a polarizing filter do for aerial photos? A: Reduces glare and reflections. It deepens blue skies, reveals underwater detail, and enriches foliage colors.
Q: What’s the main challenge with long exposure drone photos? A: Keeping the drone perfectly still during multi-second exposures. Even gentle wind causes blur.
Q: Why create Lightroom presets? A: They provide instant consistency across your photos and help develop a recognizable editing style.
What’s Next?
Your editing skills are solid. Let’s talk about how to share your photos and build a portfolio.
Pilot Institute: refine your craft.