Video Editing Workflow
Why It Matters
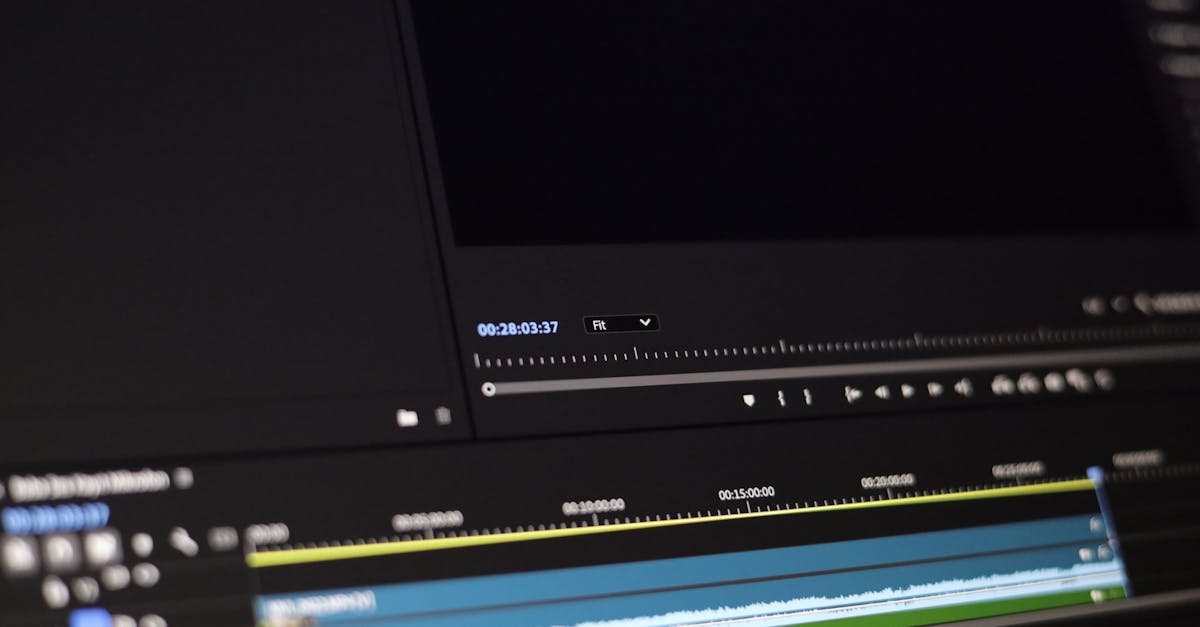
Shooting is half the work. Editing is where raw footage becomes a finished video. Most beginners dump all their clips on a timeline randomly. Professional editors follow a structured workflow that produces consistent, polished results.
Organizing Your Footage
Before you start cutting:
- Import everything to a single folder organized by date and location
- Watch all footage at 2x speed and flag the good takes (mark them as “good” or rate them)
- Delete the obviously bad clips. Blurry, overexposed, jerky, or boring shots. Be ruthless.
- Organize remaining clips into categories: establishing shots, detail shots, close passes, reveals, etc.
You shot 40 clips and only 8 are good. That’s normal. Delete the mediocre ones. A 2-minute video from 8 great clips beats a 5-minute video from 40 mediocre clips.
The Edit Structure
Step 1: Select Music First
Choose your music track before cutting any footage. The music’s tempo, mood, and structure determine the editing rhythm. Match shot duration to the beat. Faster music calls for shorter shots (2–3 seconds), while slower music allows longer ones (4–6 seconds).
Step 2: Lay Down the Opening
Start with your single strongest shot: the hero shot. This sets the visual tone and hooks the viewer immediately. It should be the most dramatic, beautiful, or surprising footage you captured.
Step 3: Build the Sequence
Arrange clips to tell a story:
- Wide → Medium → Close: Start with the landscape context, then show specific subjects
- Different angles: Alternate between push-ins, orbits, reveals, and stationary shots
- Vary the altitude: Mix low-altitude dynamic shots with high-altitude context shots
Step 4: Cut to the Music
Trim each clip so scene changes happen on musical beats. This creates an invisible rhythm that makes the video feel polished and intentional. Most editing software can show audio waveforms to help you find beats.
Step 5: Add Transitions (Sparingly)
Use hard cuts between clips. Avoid fancy transitions (dissolves, wipes, spins). They signal amateur work. The only acceptable transition is a simple cross-dissolve for matching similar movements or smoothing a difficult cut.
Step 6: Add Sound Design
Layer ambient sounds under the music:
- Ocean waves for coastal footage
- Wind for mountain footage
- Birds for forest footage
- City traffic for urban footage
Sound design adds immersion that music alone can’t provide.
Pacing and Shot Duration
| Shot Type | Duration | Notes |
|---|---|---|
| Hero/opening shot | 5–8 sec | Longest shot, let the viewer absorb it |
| Establishing shots | 4–6 sec | Wide views that set location | | Action shots | 3–4 sec | Push-ins, orbits, follows | | Detail shots | 2–3 sec | Quick cuts of specific details | | Closing shot | 5–8 sec | Slow pull-back or fade, let it breathe |
If nothing changes in a shot after 3 seconds, the viewer gets bored. Every shot should have something happening: a reveal completing, a subject approaching, a landscape unfolding. If a shot is static for more than 3 seconds, cut it shorter.
Export Settings
| Platform | Resolution | Frame Rate | Format |
|---|---|---|---|
| YouTube | 4K or 1080p | 24 or 30fps | H.264 MP4 |
| Instagram Reels | 1080p | 30fps | H.264 MP4 |
| TikTok | 1080p | 30fps | H.264 MP4 |
| Client delivery | 4K | 24fps | H.264 or ProRes |
Quick Check
Q: Why select music before editing? A: The music’s tempo and mood determine the editing rhythm. Cutting to the beat creates a polished, rhythmic feel.
Q: What’s the average shot length for drone video? A: 3–5 seconds for action shots, 5–8 seconds for establishing and closing shots. If nothing changes after 3 seconds, the viewer loses interest.
Q: Should you use transitions between clips? A: Hard cuts only. Fancy transitions (dissolves, wipes) signal amateur editing. Use cross-dissolves only when necessary to smooth a difficult cut.
What’s Next?
The edit is cut. Now let’s make it look professional with color correction and grading.
Pilot Institute — where footage becomes film.