Color Grading & LUTs
Why It Matters
Color correction (Lesson 16) fixes technical problems. Color grading creates a mood. The grading step is where you decide how your video should feel: warm and inviting, cool and dramatic, nostalgic, cinematic, or clean and natural. Every film, TV show, and commercial you’ve ever seen has been color graded. It’s the invisible art that makes footage feel finished rather than raw.
What Are LUTs?
A LUT (Look-Up Table) is a mathematical color preset. It takes each color value in your footage and transforms it into a different value, like a very sophisticated Instagram filter. LUTs can instantly apply a specific look: warmer highlights, cooler shadows, lifted blacks, or the orange-and-teal Hollywood look.
LUTs are starting points, not final solutions. Every scene has different lighting, colors, and exposure. A LUT that looks perfect on one clip may look terrible on another. Always apply a LUT, then adjust its intensity and fine-tune the result.
The Major LUT Styles for Drone Footage
Natural / Clean
Enhances what’s already there without dramatic shifts. Colors become richer, contrast increases slightly, and the overall image looks polished without looking processed.
Best for: Real estate, commercial work, travel videos where you want the location to look as beautiful as it did in person. The safest, most versatile starting point.
Orange and Teal
The most famous color grade in cinema. Warm orange tones in highlights (skin, sunlit surfaces), cool teal tones in shadows (sky, water, shadows). Creates color contrast between subject and background.
Why it works: Orange and teal are complementary colors, sitting opposite on the color wheel. They create visual tension that draws the eye. In Hollywood films, directors use orange on highlights (often skin tones) and teal on shadows (environment, sky). This color contrast separates subject from background.
For drone footage: Pure orange and teal can look unnatural on landscapes with green grass and trees. A well-designed drone LUT uses a subtler version. It warms highlights without making grass look orange, and cools shadows without turning water electric blue.
A well-balanced orange-and-teal grade can simulate the warm, golden light of golden hour, even on footage shot in harsh midday sun. This is why it’s so popular: it makes footage look like it was shot during the best light, regardless of when you actually flew.
Film Look
Expect slightly desaturated colors and lifted blacks, where shadows aren’t pure black but a dark gray. A gentle color cast (often green or warm) completes the look. The result feels less like digital video and more like celluloid film.
Best for: Narrative videos, travel films with a nostalgic feel, any project where you want the footage to feel “cinematic” in the traditional sense.
Moody / Dramatic
Shadows darken while saturation increases in midtones, creating an overall darker exposure. The feel is dramatic and intense, like a storm is approaching.
Best for: Mountain and ocean footage, urban landscapes at dusk, any scene where you want to convey power or intensity. Often requires increasing exposure slightly afterward because the grade darkens the image.
Warm / Golden
Enhances warm tones (yellows, oranges) while keeping other colors relatively natural. Simulates and enhances golden hour lighting.
Best for: Sunset and sunrise footage, agricultural and rural landscapes, desert scenes. Can look unnatural on snow, water, or urban concrete.
Monochrome
Black and white. Strips all color, leaving only luminance values. The viewer focuses on composition, texture, and contrast instead.
Best for: Architecture, geometric patterns, high-contrast scenes, and dramatic footage where color is distracting. Use sparingly. An entire video in black and white loses impact.
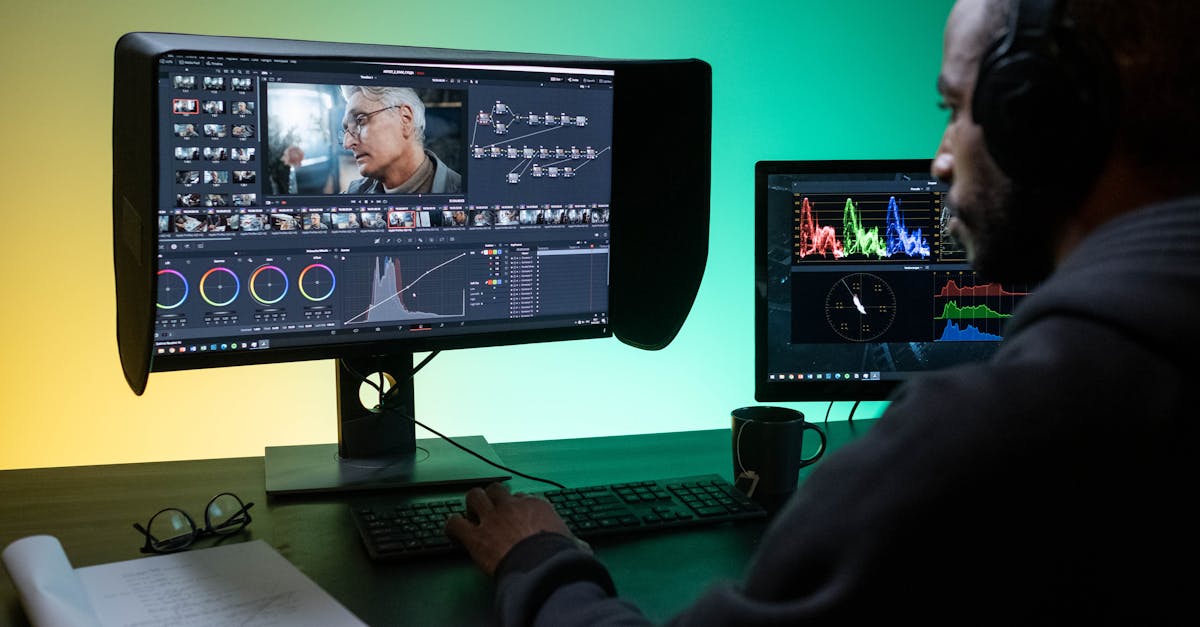
The DaVinci Resolve Grading Workflow
DaVinci Resolve is the industry standard for color grading. The free version handles everything most drone videographers need.
Step 1: Correct First (from Lesson 16)
Apply color correction before grading. Make sure your footage is properly exposed with correct white balance and contrast before adding any creative color.
Step 2: Convert D-Log to Rec.709
If you shot in D-Log, convert to standard color space first. This makes the flat, gray footage look “normal.” Many LUT packs include a conversion LUT for this step.
Step 3: Apply Your Chosen LUT
In DaVinci Resolve, apply the LUT to an adjustment layer or directly to the clip. Use the LUT browser to preview different options on your footage.
Step 4: Adjust Intensity
Never use a LUT at 100% intensity. Most LUTs look best at 50–75%. That’s enough to influence the color without overpowering the original image. Use the intensity/mix slider to dial it back.
Step 5: Fine-Tune
After applying the LUT:
- Adjust shadows and highlights — the LUT may have shifted them
- Check saturation — some LUTs over-saturate, others under-saturate
- Add a vignette (optional) — darkened edges draw the viewer’s eye to the center
- Match shots — ensure all clips from the same scene look consistent
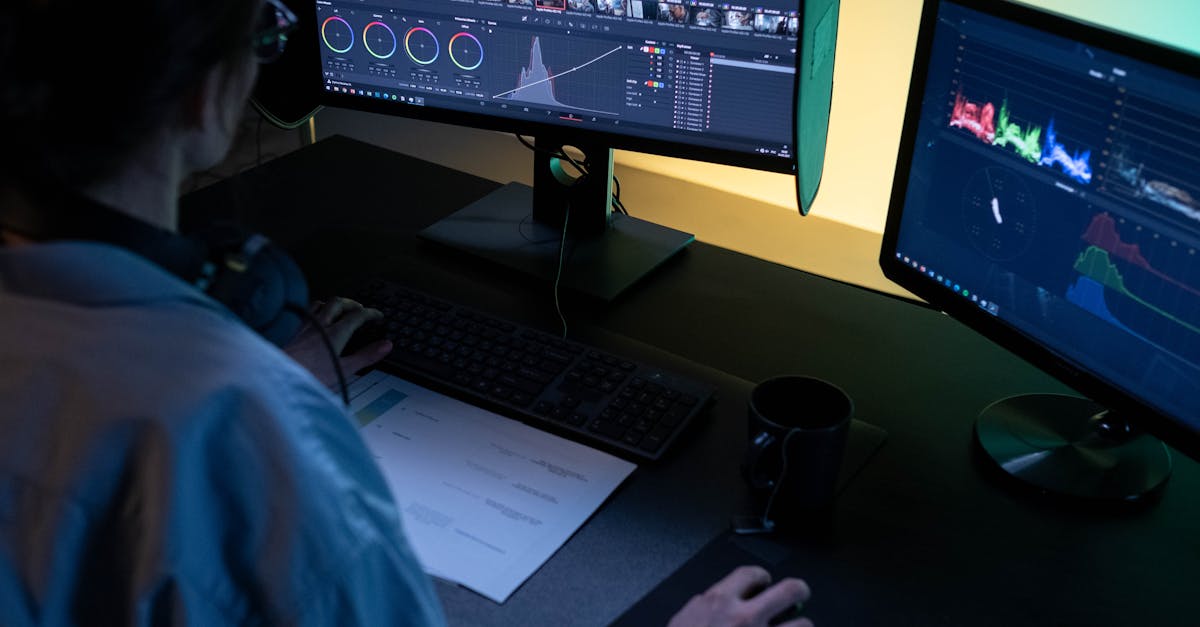
Step 6: Verify on Scopes
Check the waveform and RGB parade (from Lesson 16) to ensure nothing is clipping. A LUT can push highlights above 100 or crush shadows below 0. Both destroy detail.
Place the LUT on an adjustment layer above all your clips, not on each clip individually. This makes it easy to adjust the grade across the entire video at once. Individual clips can still be fine-tuned below the adjustment layer.
How to Choose a LUT for Your Footage
There’s no single “best” LUT. It depends on the footage and the mood:
| Footage Type | Recommended LUT Style | Why |
|---|---|---|
| Real estate | Natural / Clean | Buyers want to see the property as it really looks |
| Travel - coastal | Warm / Golden | Enhances sand, water, and sunset colors |
| Travel - mountains | Moody / Film Look | Adds drama to dramatic landscapes |
| Urban / architecture | Orange & Teal | Creates color contrast between buildings and sky |
| Real estate - luxury | Orange & Teal (subtle) | Adds cinematic polish to high-end properties |
| Forests / nature | Natural or Film Look | Preserves greens without making them look artificial |
| Sunset / sunrise | Warm / Golden | Enhances what the light already provides |
| Night / urban | Moody or Monochrome | Dark footage looks intentional rather than underexposed |
If you plan to sell footage on stock agencies (covered in Lesson 18), keep your color grade subtle. Stock footage buyers want to apply their own creative grade. Over-graded footage (too saturated, too contrasty, too stylized) sells poorly because buyers can’t undo your creative choices. Add just enough life to make the footage look good, but keep it natural enough for buyers to build on.
Quick Check
Q: What’s the difference between a LUT and color correction? A: Color correction fixes technical problems (exposure, white balance, contrast). A LUT applies a creative color style. Always correct first, then apply the LUT.
Q: Why does orange and teal work so well in cinema? A: Orange and teal are complementary colors, opposite on the color wheel. Using orange in highlights (often skin tones) and teal in shadows (environment) creates color contrast that separates subject from background and draws the viewer’s eye.
Q: Why should you never use a LUT at 100% intensity? A: LUTs are designed as starting points, not final looks. At full intensity, they overpower the original footage, often creating unnatural colors and clipping. Dial back to 50–75% and fine-tune from there.
What’s Next?
Color graded. Let’s handle noise, export for every platform, and explore how to earn passive income selling stock footage.
Pilot Institute — the invisible art of color.