Editing Techniques for Drone Footage
Why It Matters
The editing temptation is real. Software offers hundreds of transitions, effects, and filters. Resist most of them. Professional drone footage relies on clean editing that enhances what you captured, not decoration that distracts from it. This lesson covers the specific editing techniques that genuinely improve drone footage, and just as importantly, when to leave a clip alone.
The Editing Philosophy: Enhance, Don’t Decorate
If the footage is well-shot with smooth movement, good composition, and correct exposure, the best edit is often a simple hard cut at the right moment. Heavy editing signals that the footage wasn’t good enough to stand on its own.
The techniques in this lesson solve specific problems or enhance specific moments. Use them with purpose, not habit.
Technique 1: Speed Adjustments
Speeding Up Footage
Drone footage often looks surprisingly slow in the edit. The wide-angle lens and the distance from subjects make even moderately fast flying look gentle. Speeding up clips in post-production is one of the most common and useful drone editing techniques.
When to speed up:
- Clips that are technically perfect but lack energy
- Wide landscape shots where the movement is too slow to hold attention
- Push-ins where you want to create a sense of urgency
- Creating punchy, short clips for fast-paced edits (2–3 seconds each)
How much is too much: Up to 200% speed (2x) usually looks natural. Beyond 200%, the footage starts to look sped-up rather than energetic. At 400%+, it looks like a time-lapse. That may or may not be what you want.
The pacing principle: Short, fast clips feel energetic and engaging. Long, slow clips feel contemplative. Neither is wrong, but mixing the two creates rhythm. A 2-second clip at 2x speed followed by a 6-second clip at normal speed creates visual contrast that holds attention.
Speed Ramping
Instead of a uniform speed change, ramp the speed. Slow at the beginning, fast in the middle, slow at the end. This creates a smooth acceleration and deceleration that feels organic.
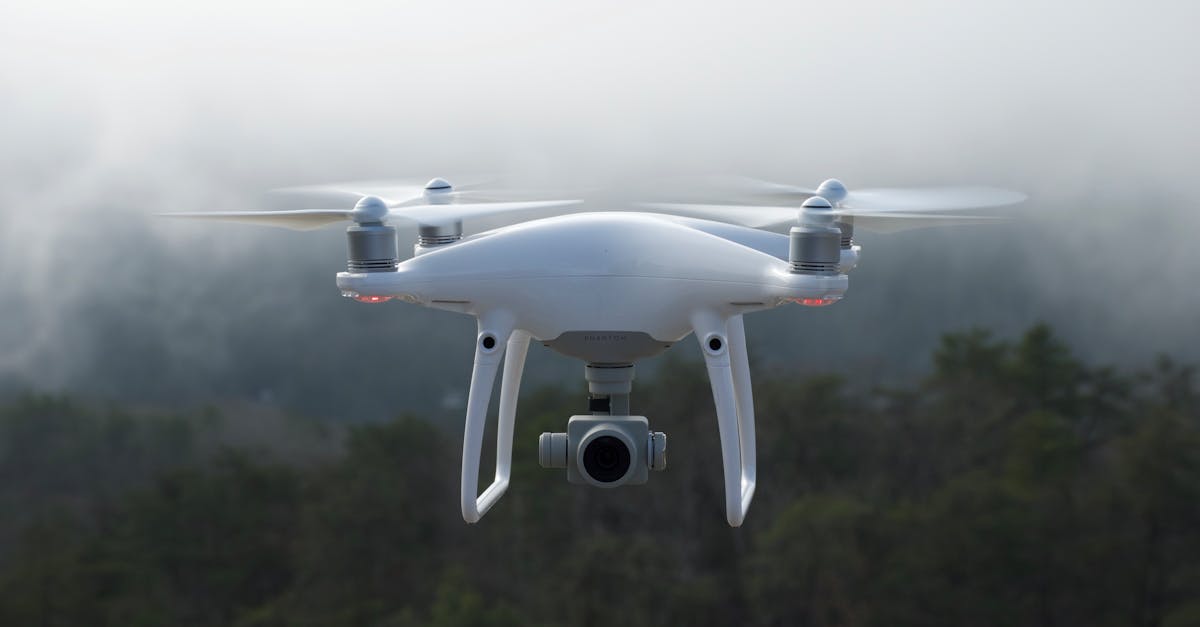
The most cinematic use: Flying through mist, fog, or low clouds. Start at normal speed as the drone enters the fog layer. Ramp to 2–3x speed through the fog, where the limited visibility masks the speed change. Ramp back to normal as the drone emerges on the other side. The result looks like the drone accelerated through another world.
The audience doesn’t have an appetite for watching 20-second drone shots one after another. Find the best 3–5 seconds of each clip and cut the rest. Speed up clips if needed to fit the best moment into a shorter duration. A 2-minute video from 10 great clips beats a 5-minute video from 30 mediocre ones.
Technique 2: Digital Zoom in Post
Shooting in 4K gives you a powerful editing tool. The ability to crop and zoom without losing HD quality. A 4K frame (3840×2160) contains four times the resolution of 1080p (1920×1080). If your final output is 1080p, you can zoom up to 200% in post and still deliver full HD.
The Digital Zoom-Out During Orbit
One of the most effective post-production techniques for drone footage:
- Start with the footage zoomed in (cropped to ~150%)
- Begin an orbit around the subject
- Gradually zoom out (reduce the crop) during the orbit
- The subject stays the same size in frame, but the background expands dramatically
This creates the Vertigo effect (dolly zoom) without any special equipment. The expanding background creates a sense of the world growing around the subject.
Limitation: Only works with 4K source footage and 1080p output. Don’t zoom past 200% or the quality degrades noticeably.
When to Use Digital Zoom
- During orbits to create dolly-zoom effect
- To reframe a shot that was slightly off-center
- To create a “reveal” by starting zoomed in and pulling out
- To add subtle motion to a shot that’s too static
When NOT to zoom: If the footage has fine detail (grass, leaves, water ripples), zooming makes these textures look soft and plasticky. Crop conservatively.
Technique 3: When NOT to Edit
Some shots should be left completely alone. If the composition is perfect, the movement is smooth, and the timing is right, adding effects, zooms, or speed changes only detracts.
Signs a clip needs no editing:
- The subject is perfectly framed throughout the movement
- The camera movement is smooth from start to finish
- The natural light creates the mood you want
- The clip has clear visual interest without enhancement
A perfectly executed orbit with beautiful light and strong composition is better without a digital zoom added. A smooth push-in with great framing doesn’t need speed ramping. Trust good footage.
The visual effects that scream “amateur” include elaborate transitions (star wipes, page curls, spin transitions), heavy color filters applied uniformly, visible speed changes (not ramps), and excessive digital zoom. Professional editors use hard cuts, subtle color grading, and minimal effects. The footage should speak for itself.
Technique 4: Combining Intelligent Flight Footage with Manual Footage
DJI’s QuickShots and intelligent flight modes produce smooth, automated footage. Manual flying produces footage with more character but less consistency. Combining both in an edit creates variety.
How to blend them:
- Use automated footage for technically demanding shots (orbits, dronies, tracking)
- Use manual footage for creative, unpredictable shots (low passes, fly-throughs, reveals)
- Cut between automated and manual clips to vary the visual rhythm
- Color grade both consistently so they look like they belong in the same video
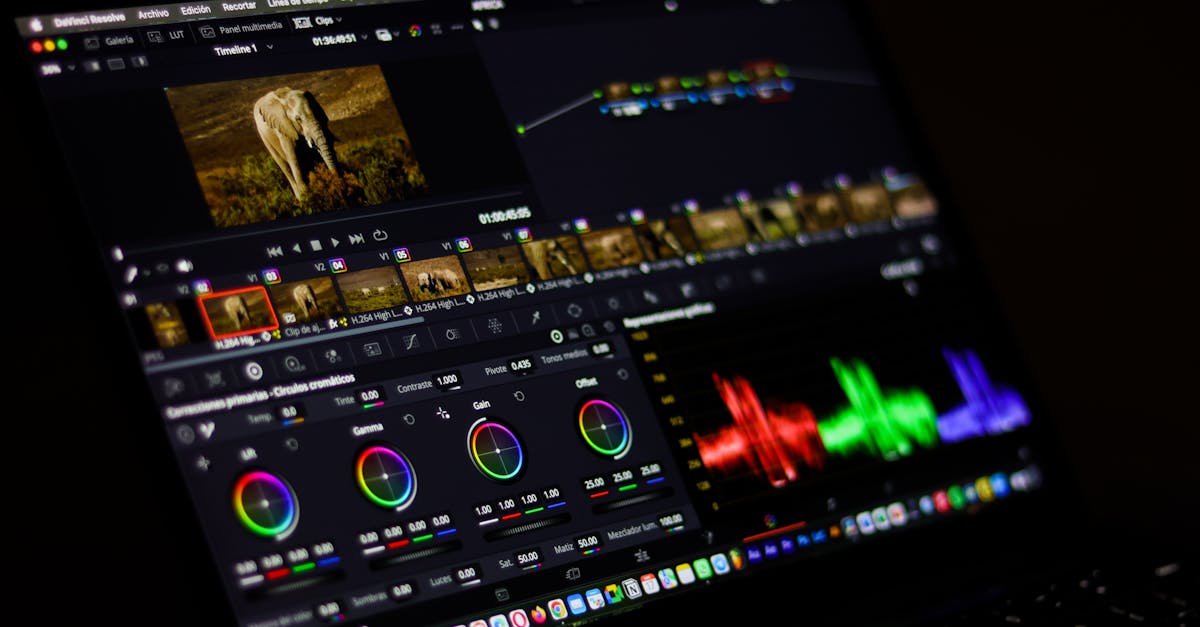
Technique 5: Using Proxies for Smooth Editing
4K footage is demanding on your computer. If your editing software supports proxy editing, use it.
Proxies create lower-resolution copies of your footage for editing. You cut and arrange the proxies for smooth playback, then the software applies your edits to the original 4K files during export. This workflow prevents the laggy, stuttering playback that makes precise editing impossible.
Software with proxy support:
- DaVinci Resolve: Optimized Media
- Premiere Pro: Proxies
- Final Cut Pro: Proxy Media
Generate proxies at import. It takes time upfront but saves frustration throughout the entire editing process.
Quick Check
Q: When should you speed up drone footage? A: When the movement is too slow to hold attention, when you need punchy short clips for a fast-paced edit, or when wide landscape shots lack energy. Limit speed increases to 200% for natural-looking results.
Q: What is the digital zoom-out technique and when does it work? A: Start zoomed in on 4K footage, then gradually reduce the crop during an orbit. This creates a dolly-zoom effect where the background expands while the subject stays the same size. Only works with 4K source and 1080p output.
Q: When should you NOT edit a clip? A: When the composition, movement, timing, and light are already perfect. Adding effects to perfect footage only detracts. Trust good cinematography.
What’s Next?
Editing techniques covered. Now let’s fix technical problems with color correction.
Pilot Institute — less is more in the edit.