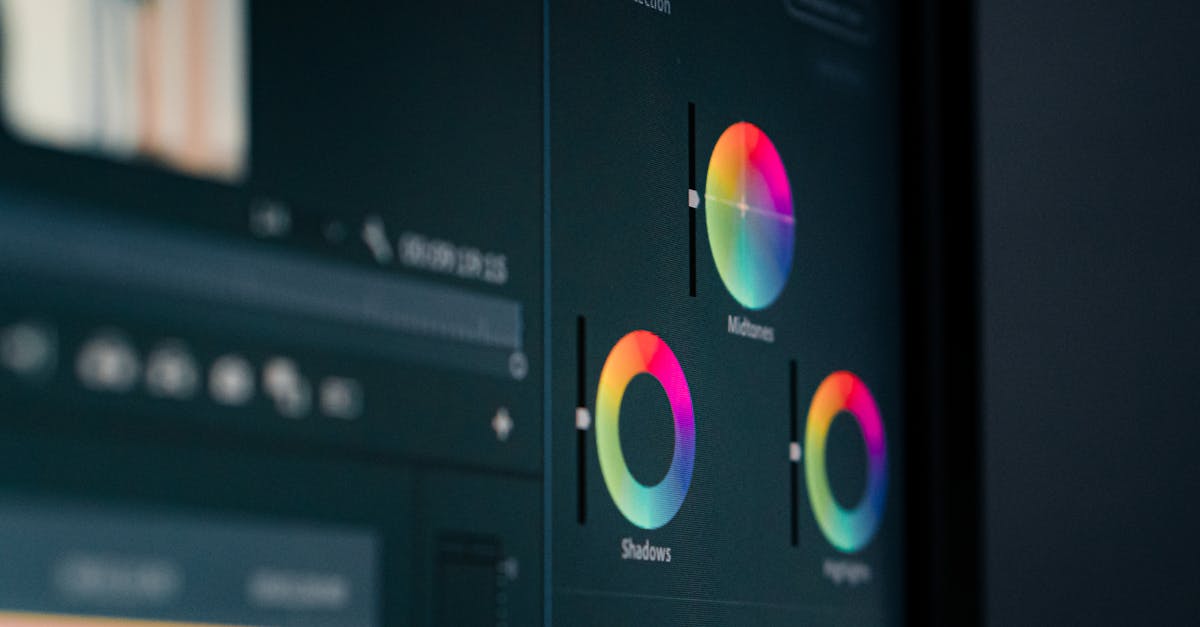
Color Correction
Why It Matters
Color correction is not creative. It’s technical. You’re making footage look accurate with proper exposure, correct white balance, and consistent contrast across all clips. Every professional colorist corrects before grading. Grading uncorrected footage is like painting over a dirty wall. The results look bad no matter how nice the paint is.
Your eyes lie to you. After staring at footage for 10 minutes, your brain adapts and everything starts to look “normal,” even footage that’s clearly overexposed or has a blue color cast. Scopes don’t lie. They provide mathematical measurement of what’s actually in your footage.
The Essential Scopes
Waveform (Luma)
Shows the brightness distribution of your footage from 0 (pure black) to 100 (pure white). Every pixel in your frame is represented by its brightness value.
What to look for:
- A well-exposed shot uses most of the range, with data spread from near 0 to near 100
- Clipping at the top (values stacked at 100) means blown-out highlights. Detail lost forever.
- Clipping at the bottom (values crushed at 0) means blocked-up shadows. Detail lost forever.
- A narrow cluster in the middle means low contrast, producing flat, lifeless footage
RGB Parade
Shows the red, green, and blue channels separately, side by side. This reveals color balance problems.
What to look for:
- If the red column extends higher than green and blue, the footage has a red/warm cast
- If the blue column extends higher, the footage has a blue/cool cast
- Even columns across all three channels indicate neutral white balance
- Uneven columns mean you need to adjust white balance
Vectorscope
Shows color saturation and hue distribution. The further from center, the more saturated the colors.
What to look for: This scope is more useful during grading than correction. During correction, focus on waveform and RGB parade.
The Correction Process
Follow this sequence for every clip. The order matters because each step builds on the previous one.
Step 1: Set White Balance
If the footage has a color cast (too warm/orange or too cool/blue), fix it first. Use the temperature and tint sliders.
Using RGB Parade: Adjust temperature until the three columns are roughly even in height. If the red column is taller, cool the temperature (add blue). If the blue column is taller, warm the temperature (add orange/yellow).
The eye test: After adjusting, toggle the correction on and off. The corrected version should look neutral, neither warm nor cool. Skin tones (if present) should look natural.
Step 2: Set Exposure
Adjust so the brightest important areas sit just below 100 on the waveform, and the darkest important areas sit just above 0.
The exposure priority: It’s better to slightly underexpose than overexpose. Blown-out highlights cannot be recovered because the data is gone. Underexposed shadows can often be brightened in post, though this introduces noise.
Practical approach: Start with the exposure slider. If the highlights clip, bring exposure down. If the shadows are crushed, bring it up. Find the balance where the footage uses the full range without touching the extremes.
Step 3: Add Contrast
Increase the difference between lights and darks. This gives the footage “punch,” the difference between flat, milky footage and vibrant, clear footage.
Using contrast vs. highlights/shadows: The contrast slider adjusts the overall curve. The highlights and shadows sliders give you independent control over the bright and dark areas. Use both. Increase contrast slightly, then fine-tune highlights up and shadows down for maximum range without clipping.
Step 4: Match Shots
Ensure all clips from the same scene have consistent exposure and color. The viewer should not see a brightness shift when the video cuts from one clip to the next.
The match process:
- Correct your first clip of the scene
- Copy those correction settings to the other clips from the same scene
- Fine-tune each clip individually (lighting changes slightly between takes)
- Toggle between clips and verify no jarring shifts
Apply color correction to the full-length source clip before cutting it into pieces on the timeline. This ensures all segments from the same clip have consistent color. If you cut first and correct each piece individually, you’ll spend hours trying to match them.
Step 5: Set Black and White Points
Use the blacks and whites sliders (or lift and gain wheels in DaVinci Resolve) to maximize the tonal range.
Blacks: Lower until the darkest areas just touch 0 on the waveform. Don’t crush them below.
Whites: Raise until the brightest areas just approach 100. Don’t let them clip above.
This step ensures your footage uses the full dynamic range available, giving you the richest blacks and brightest whites without losing detail.
The D-Log to Rec.709 Conversion
If you shot in D-Log (the flat, desaturated profile designed for maximum dynamic range), your first correction step is converting to standard color space (Rec.709). This makes the footage look “normal.” The gray, washed-out look is intentional and temporary.
Most editing software includes a built-in D-Log to Rec.709 conversion:
- DaVinci Resolve: Apply a CST (Color Space Transform) node
- Premiere Pro: Use the Lumetri color panel with the appropriate input color space
- Final Cut Pro: Apply the camera LUT in the Info inspector
After conversion, proceed with the standard correction steps above.
Your eyes adapt to what they see. After 10 minutes of staring at slightly blue footage, your brain compensates and it looks normal. After adjusting toward warm, your brain overcompensates and the footage looks too orange. Check the scopes after every significant adjustment. The RGB parade will tell you objectively whether the white balance is neutral, regardless of what your eyes think.
Quick Check
Q: What’s the difference between color correction and color grading? A: Correction is technical, fixing exposure, white balance, and consistency. Grading is creative, applying a mood or style. Always correct before grading.
Q: What does the RGB parade show you? A: The balance of red, green, and blue channels separately. Uneven columns indicate a color cast. Taller red means too warm, taller blue means too cool.
Q: Why should you correct full clips before cutting them? A: To ensure consistent color across all segments from the same source clip. Cutting first and correcting each piece individually makes it extremely difficult to match colors between segments.
What’s Next?
Correction done. Now let’s get creative with color grading and LUTs.
Pilot Institute — fix the problems first, then add the style.