Sun Position & Shot Planning
Why It Matters
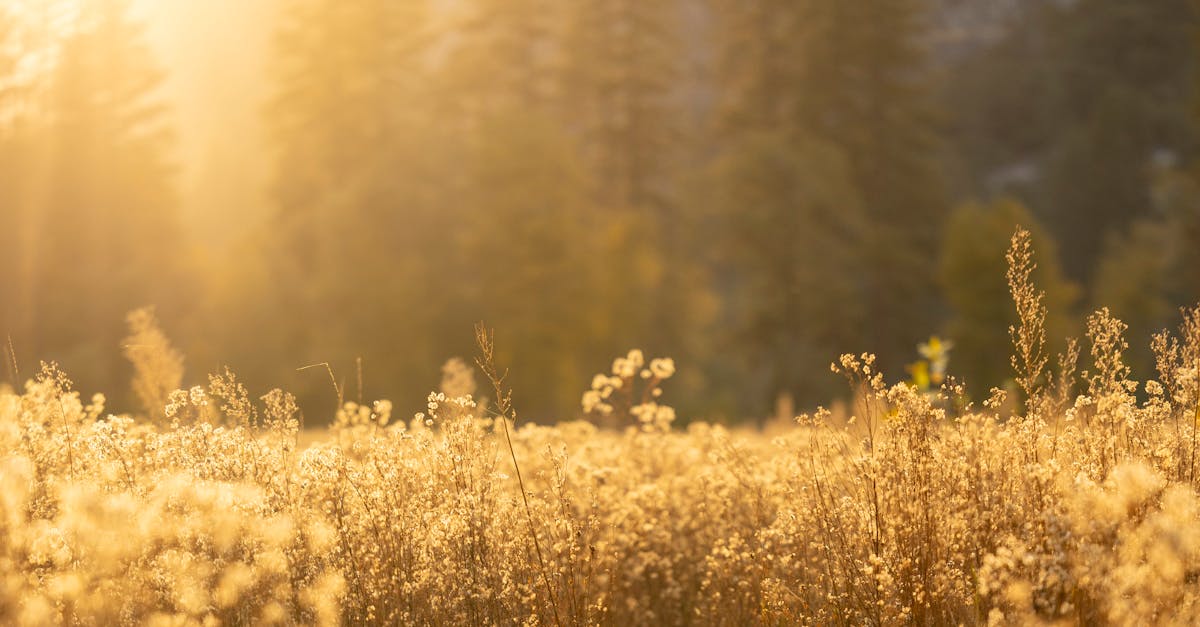
The quality of your drone footage often comes down to one thing: where the sun was when you pressed record. Shooting with the sun behind you creates warm, well-lit footage. Shooting into the sun creates lens flare, silhouettes, and exposure problems.
But the sun moves, and its position changes with every location and season. Planning your shots around the sun instead of just showing up and hoping is what separates amateurs from professionals.
The 180-Degree Rule
The most important concept in aerial lighting direction:
Always shoot within the 180-degree arc facing away from the sun.
If the sun is to your south, shoot looking north. If the sun is setting in the west, shoot looking east. This gives you:
- Even, flattering light on your subjects
- Rich, saturated colors (no washed-out highlights from direct sun)
- No lens flare
- Consistent exposure across your frame
When to Break the Rule
- Deliberate silhouettes: shooting toward the sun with your subject between you and it
- Sunrise/sunset photos of the sun itself: special settings required, but dramatic results
- Lens flare as a creative choice: occasional flare can be artistic, but it’s risky
You often can’t see lens flare on your phone or tablet screen while flying because it’s too bright outside. That Iceland shot that looked great on your controller may reveal ugly flare artifacts when you view it on a proper monitor. Stick to the 180-degree rule to eliminate the risk.
Sun Tracking Apps
You don’t need to guess where the sun will be. These apps tell you exactly:
| App | Platform | Best For |
|---|---|---|
| PhotoPills | iOS, Android | Comprehensive: sun/moon position, golden hour times, AR overlay |
| Sun Surveyor | iOS, Android | Live AR view of sun path, great for on-location planning |
| Ephemeris | Web | Free, quick sun/moon position lookup |
| Golden Hour | iOS, Android | Simple golden hour timing for any location |
How to Use a Sun App
- Set your location: drop a pin on the map where you plan to shoot
- Check the sun’s position at your planned shooting time. Where will it be on the horizon?
- Determine your shooting direction: which way should you face (180 degrees away from sun)?
- Check golden hour times: exactly when does golden hour start and end at this location?
- Plan your flight path: design your shots so the drone faces away from the sun
Planning With Google Maps
Combine sun position data with location scouting:
Step 1: Find the Location
- Use Google Maps satellite view to understand the terrain and surrounding area
- Look for hazards: power lines, buildings, restricted airspace
- Identify potential takeoff and landing spots
Step 2: Use 3D View for Composition
- Switch Google Maps to 3D mode and rotate the view to match your shooting direction
- This shows you what the drone camera will see from different angles
- Mountains, buildings, and terrain features are visible in 3D. Plan whether they should be foreground or background.
Step 3: Plan Your Flight Path
- Mark your takeoff spot
- Determine the direction your drone will fly (away from the sun)
- Identify the subject and how you’ll reveal it
- Note altitude requirements. Are there obstacles between you and the subject?
Timing Your Shoot
Golden hour is short. Here’s how to maximize it:
| Time | Action |
|---|---|
| 60 min before sunset | Arrive at location, scout takeoff spot |
| 45 min before | Unpack, calibrate compass, check drone settings |
| 30 min before | Test flight: send drone up, check camera settings against the actual scene |
| 15 min before | Begin your primary shots. Light is getting good. |
| At sunset | Peak golden light. This is your 15-minute window. |
| 10 min after | Sky color shots: sun gone, sky lit up |
| 20 min after | Blue hour: different mood, still shooting |
| 30 min after | Pack up or switch to night mode |
Arrive early and test your compositions before the light is perfect. When that golden moment arrives, you should be executing, not experimenting. The worst thing is to be fiddling with settings when the light is at its best.
Quick Check
Q: What is the 180-degree rule for drone shooting? A: Always shoot within the 180-degree arc facing away from the sun. This provides even lighting, no flare, and saturated colors.
Q: Why can’t you always see lens flare while flying? A: Phone and tablet screens are too bright and small to show flare artifacts. You often don’t see them until viewing footage on a proper monitor.
Q: What’s the most important reason to arrive 30 minutes early? A: To test compositions and camera settings before the golden light peaks. When the light is perfect, you should be shooting, not experimenting.
What’s Next?
Light planning covered. Now let’s look at how different environments demand different approaches.
Pilot Institute: plan the light, then chase it.