Editing Travel Videos People Watch
Most Travel Drone Videos Are Unwatchable
Most drone travel videos are 3 minutes of random aerial clips set to generic music. Nobody watches to the end. Your goal is different: create a video that tells a story, holds attention, and makes people want to visit the place.
The Editing Framework
Step 1: Select Your Best 10-15 Clips
Out of 100+ clips from a trip, only 10-15 belong in your final video. Be ruthless. If a clip isn’t exceptional, it doesn’t make the cut. Every second of your video should earn its place.
Step 2: Choose Music First
Choose your music before you start cutting. Your music track determines the rhythm, pace, and mood of the entire video.
- Adventure/energy: upbeat, percussion-driven
- Relaxation/beauty: ambient, cinematic, slow-building
- Drama/epic: orchestral, sweeping, with crescendos
Use royalty-free music (Artlist, Epidemic Sound, YouTube Audio Library). Never use copyrighted songs. Your video will be muted or taken down.
Step 3: Build Your Story Arc
Even a 2-minute travel video needs structure:
- Opening shot (5-10 seconds): your absolute best clip. Hook the viewer immediately.
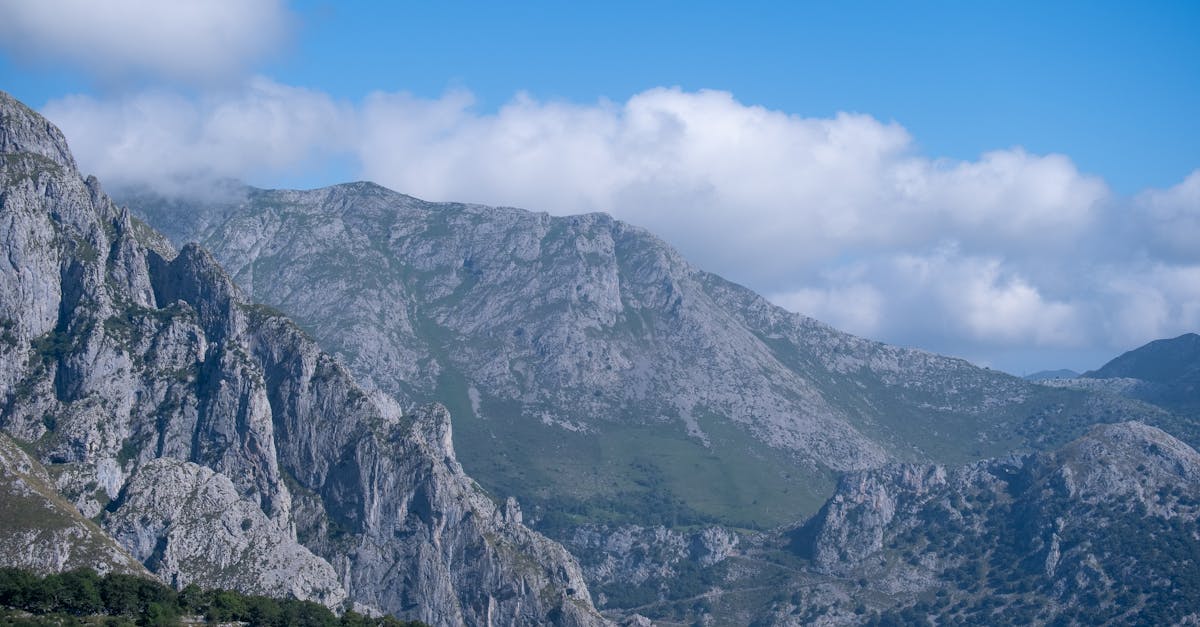
- Establishing: show where we are. Wide landscape shots, context.
- Exploration: closer shots, details, movement through the landscape.
- Climax: the most dramatic footage, timed with the peak of your music.
- Closing shot: a final image that lingers. A sunset, a pull-back, a quiet moment.
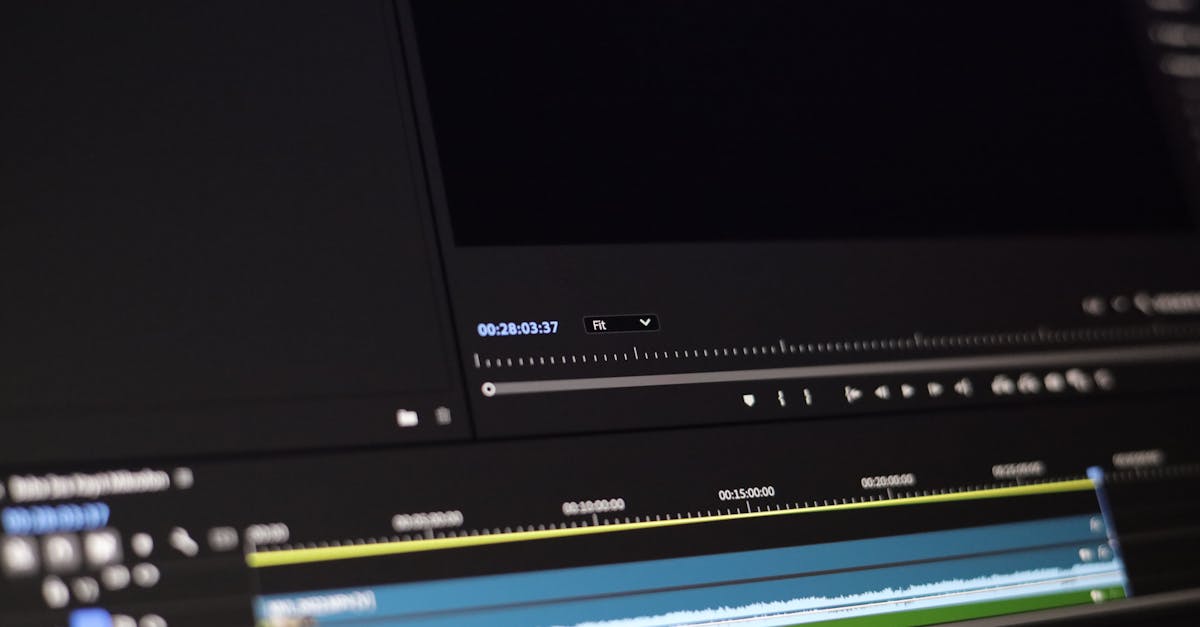
Step 4: Cut to the Beat
Place your clips so that shot changes happen on the beat of the music or at natural musical transitions. This creates rhythm and makes the edit feel intentional.
No clip should last longer than 8 seconds unless it’s your hero shot. 5-6 seconds per clip is the sweet spot. If the viewer can predict the next 10 seconds of a shot, they’ll stop watching.
Step 5: Color Grade for Consistency
Clips shot at different times of day will have different color temperatures and exposure. Color grade to create a consistent look across all clips:
- Match white balance across clips
- Apply a subtle, consistent color style (warm for adventure, cool for drama)
- Don’t over-grade. The footage should look natural.
Step 6: Add Minimal Text
- Location name at the start (clean font, 3 seconds)
- Optional: brief location labels when the scenery changes significantly
- Don’t add subtitles, logos, or distracting overlays
Export Settings
| Platform | Resolution | Length | Aspect Ratio |
|---|---|---|---|
| YouTube | 4K or 1080p | 2-4 minutes | 16:9 |
| Instagram Reels | 1080p | 15-60 seconds | 9:16 vertical |
| TikTok | 1080p | 15-60 seconds | 9:16 vertical |
| Personal archive | 4K master | Full edit | 16:9 |
Create a full 2-3 minute YouTube version AND a separate 30-second vertical highlight for Instagram/TikTok. The short version drives discovery; the full version showcases your best work.
Software Recommendations
- DaVinci Resolve (free): professional-grade, incredible color tools
- Adobe Premiere Pro ($23/month): industry standard, huge tutorial library
- CapCut (free): fast for short-form social content
Quick Check
Q: Why choose music before cutting clips? A: Music determines rhythm and pace. You cut clips to match the beat and mood.
Q: What’s the maximum clip length in a travel video? A: 5-8 seconds. Longer clips lose viewer attention.
Q: What’s the recommended story arc for a travel video? A: Opening hook, establishing shots, exploration, climax, closing shot.
What’s Next?
Your video is edited and exported. Let’s get it out into the world.
Pilot Institute: learn to create, not just capture.