Planning Epic Travel Shots
Planning Beats Luck
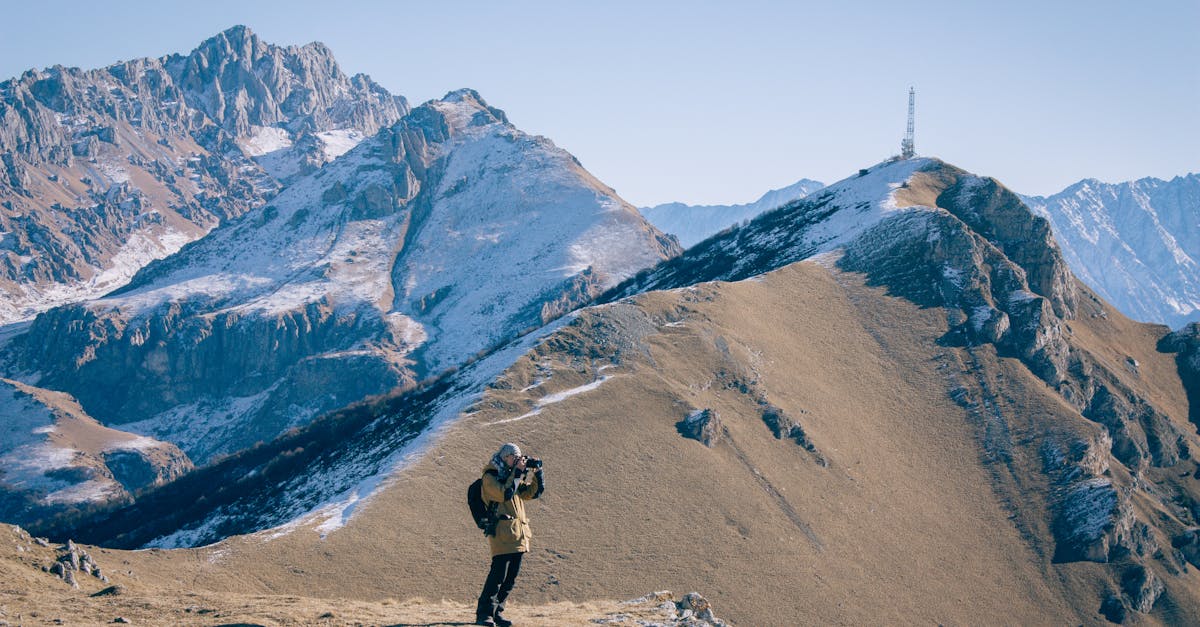
Good drone footage comes from preparation. The pilot knew where to stand, what direction to fly, and exactly when the light would be perfect. Planning replaces guesswork with intention.
Google Earth: Your Scouting Best Friend
Before you travel anywhere, spend 15 minutes on Google Earth. No other free tool gives you this much usable information for drone flight planning.
How to Use It
- Search your destination: find the exact viewpoints, trails, and landmarks
- Use the 3D view: press Shift and drag to look around the landscape in three dimensions
- Identify takeoff spots: flat, clear areas away from people and obstacles
- Spot obstacles: power lines, cell towers, tall trees, buildings
- Plan flight paths: visualize your establishing shots, reveals, and orbit angles
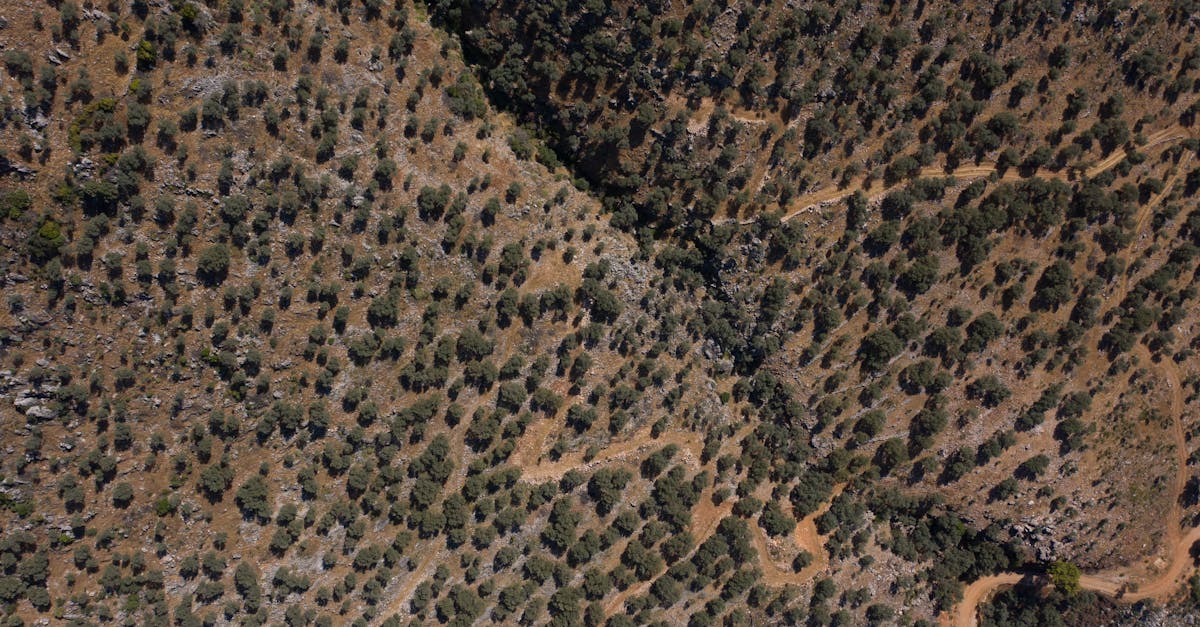
Google Earth reveals spots that don’t show up on tourist maps. That valley behind the famous overlook? The river bend nobody hikes to? These are the places where you get unique, non-touristy aerial footage.
Timing: When Light Becomes Magic
Golden Hour (The Hour After Sunrise / Before Sunset)
This is when travel drone footage looks its best. Low-angle sunlight creates:
- Warm golden tones on everything
- Long shadows that add depth and texture
- Visible gradients in water and landscape
- Soft, flattering light with no harsh overhead shadows
The Direction Rule
Know which way your subject faces:
- Subject faces east: shoot at sunrise
- Subject faces west: shoot at sunset
- Subject faces north or south: either golden hour works
Midday: Avoid If Possible
High noon sun creates harsh shadows, flat contrast, and washed-out colors. If you must shoot midday, look for subjects where the overhead angle works (top-down views of water, fields, geometric patterns).
Fog and Overcast: Don’t Cancel
Overcast and foggy conditions create unique, moody footage that stands out from the typical golden-hour shots everyone else captures. Embrace unusual weather. It produces uncommon footage.
Most travelers plan activities by convenience: “we’ll visit the cliff in the afternoon.” Drone photographers plan by light: “the cliff faces west, so we go at sunset.” Adjust your itinerary around golden hour when possible.
Weather Checks
Before every flight session, verify:
| Condition | Acceptable Range |
|---|---|
| Wind | Under 15 mph (gusts under 20) |
| Visibility | 3+ statute miles |
| Precipitation | None |
| Cloud ceiling | High enough for your planned altitude |
Use UAV Forecast or a similar app for drone-specific weather. Standard weather apps don’t give you wind speed at altitude, which matters more than ground-level conditions.
Building a Shot Plan
For each location on your trip, create a simple shot plan:
- Subject: what am I filming? (mountain, coastline, village, waterfall)
- Sun direction: where will the sun be when I shoot?
- Key shots: establishing, reveal, orbit, top-down
- Takeoff spot: where will I launch from?
- Hazards: what obstacles need avoidance?
- Time budget: how long will I fly? (60-90 minutes max per location)
The Day-Trip Strategy
Don’t know where to fly near your destination? Google “day trips from [your city]” or “things to do near [your city].” These searches surface interesting locations: natural areas, landmarks, and scenic drives you might not find otherwise.
Quick Check
Q: What’s the best free tool for scouting drone locations before travel? A: Google Earth. Use 3D view to explore terrain, identify takeoff spots, and plan flight paths.
Q: Why is golden hour ideal for drone footage? A: Low-angle sunlight creates warm tones, long shadows, visible gradients, and soft light with no harsh shadows.
Q: Should you cancel a shoot if it’s foggy? A: No. Fog and overcast create unique, moody footage that stands out from typical sunny-day shots.
What’s Next?
You’ve scouted your locations and planned your shots. Let’s talk about the flying techniques that produce cinematic travel footage.
Pilot Institute: master aerial cinematography.