Unboxing and First-Time Setup
What’s in the Box
A typical camera drone package includes:
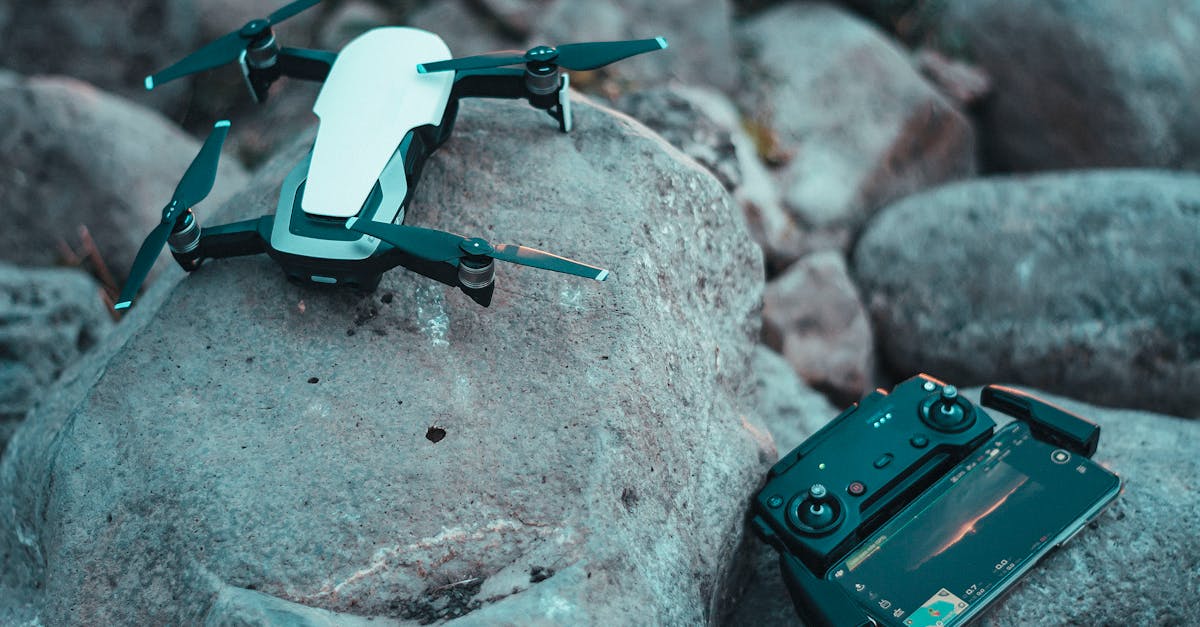
- The drone itself (sometimes called the aircraft)
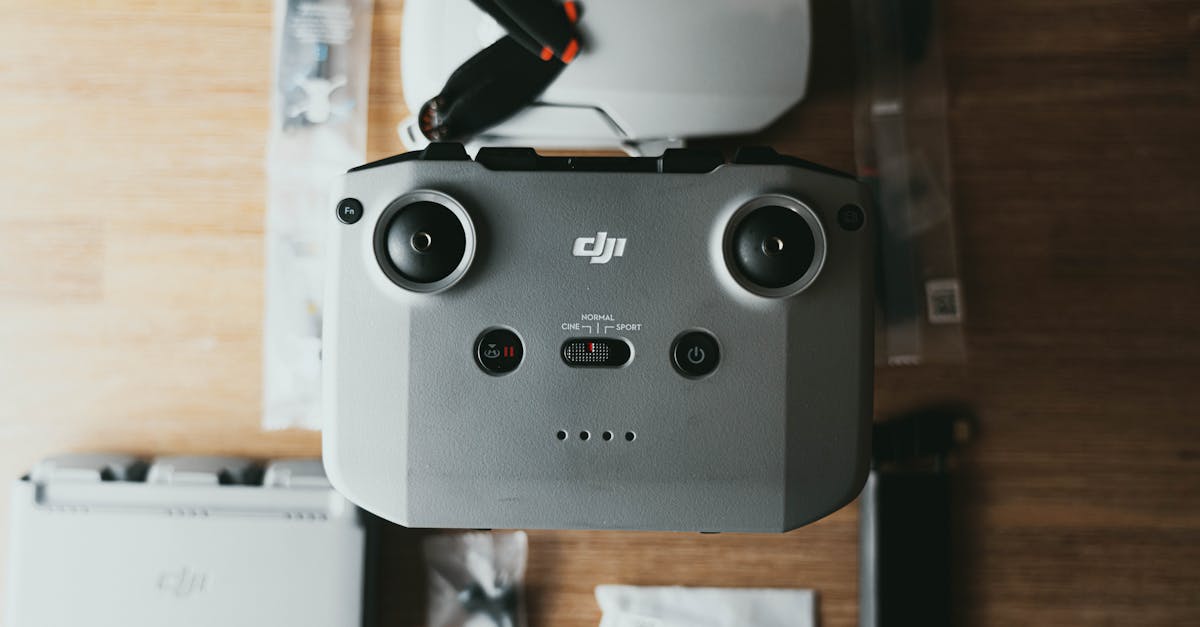
- Remote controller
- Intelligent flight battery (1 to 3, depending on the package)
- Spare propellers
- Charger and charging cable
- Gimbal protector (a plastic clamp that holds the camera steady during transport)
- User manual and warranty card
If you bought a “Fly More” or “Fly More Combo” package, you will also get extra batteries, a battery charging hub, a carrying bag, and sometimes ND filters or a landing pad.
The gimbal protector keeps the camera from flopping around during shipping. Forgetting to remove it before flight is one of the most common beginner mistakes. The camera will not move freely, and you may see a warning on your app. Take it off before every flight and put it back on when you pack up.
Before touching the app or powering on the drone, charge the flight batteries and the remote controller to 100 percent. Most drones use LiPo (lithium polymer) batteries, and they arrive partially charged for storage safety, not ready to fly.
Use the included charger. A full charge typically takes 60 to 90 minutes per battery. If you have a charging hub, it will sequence through multiple batteries automatically.
While everything charges, download the manufacturer’s app on your phone or tablet.
Step 2: Install the App
Each drone manufacturer has a companion app that connects to the controller and provides the live camera view, flight telemetry, and all settings. For DJI drones, this is the DJI Fly app (newer models) or DJI GO 4 (older models).
Download the app from your device’s app store. You will need to create an account with the manufacturer. This is required for activation and for the drone to function.
A phone works fine for casual flying, but a tablet gives you a much larger screen for framing shots and reading telemetry. If your controller supports it, a tablet mount is one of the best accessories you can buy. An iPad Mini is a popular choice because it fits most controller brackets without being too heavy.
Step 3: Firmware Updates
This is the step most beginners skip, and it causes problems later. Firmware is the software running on the drone and controller. Manufacturers release updates to fix bugs, add features, and update no-fly zone databases.
After connecting your phone or tablet to the controller and powering on the drone, the app will usually alert you if a firmware update is available. Install it. This can take 10 to 20 minutes and requires a stable Wi-Fi connection.
Do not interrupt a firmware update. Letting the battery die mid-update can brick the drone. Make sure everything is fully charged before starting.
Step 4: Activate and Bind
Most modern drones require activation the first time you connect them. The app will walk you through this process. You will link the controller to the drone, link your account, and activate the aircraft.
Follow the on-screen prompts. If the app asks you to calibrate the compass, do it before your first outdoor flight. Compass calibration involves rotating the drone horizontally 360 degrees and then flipping it nose-down and rotating again. The app shows you exactly what to do.
Step 5: Explore the App
Before your first flight, spend 20 to 30 minutes exploring the app with the drone powered on indoors (with propellers removed for safety). Tap every icon. Look through the settings menus. Find these key items:
- Beginner Mode — Turn this on. It limits your altitude, distance, and speed.
- Return-to-home altitude — Set this to the maximum (usually 50 meters or higher). This is the height the drone will climb to before flying back to you if it loses signal.
- Obstacle avoidance — Make sure this is enabled.
- Units — Set to imperial or metric based on your preference.
- Camera settings — Find where to switch between photo and video mode.
You do not need to memorize everything. But knowing where things are before you are standing in a field with wind blowing and your battery ticking down makes a big difference.
Quick Check
Q: What should you do before your first flight that most beginners skip? A: Install firmware updates. They fix bugs and update the no-fly zone database.
Q: What does Beginner Mode do? A: It limits your maximum altitude, distance, and speed so you can practice safely within a small area.
Q: Why should you set return-to-home altitude to the maximum? A: When the drone returns automatically, it climbs to this altitude first. You want it high enough to clear trees, buildings, and power lines on the way back.
What’s Next?
Your drone is charged, updated, and ready. Before you head outside, let’s talk about where you can legally and safely fly.
For a detailed video walkthrough of DJI drone setup and app navigation, Pilot Institute’s courses cover every screen and setting.