Taking Better Photos and Videos
You Do Not Need to Be a Professional
Your drone camera is capable of taking striking images even on full auto. The gap between a mediocre drone photo and a great one usually comes down to three things: timing, composition, and camera settings. None of them require professional skills.
Timing: Golden Hour
The best light for aerial photography happens during golden hour — the hour after sunrise and the hour before sunset. The sun is low on the horizon, casting long shadows that reveal texture and depth in the landscape. Colors are warmer and more saturated. Harsh midday sun, by contrast, flattens everything and washes out contrast.
Blue hour (the 20 to 30 minutes after sunset or before sunrise) is also excellent for drone photography. The sky has a deep blue tone, city lights are turning on, and the contrast between artificial and natural light creates dramatic images.
Use a free app like Sun Surveyor or PhotoPills to see exactly where the sun will be at your flying location at any given time. This helps you plan which direction to face and where shadows will fall.
Composition Basics
The same rules that apply to ground photography apply in the air.
Rule of thirds. Imagine a 3x3 grid over your image. Place your subject (a building, a road, a shoreline) along the grid lines or at their intersections, not in the dead center. Most drone apps can overlay this grid on the camera view.
Leading lines. Roads, rivers, fences, and coastlines draw the viewer’s eye through the image. Position yourself so these lines guide attention toward your subject.
Foreground interest. A purely top-down shot of a landscape can be beautiful, but adding a subject in the foreground (a boat on the water, a person walking a trail, a car on a road) gives the image a sense of scale and story.
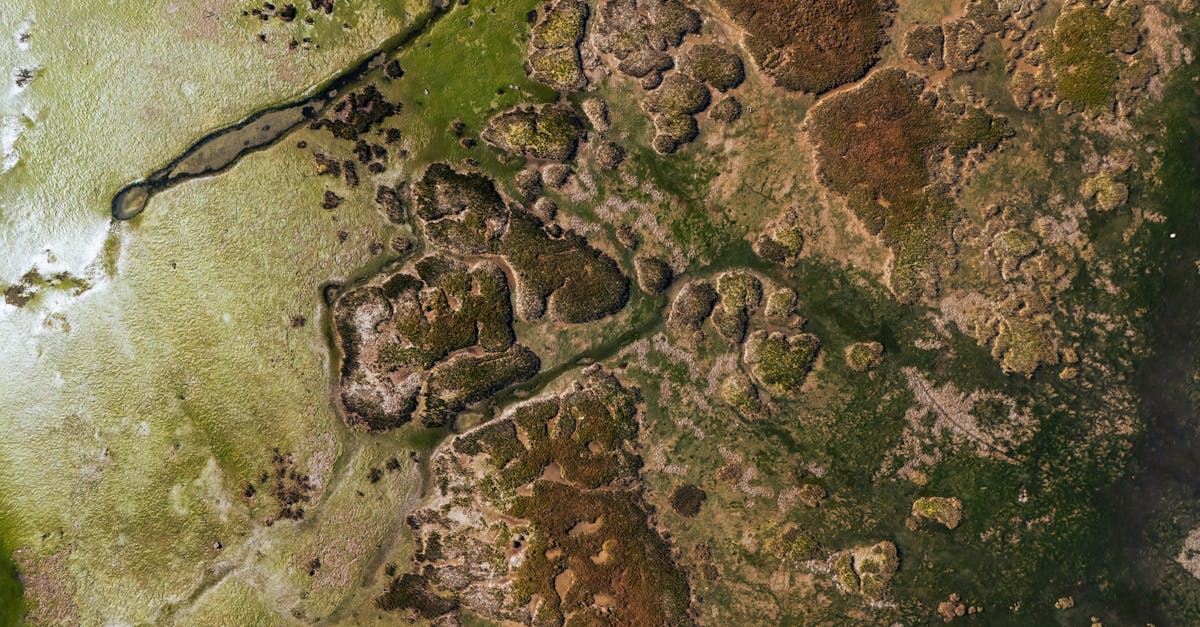
Symmetry and patterns. The top-down angle reveals patterns invisible from the ground. Agricultural fields, ocean waves, city grids, and winding roads all create compelling abstract compositions when shot straight down.
Camera Settings for Beginners
Start in auto mode for your first few flights. The drone handles exposure, white balance, and focus. Concentrate on flying and framing.
When you are ready to improve image quality:
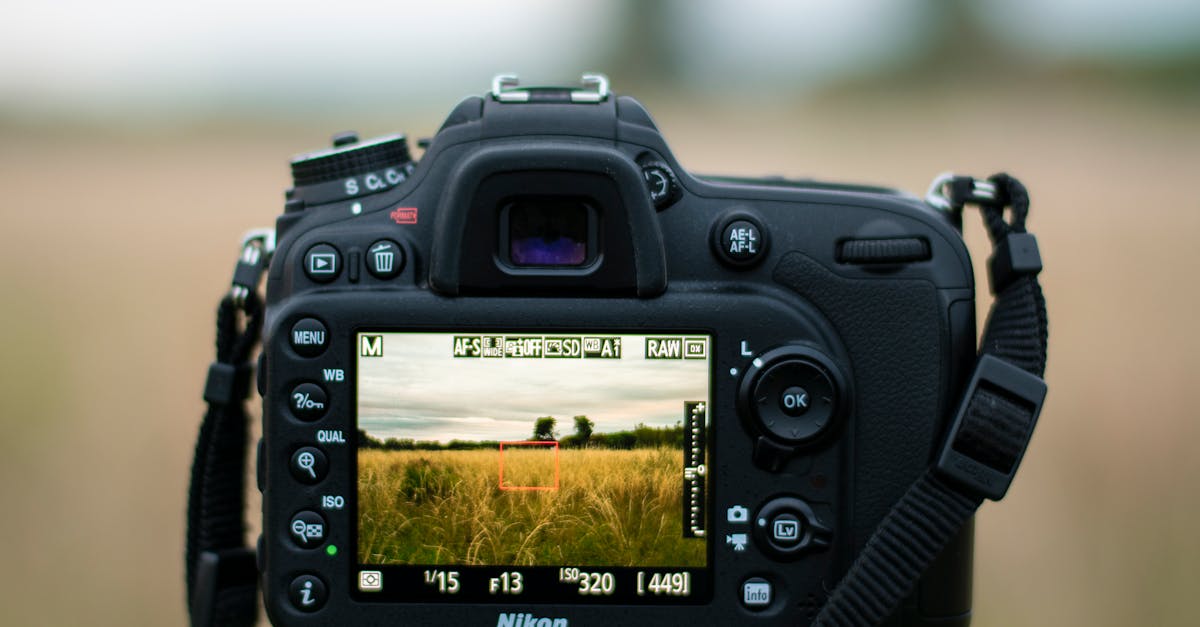
Photo settings:
- Shoot in the highest resolution available (usually 12MP to 48MP depending on the drone)
- Use JPEG + RAW if your drone supports it. RAW files give you far more editing flexibility later
- Set the camera to grid view for the rule-of-thirds overlay
Video settings:
- Resolution: 4K if available, otherwise 2.7K. Higher resolution gives you room to crop and zoom in editing.
- Frame rate: 30fps for general use, 60fps if you want to slow footage down in editing
- For smooth video, follow the 180-degree shutter rule: set your shutter speed to double your frame rate (1/60 for 30fps, 1/120 for 60fps). This often requires an ND filter in daylight.
On many drones, autofocus does not engage automatically after takeoff. Tap the screen where you want the camera to focus before you start shooting. Blurry footage from an unfocused camera cannot be fixed in editing.
Simple Shots That Look Great
The reveal. Fly slowly forward toward a landscape feature (a cliff edge, a building, a beach). The camera starts pointed slightly down and gradually tilts up to reveal the horizon. This is the classic drone shot for a reason: it works every time.
The orbit. Pick a subject. Fly sideways around it while keeping the camera pointed at the center. This creates a cinematic 360-degree view. Many drones have an automated orbit mode.
The crane shot. Start low and close to your subject, then fly straight up. The camera reveals more of the surroundings as you climb. Simple and effective.
Top-down (bird’s eye). Point the camera straight down and fly slowly over interesting terrain. This angle transforms ordinary landscapes into abstract art.
Fly-by. Position yourself to the side of a subject (a road, a bridge, a coastline). Fly past it parallel, keeping the camera aimed at the subject. The parallax effect of the background moving faster than the foreground adds depth.
Quick Check
Q: What time of day produces the best light for drone photography? A: Golden hour — the hour after sunrise and the hour before sunset.
Q: What does shooting in RAW give you that JPEG does not? A: Much more flexibility in editing. RAW files preserve more detail in shadows and highlights, allowing you to recover details that would be lost in a JPEG.
Q: What is the 180-degree shutter rule? A: Set your shutter speed to approximately double your frame rate (1/60 for 30fps) for smooth, natural-looking video motion.
What’s Next?
You have the basics of flying, safety, and shooting. Here is where to go from here.
For in-depth photography and videography training, our Drone Photography Masterclass and Cinematic Drone Video courses cover settings, editing, and advanced techniques in detail.