Start in a Simulator
Why It Matters
Here’s a number that surprises most people: the average new FPV pilot crashes their real drone within the first 10 seconds of their first flight. FPV isn’t impossibly hard. The issue is that flying without GPS stabilization feels completely different from anything you’ve experienced.
Simulators solve this. You crash, you reset, you try again. Instantly, for free, as many times as you need. Ten hours of simulator practice before your first real flight is the difference between a confident first hover and a pile of broken carbon fiber.
The FPV Masterclass course we drew from teaches all flying skills in a simulator (VelociDrone) specifically because you don’t even need a drone to complete it. That’s how fundamental simulator practice is. It’s not optional. It’s the primary learning path.
Connecting Your Radio
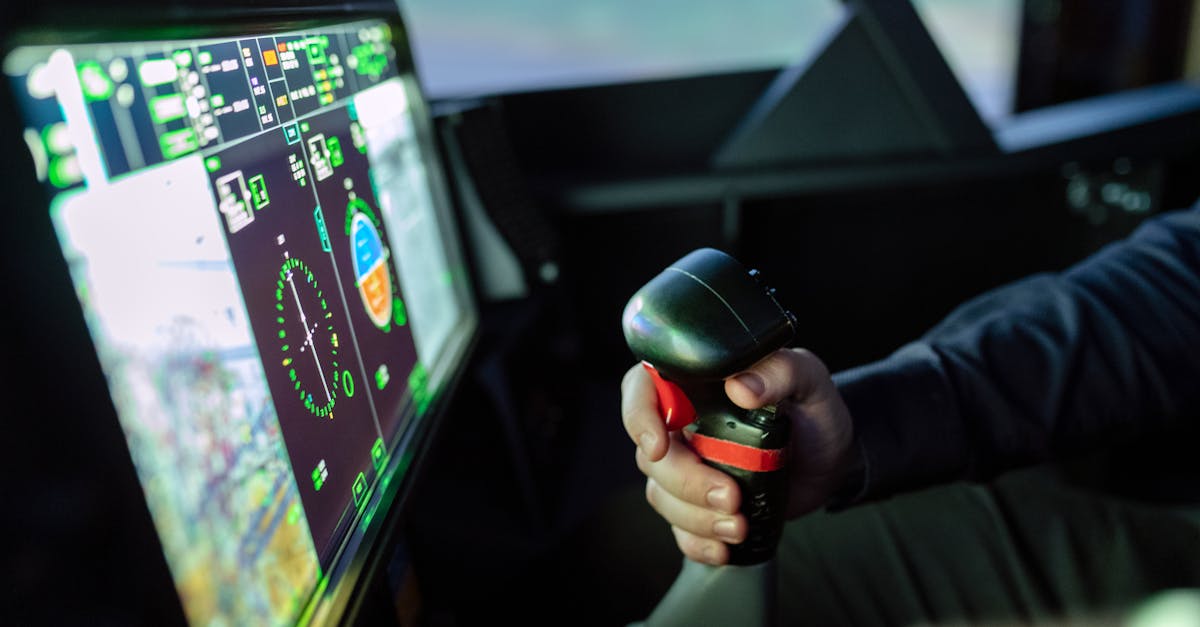
USB Connection
Most modern FPV radios connect to your computer via USB-C cable. Plug it in, and your computer recognizes it as a game controller. No drivers needed on most systems.
In your simulator settings, select your radio and calibrate the sticks. Move each stick through its full range of travel when prompted. This ensures the simulator knows exactly where center is on your specific radio.
Simulator Settings
Before your first flight, adjust these settings:
- Rate profile: start with a low-rate profile (gentle response). You can increase rates as your skills improve.
- Camera tilt: set this to match a typical FPV quad (10-15 degrees). Higher tilt means the drone naturally moves forward faster.
- Gravity and physics: use realistic settings. Avoid “arcade” physics that make flying easier but don’t translate to real life.
Your First Exercise: Takeoff and Hover
Step 1: Arm and Lift Off
In the simulator, press your arm switch (or use the simulator’s launch command). The virtual drone sits on the ground, motors at idle.
Slowly raise your left stick (throttle). The drone lifts off the ground. Stop raising throttle when you’re about 5-10 feet in the air.
Step 2: Hold Position
The drone immediately starts drifting. This is normal. There’s no GPS to hold position, so you must actively correct using pitch (right stick forward/back) and roll (right stick left/right).
Make small corrections. Think nudges, not yanks. If the drone drifts forward, pull back (pitch) just slightly. If it drifts left, push right (roll) just slightly. Then return the stick to center.
Step 3: Hold Altitude
Your altitude will fluctuate. If the drone sinks, add a tiny bit of throttle. If it climbs, reduce throttle slightly. Remember: the throttle stick does not spring back to center. It stays wherever you leave it.
Step 4: Controlled Descent and Landing
When you’re ready to land, slowly reduce throttle. As the drone nears the ground, reduce throttle more until it touches down. Then cut throttle to zero.
Expect to crash. A lot. Every crash in the simulator is a crash you don’t make with real hardware.
Exercise Progression
After you can consistently take off, hover for 10-15 seconds, and land without crashing, progress through these exercises:
1. The Square
Fly forward, stop, yaw 90 degrees, fly forward, stop, yaw 90 degrees, completing a square pattern. This combines throttle management with yaw control.
2. Figure Eights
Fly in a figure-eight pattern, always moving forward. This forces you to combine yaw, roll, and throttle in a continuous, flowing motion.
3. Follow the Road
Find a road or path in the simulator. Fly along it at a constant altitude and speed. This trains precision and the ability to follow a planned path.
4. The Slalom
Fly through gaps between trees or structures. Start with wide gaps and progressively narrow them. This builds the spatial awareness needed for proximity flying.
How Long to Practice
There’s no universal answer, but most pilots need 15-30 hours of simulator time before their first real flight feels controlled rather than chaotic. Here’s a rough milestone guide:
| Hours | Milestone |
|---|---|
| 1-3 | Can take off and hover without crashing immediately |
| 5-10 | Can fly forward, turn, and land intentionally |
| 10-15 | Can fly through gaps and follow paths |
| 15-20 | Can fly a full freestyle session without constant crashing |
| 20-30 | Ready for first real flight with confidence |
Quick Check
Q: How many hours of simulator practice are recommended before a first real FPV flight? A: 15-30 hours, enough to fly confidently without constant crashing.
Q: What is the first exercise you should master in a simulator? A: Takeoff, hover, and controlled landing. The foundation of all FPV flight.
Q: Does the throttle stick self-center in FPV? A: No. The throttle stick stays wherever you leave it, unlike pitch and roll which spring back to center.
What’s Next?
Once you’re comfortable in the simulator, let’s understand the three FPV flight modes (Angle, Horizon, and Acro) and why every serious pilot ends up in Acro.