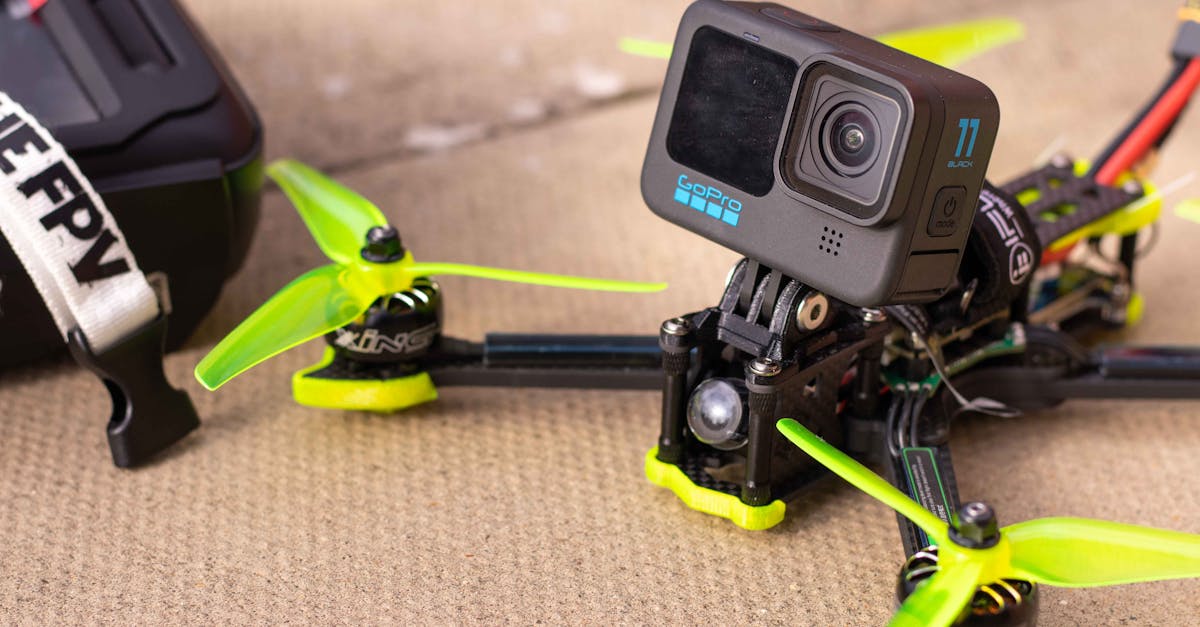
Cinematic FPV Shots
Why It Matters
Watch a DJI Mavic orbit a building. Nice, right? Now watch an FPV drone dive off a cliff, pull up inches above the water, sweep through a bridge support, and follow a car through a tunnel. The Mavic captures a building. The FPV drone captures an experience.
Cinematic FPV is why many people get into the hobby in the first place. The shots are dramatic, immersive, and impossible to replicate with a camera drone. But they require specific techniques: not just stick skills, but an understanding of how movement creates emotion in the viewer.
This lesson covers the shot types that make FPV cinematography unique and how to approach each one safely.
What Makes FPV Cinematic
Speed and Energy
Camera drones fly at 20-40 mph. FPV drones fly at 60-100+ mph. That speed creates energy in footage that viewers feel physically. The landscape rushes past, the horizon tilts, and the world moves at a pace that feels exciting rather than observational.
Proximity
FPV drones fly close to things: inches from walls, through gaps, under structures. This proximity creates a sense of danger and immersion that’s impossible from 100 feet away. The viewer feels like they’re there, not watching from above.
Camera Angle
Unlike camera drones with stabilized 3-axis gimbals, FPV drones tilt with the aircraft. When the drone dives, the camera dives. When it banks, the camera banks. This tilt-the-world movement is more visceral than perfectly stabilized footage.
Essential FPV Shots
The Dive
The signature FPV shot. Start high (within legal altitude limits), point the nose down, and descend at speed toward a target. Pull out at the last moment, leveling off just above the ground or water.
Technique: full forward pitch, manage throttle (reduce to avoid over-speeding motors), then gradually reduce pitch and increase throttle to level out. The pull-out should be smooth, not abrupt.
Safety: always dive toward an open area with no people. Know your pull-out altitude. Practice in a simulator first. Never dive toward roads, buildings, or populated areas.
The Fly-Through
Flying through a gap (a doorway, window, tunnel, or gap between structures). This is the shot that gets the most reactions but also requires the most precision.
Technique: approach the gap at a controlled speed with plenty of margin. Line up early. Mid-air corrections are hard. Commit to the line and fly through smoothly.
Safety: never fly through spaces you haven’t inspected first. Hidden wires, glass, or obstacles inside a structure can destroy your drone. Fly through wide gaps first and narrow them as your skills improve.
The Proximity Pass
Flying low and fast past a subject or along a feature (a cliff face, a row of trees, a building facade). The camera is close enough to see detail but moving too fast to linger.
Technique: maintain a constant distance from the subject. Varying distance creates uneven footage. Use roll to follow contours rather than yaw, which changes the camera angle unpredictably.
The High-Speed Follow
Tracking a moving subject (a car, bike, motorcycle, boat, or person) at speed. The FPV drone matches the subject’s velocity while maintaining a dynamic camera angle.
Technique: start behind or beside the subject. Match their speed, then vary your position for different angles. Banking turns while following create the most dynamic footage.
Safety: never follow subjects on public roads where the drone could crash into traffic. Use closed courses or private property.
The Low Hover and Push
Start hovering close to the ground (1-3 meters), then slowly push forward, building speed as the landscape unfolds ahead. This creates a sense of emerging into a scene.
Technique: gentle forward pitch with gradual throttle increase. Keep the camera slightly tilted down so the ground is visible but the horizon fills most of the frame.
The Rise and Reveal
Start below or behind an obstacle, then rise to reveal a landscape. It’s a classic cinematic technique adapted for FPV. The reveal feels more dramatic because of the speed and proximity.
Technique: ascend with forward momentum, timing the reveal for maximum impact. The camera should clear the obstacle just as the main subject comes into view.
Combining FPV with GPS Drone Footage
Why Use Both
The most compelling drone videos combine the stability and resolution of GPS drones with the energy and proximity of FPV. Use the GPS drone for establishing shots (wide landscape views, slow reveals) and the FPV drone for action sequences (dives, fly-throughs, proximity passes).
Matching the Edit
When cutting between GPS and FPV footage in the same video:
- Match the color grade: apply the same LUT or grading to both sources
- Use GPS for “breathing room”: after an intense FPV sequence, cut to a slow GPS shot for visual relief
- Match the speed ramp: if the FPV footage is fast, gradually slow it before cutting to the GPS shot
- Keep the FPV segments short: 5-15 seconds of FPV is more effective than 2 minutes. Impact diminishes with length.
Quick Check
Q: What three things make FPV footage visually different from GPS drone footage? A: Speed/energy, proximity to subjects, and camera tilt that follows the aircraft’s movement.
Q: What is a “dive” shot in FPV? A: Descending at speed from high altitude toward a target, then pulling out level at the last moment.
Q: How should you combine FPV and GPS drone footage in an edit? A: Use GPS for establishing shots and visual relief, FPV for action and energy. Keep FPV segments short (5-15 seconds) and match the color grade.
What’s Next?
Now let’s cover the camera side: how to mount an HD camera, what settings to use, and how to stabilize shaky FPV footage in post.