Choosing Your First FPV Drone
Why It Matters
The single biggest mistake new FPV pilots make is buying the wrong first drone. They see a YouTuber ripping a 5-inch quad through a forest and buy one immediately. Then they crash it on their first flight because they never learned to fly, break $200 worth of parts, and quit.
Your first FPV drone should be forgiving, cheap to crash, and easy to repair. Speed and power come later. First, build the muscle memory that makes crashing rare instead of inevitable.
The Three Paths
Tiny Whoop (Recommended First Drone)
A Tiny Whoop is a micro FPV drone with duct-guarded propellers, typically 65mm or 75mm wheelbase. Think of it as a flying toy that happens to teach real FPV skills.
Why start here:
- Safe to fly indoors: your living room becomes your practice arena
- Crashes don’t matter: it bounces off walls, furniture, and the floor without damage
- Cheap: a complete BNF Whoop costs $80-150
- Teaches real skills: the stick inputs translate directly to larger quads
- No weather dependency: practice whenever you want, rain or shine
Popular models include the Mobula7, Meteor75, and Tinyhawk II. Look for an “analog” version if you have analog goggles, or “DJI edition” if you plan to use DJI goggles.
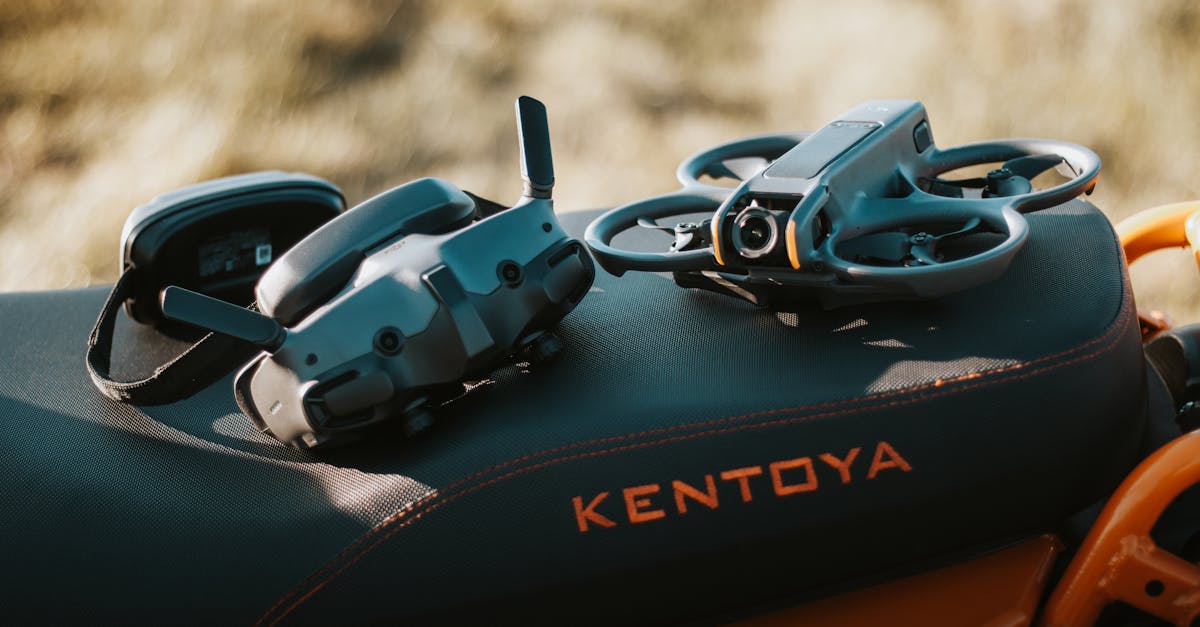
DJI FPV / Avata (For Cinematic Focus)
If your primary goal is cinematic FPV footage (not freestyle tricks or racing), the DJI Avata 2 or DJI FPV may be the right starting point. These drones offer:
- Motion controller option: fly by tilting a single-hand controller (great for beginners)
- Built-in 4K camera: no separate GoPro needed
- Safety features: obstacle sensing, return-to-home, emergency brake
- Normal mode: flies like a camera drone for easy learning
The trade-off: DJI FPV drones are heavier, less agile, and more expensive to repair. They’re excellent tools for cinematic work but less ideal for learning freestyle.
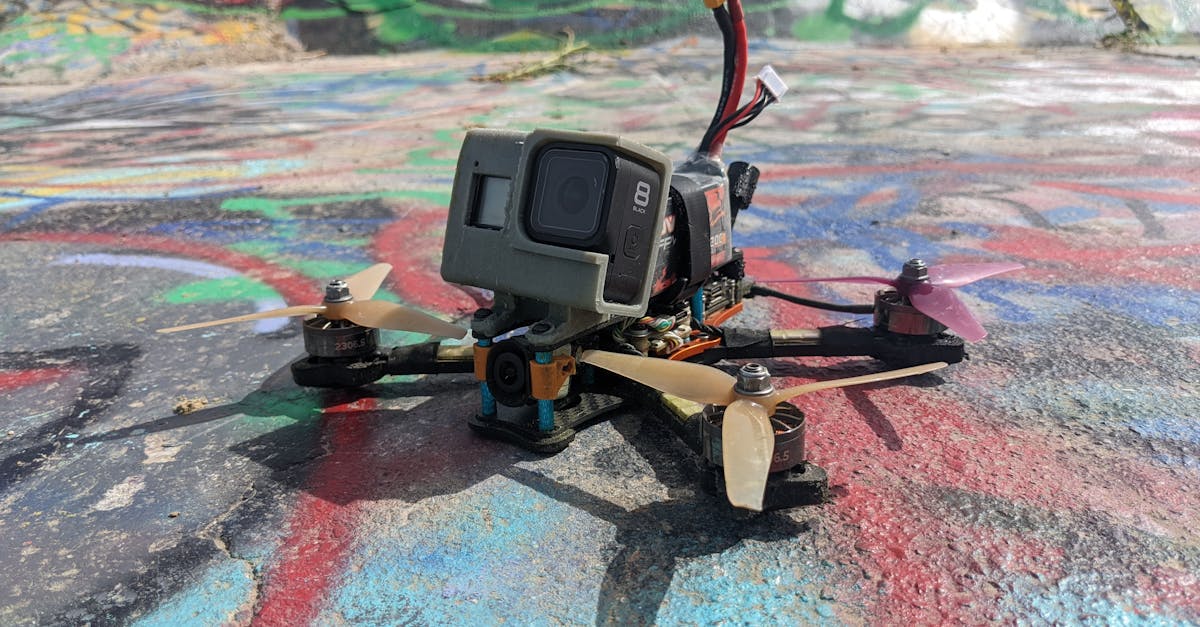
5-Inch Freestyle Quad (Not Recommended First)
The 5-inch quad is the iconic FPV drone, the one you see in every FPV video. It’s fast (80+ mph), loud, and capable of every trick in the book. It’s also:
- Dangerous: carbon fiber props spinning at 20,000+ RPM can cause serious injury
- Expensive to crash: a bad crash can destroy $100+ in parts
- Requires outdoor space: far too powerful for indoor flight
- Unforgiving: mistakes happen faster than beginners can react
Save the 5-inch for your second drone, after you’ve mastered basics on a Whoop or in a simulator.
BNF, RTF, and Custom Builds
BNF (Bind-N-Fly)
The best option for most beginners. A BNF drone comes fully built and configured. Just bind it to your radio controller and fly. You get a properly tuned, tested machine without needing soldering skills.
BNF brands to look for: BetaFPv, Emax, iFlight, GEPRC.
RTF (Ready-to-Fly)
An RTF package includes everything: drone, goggles, radio controller, batteries, and charger. These are convenient but often include lower-quality components. The Betafpv FPV Starter Kit is a popular RTF option.
Custom Build
Building from parts gives you maximum control over every component, a deep understanding of how everything works, and cheaper repairs (you know how to fix it). But building requires soldering skills, patience, and troubleshooting ability.
We cover building in detail later in this course. For now, start with BNF.
Budget Tiers
| Setup | Cost | What You Get |
|---|---|---|
| Simulator only | $100-150 | Radio controller + VelociDrone or Liftoff |
| Micro Whoop BNF | $150-250 | Radio + Whoop + analog goggles (budget) | | Full Whoop setup | $300-500 | Radio + Whoop + quality goggles + batteries + charger | | DJI Avata 2 kit | $800-1,100 | DJI Goggles 3 + Motion Controller + Avata 2 | | 5-inch freestyle | $600-1,500 | Radio + goggles + 5-inch BNF quad + batteries + charger |
Quick Check
Q: What type of FPV drone is recommended as a first purchase? A: A Tiny Whoop (65-75mm micro drone). It’s safe, cheap to crash, and can be flown indoors.
Q: What does BNF stand for? A: Bind-N-Fly, a fully built drone that just needs to be bound to your radio controller.
Q: Why is a 5-inch freestyle quad not recommended as a first drone? A: It’s dangerous, expensive to crash, too powerful for indoor use, and unforgiving of beginner mistakes.
What’s Next?
Now let’s dive into the specific equipment: goggles, radio controllers, batteries, and accessories you’ll need.