Radio Systems
Your Connection to the Drone
Every input you make travels through your radio system. Every bank, every throttle adjustment, every emergency maneuver. Understanding how it works helps you choose wisely.
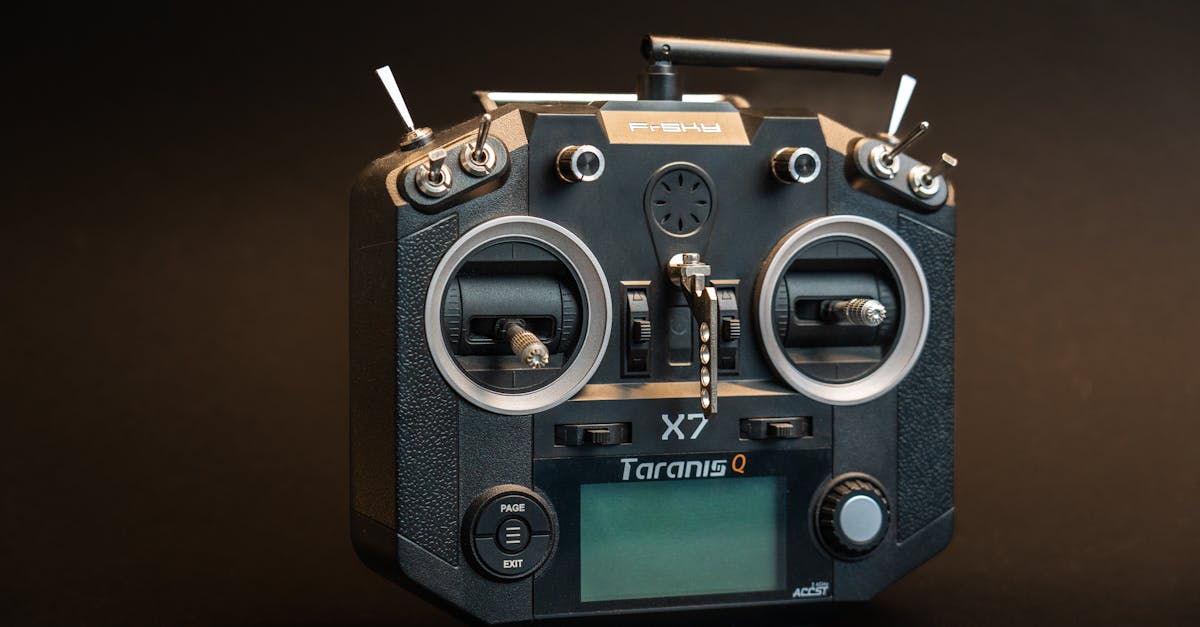
The system has two halves. The transmitter (TX) is the controller in your hands, converting stick positions into digital data transmitted on the 2.4GHz frequency band. The receiver (RX) is the small unit on your drone that picks up the signal, decodes it, and passes channel values to the flight controller.
Modern systems use frequency hopping, constantly switching between channels to avoid interference and maintain a reliable connection.
Channels Explained
A “channel” is a single stream of data controlling one function. Four channels are mandatory for flight: roll, pitch, throttle, and yaw. Extra channels control auxiliary functions through switches like arm/disarm, flight mode selection, beeper, and LEDs.
A 6-channel radio is the practical minimum. More channels give you more switch options for advanced setups.
Transmitter Options
Budget: FlySky FS-i6 at roughly $44 with receiver. Six channels, AFHDS 2A protocol. Good for absolute beginners with a limited upgrade path.
Mid-Range: RadioMaster TX12 or Boxer at $60-120. Multi-protocol support (works with FlySky, FrSky, and more). Built-in ExpressLRS or Crossfire options. Runs EdgeTX customizable firmware. Best value for serious builders.
Premium: TBS Tango 2 with Crossfire at roughly $200 for TX. Crossfire protocol for long-range flying. Overkill for beginners but future-proof.
Why Protocols Matter
Radio protocols are like languages. Transmitter and receiver must speak the same one. Brand-locked systems (FrSky, Spektrum, FlySky) only work with their own receivers. Multi-protocol radios like RadioMaster can speak multiple languages, giving you flexibility when building.
Long-range systems like Crossfire and ExpressLRS use 868/915MHz instead of 2.4GHz for much longer range and better penetration through obstacles.
Binding Transmitter to Receiver
Before anything works, you must bind your TX and RX. Put the receiver in binding mode (usually a button press), put the transmitter in binding mode via menu, wait for connection confirmation (solid LED or beep), then test by moving sticks to verify channels respond.
Binding creates a unique digital handshake. Your receiver will ignore signals from other transmitters.
Quick Check
Q: What are the four essential channels for drone flight? A: Throttle, yaw, pitch, and roll. These correspond to the two sticks on your transmitter in Mode 2.
Q: Why would you choose a multi-protocol radio over a brand-locked one? A: Multi-protocol radios work with many receiver brands, giving you flexibility to choose components instead of being locked into one ecosystem.
Q: What does “binding” a transmitter and receiver mean? A: Creating a unique digital handshake so the receiver only responds to your specific transmitter.
What’s Next?
Your control link is sorted. Now let us talk about the power source that makes everything go: LiPo batteries.
Building an FPV racer? Check out our FPV Drone Flying course for radio setup specific to FPV builds.