Editing Your Real Estate Video
Editing Turns Footage Into a Finished Product
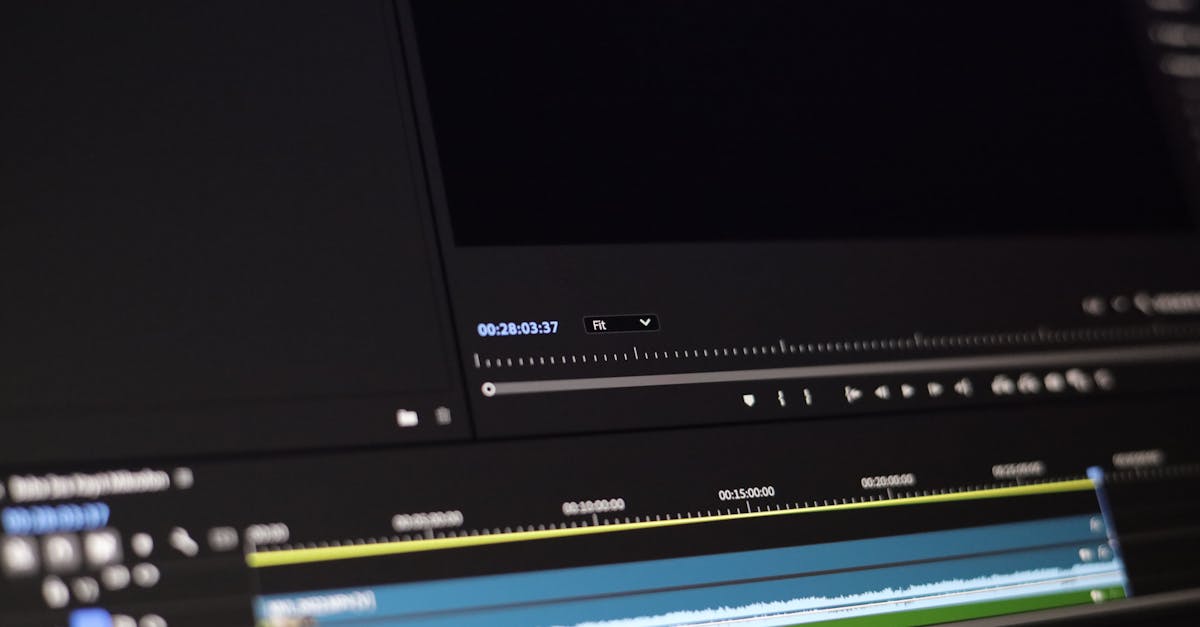
Raw drone footage needs structure and polish before anyone will watch it. The edit is where you organize clips into a cohesive video that sells properties.
Software Options
| Software | Cost | Best For |
|---|---|---|
| DaVinci Resolve | Free | Professional color grading, full-featured editing |
| Adobe Premiere Pro | $23/month | Industry standard, huge tutorial ecosystem |
| Final Cut Pro | $300 (one-time) | Mac users, fast and intuitive |
| CapCut | Free | Quick social media edits, simple cuts |
DaVinci Resolve is used by Hollywood colorists and it’s completely free. You don’t need to spend money on editing software to produce professional real estate videos.
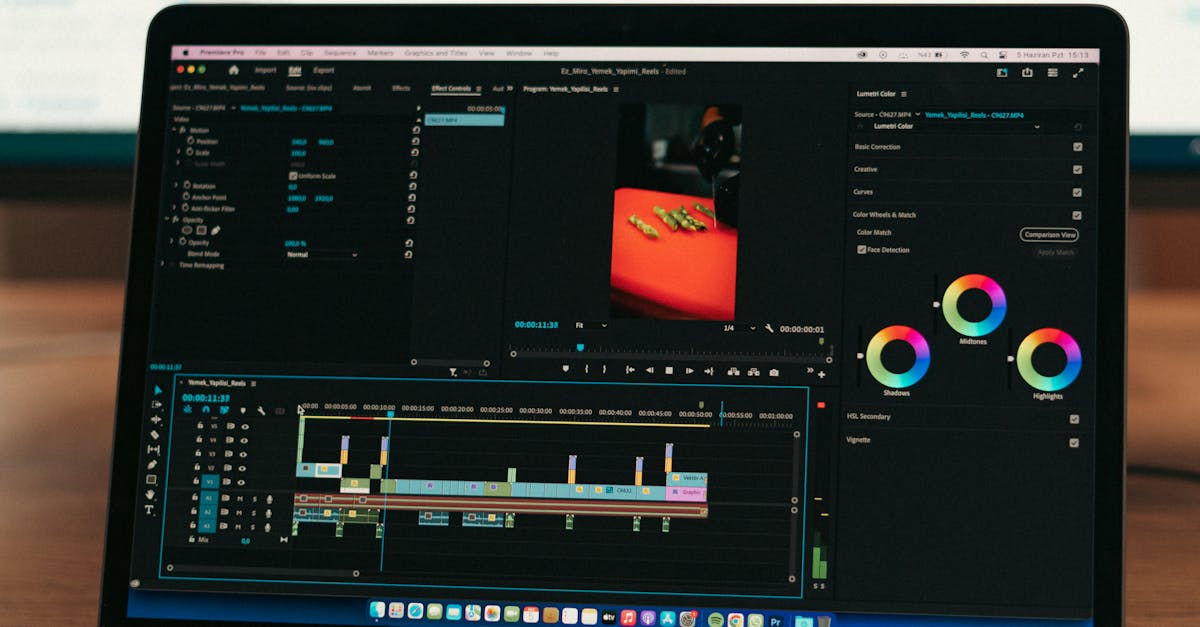
The Editing Workflow
Step 1: Select Your Best Clips
Go through all your footage and mark the best 10-15 clips. Reject anything with:
- Camera shake or jerkiness
- Props in frame
- Drone shadows or reflections
- Overexposed or underexposed sections
Step 2: Choose Your Music First
This surprises a lot of people, but music drives the edit. Select your track before cutting any clips:
- Upbeat/sophisticated: for most residential real estate
- Cinematic/dramatic: for luxury properties
- Warm/acoustic: for family homes, residential neighborhoods
- Electronic/modern: for commercial properties, urban real estate
Use royalty-free music: Artlist, Epidemic Sound, Musicbed, or the YouTube Audio Library.
Step 3: Cut to the Beat
Lay your music track on the timeline first. Then place clips so that shot changes happen on the beat or at natural musical moments. This creates a rhythm that feels professional and intentional.
Step 4: The 10-Second Rule
No single clip should last longer than 10 seconds unless it’s a reveal or a particularly stunning shot. 5-8 seconds per clip is the sweet spot for real estate. Viewers lose interest quickly, so keep it moving.
Step 5: Color Correction and Grading
- Correct first: fix white balance, exposure, and contrast so the property looks natural
- Grade second: apply a consistent look across all clips. Slightly warm tones work well for real estate.
- Don’t overdo it: the goal is to make the property look its best, not to make it look like a sci-fi movie
Don’t use color grading to make a property look better than reality. Enhance the existing light and colors, but don’t add green to dead grass or blue to a murky pool. The buyer will see the real thing.
Step 6: Add Titles and Branding
- Property address: at the beginning, clean font, 3-4 seconds
- Realtor branding: at the end, contact info (branded version only)
- Key features: optional text overlays (“5 Bedrooms”, “Pool”, “Mountain Views”)
- Keep it minimal: the footage should speak for itself
Step 7: Export Multiple Versions
| Version | Resolution | Format | Purpose |
|---|---|---|---|
| Master | 4K | MP4 H.265 | Archive, high-quality delivery |
| Web | 1080p | MP4 H.264 | MLS, email, website |
| Social (horizontal) | 1080p | MP4 | YouTube, Facebook |
| Social (vertical) | 1080x1920 | MP4 | Instagram Reels, TikTok |
| Unbranded | Same as above | MP4 | MLS compliant version |
Editing Timeline for a Typical Property
A well-organized editor can produce a complete real estate video in 2-3 hours:
- 30 min: select best clips
- 15 min: choose and lay music
- 45 min: rough cut to timeline
- 30 min: fine-tune cuts and timing
- 30 min: color correction and grading
- 15 min: titles and exports
Quick Check
Q: Why choose music before cutting clips? A: Music drives the rhythm of the edit. You cut clips to match the beat and musical moments.
Q: What’s the maximum length for a single clip in a real estate video? A: 10 seconds maximum, 5-8 seconds is ideal. Viewers lose interest quickly.
Q: What’s the correct editing sequence? A: Select clips, choose music, cut to timeline, fine-tune, color grade, add titles, export.
What’s Next?
The edit is done. Now let’s deliver it professionally and get paid.
Professional editing starts with professional flying: Pilot Institute.