Camera Settings for Real Estate
Settings That Sell
Bad camera settings can ruin great flying. Use these settings for real estate drone work.
Resolution and Frame Rate
Video
- 4K (3840 x 2160): always shoot in 4K, even if the client only needs 1080p. The extra resolution gives you cropping and stabilization flexibility in post.
- 30 fps: standard for real estate. Smooth enough for cinematic motion, compatible with all platforms.
- 24 fps: for a more “cinematic” feel on luxury properties. Requires smoother flying because the lower frame rate makes jerkiness more visible.
- 60 fps: only if you plan to slow-motion certain clips (driveways, pool features). Don’t shoot your entire video at 60 fps. It looks “soap opera” smooth.
Photos
- RAW format: always. RAW gives you maximum editing flexibility for exposure, white balance, and color correction.
- JPEG as backup: some drones can shoot RAW + JPEG simultaneously. Useful if the client needs quick-turnaround files.
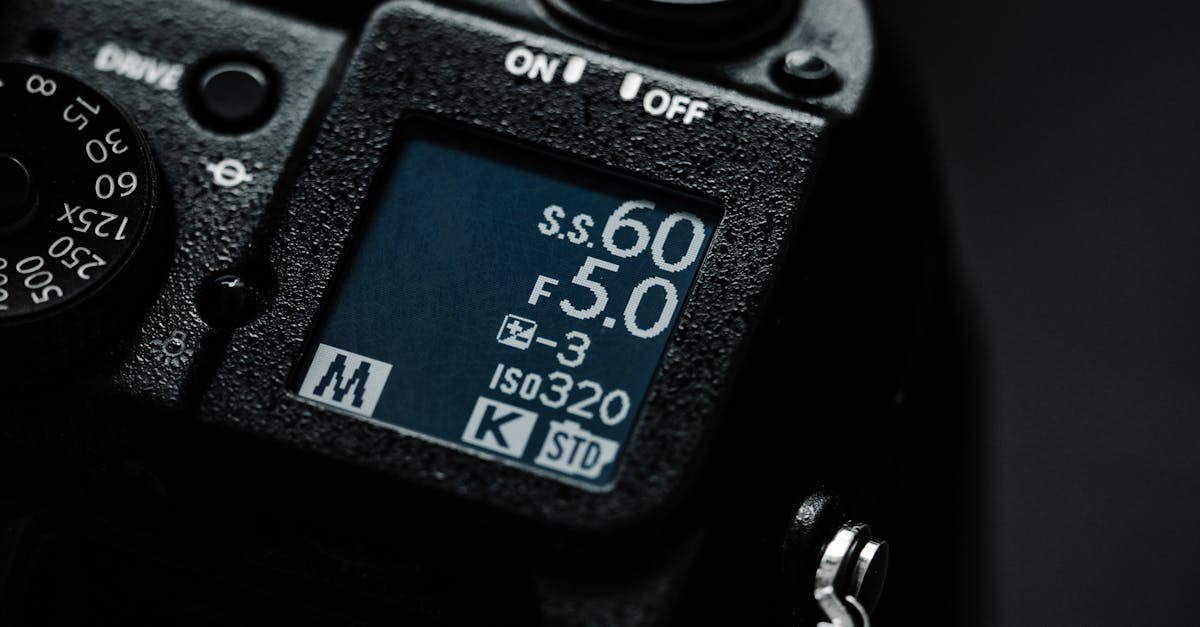
Shutter Speed and ND Filters
This is where most beginners mess up. Video looks best when your shutter speed is roughly double your frame rate:
| Frame Rate | Ideal Shutter Speed |
|---|---|
| 24 fps | 1/50 sec |
| 30 fps | 1/60 sec |
| 60 fps | 1/120 sec |
At these shutter speeds, you get natural motion blur. Each frame has slight blur that makes movement feel smooth and cinematic when played back.
The problem: On a sunny day, 1/60 second shutter speed lets in too much light. Your footage will be overexposed.
The solution: ND filters. They’re sunglasses for your camera.
- Cloudy / low light: ND8
- Partly cloudy: ND16
- Bright sunny day: ND32
- Very bright / snow / beach: ND64
When in doubt, start with ND16 and adjust.
White Balance
Don’t use auto white balance for video. Auto WB can shift during a shot, creating noticeable color changes mid-clip.
Set your white balance manually:
- Sunny: 5600K
- Cloudy: 6500K
- Golden hour: 7000K+ (let the warm tones happen naturally)
For RAW photos, white balance doesn’t matter as much since you can change it in post. But for video, set it correctly before you fly.
ISO
Keep your ISO as low as possible (ideally 100, maximum 400). Higher ISO introduces noise (grainy footage) that looks unprofessional.
On a properly filtered shot (correct ND filter), you should be able to maintain ISO 100 at your target shutter speed.
Color Profile
Most consumer drones offer two profiles:
- Normal/Standard: punchy colors, higher contrast. Looks good out of camera but limits your editing flexibility.
- D-Log / HLG / Flat: washed out appearance, but captures more dynamic range. Requires color grading in post.
If you’re comfortable color grading, shoot in the flat/log profile. If editing is new to you, shoot in Normal. It still looks great for real estate, and you can always switch to log later as your editing skills improve.
The Quick Setup Card
Before every real estate shoot, set these on your drone:
- Resolution: 4K
- Frame rate: 30 fps
- Shutter speed: 1/60 sec
- ISO: 100
- White balance: Manual (5600K sunny, 6500K cloudy)
- Color profile: Normal (or D-Log if you color grade)
- ND filter: Matched to conditions
- Format: RAW for photos, MP4/MOV for video
Write this on a card and keep it in your kit. Check it before every flight.
Quick Check
Q: What shutter speed should you use for 30 fps video? A: 1/60 second. Double the frame rate for natural motion blur.
Q: Why do you need ND filters? A: To reduce light entering the camera so you can maintain the correct shutter speed without overexposing.
Q: What ISO should you target? A: ISO 100 (minimum) to ISO 400 (maximum). Higher ISO introduces noise.
What’s Next?
Settings are locked in. Let’s talk about the flying techniques that produce smooth, professional footage.
Pilot Institute teaches camera mastery alongside flying skills.