Drone Mapping for Beginners: Complete Guide to Photogrammetry
Photogrammetry turns hundreds of drone photos into accurate 3D models and maps. Here's how the process works from start to finish.
So you want to get into drone mapping? Instead of just snapping pretty photos, you’re using your drone to capture data that can measure distances, calculate volumes, and create detailed 3D models of the real world. The secret sauce is photogrammetry.
What is Photogrammetry?
Photogrammetry is the science of taking measurements from photographs. Think about how your eyes work — your left eye sees an object slightly differently than your right. Your brain merges those perspectives and you perceive depth. Photogrammetry software does the same thing, but with hundreds of overlapping drone photos instead of two eyes.
Equipment You Need
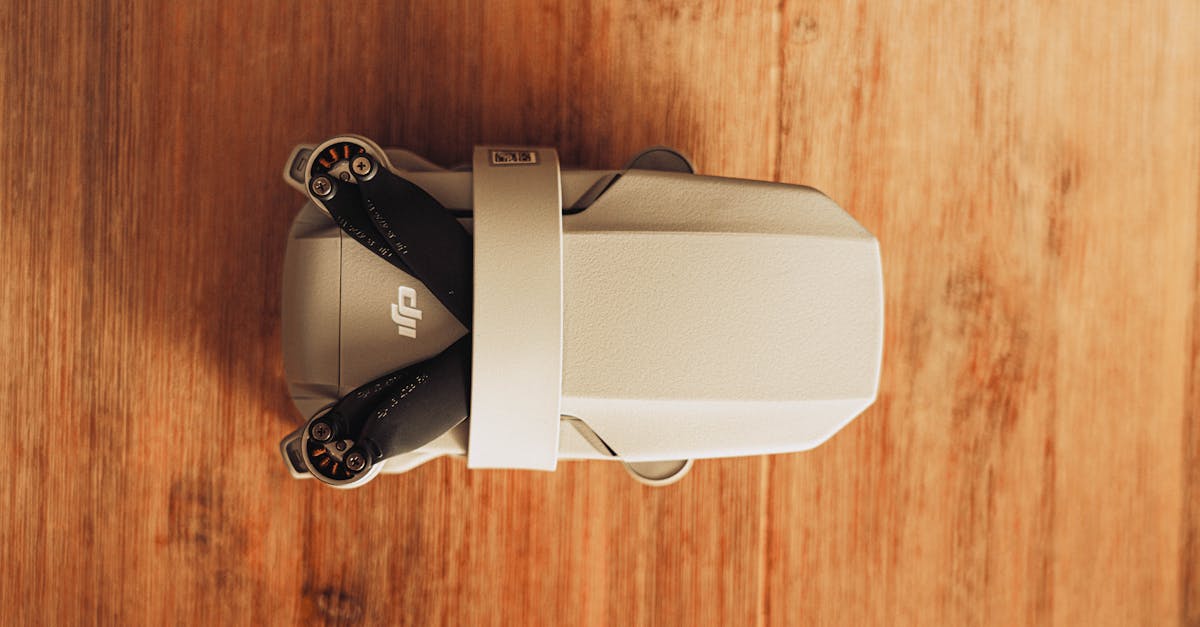
- Drone with stable camera — DJI Mini 3 or Mavic 3 for beginners, Phantom 4 RTK for professional work (mechanical shutter prevents rolling shutter distortion)
- High-capacity memory cards — Mapping generates massive data. 64GB+ per session
- Extra batteries — At least 3-4 per mapping session for grid flights
- Powerful computer — Multi-core CPU, dedicated GPU, 32GB+ RAM for processing
Flight Planning: The Golden Rules
You can’t fly randomly and expect good results. Drone mapping requires a grid-based approach with precise overlap.
80% front overlap — 80% of each photo should still be visible in the next photo as the drone moves forward.
70% side overlap — 70% of each photo should overlap with the adjacent flight line.
Consistent altitude — Keep the drone at a perfectly flat height above ground. Altitude changes alter photo scale and confuse the software.
The Photogrammetry Pipeline
Step 1: Feature Matching
The software scans every image for distinct features — a rock, a building corner, a crack in the pavement. Then it searches for that same feature across all overlapping photos. This creates “tie points.”
Step 2: Sparse Point Cloud
Based on where matching features appear across photos, the software calculates where the camera was in 3D space for each shot (camera alignment). It plots the coordinates of matched features into a basic 3D skeleton — the sparse point cloud.
Step 3: Dense Point Cloud
The software goes deeper, matching nearly every pixel across all images. The sparse skeleton becomes a dense cloud of billions of 3D dots — a highly detailed scan of your site.
Step 4: 3D Mesh
The software connects the dots with tiny triangles, creating a continuous solid surface. Drape the original photo colors over it and you get a realistic 3D model.
Step 5: Orthomosaic Map
The software projects photo textures straight down onto the 3D mesh, removing all distortion. The result is a massive, seamless 2D map where every pixel has real-world, measurable scale.
Step 6: Digital Elevation Model
Strip away colors and surface details from the mesh, leaving only raw topography. DEMs represent height as grayscale — white for high, black for low. Engineers use them for cut/fill calculations, drainage modeling, and construction planning.
Common Outputs
| Output | Description | Use Case |
|---|---|---|
| Orthomosaic (GeoTIFF) | Distortion-free, measurable 2D map | Site planning, progress tracking |
| 3D Mesh (OBJ/PLY) | Textured solid 3D model | Visualizations, stakeholder reviews |
| Point Cloud (LAS/LAZ) | Millions of 3D data points with color | CAD/GIS import, precise measurements |
| DEM (GeoTIFF) | Raster grid where brightness = elevation | Cut/fill, drainage, flood analysis |
| Contour Lines (SHP/DXF) | Lines connecting equal elevation points | Survey overlays, architectural planning |
Processing Tips
- Always process on a machine plugged into a wall outlet — photogrammetry pushes CPU and GPU to their limits
- Organize images in a dedicated folder before importing
- Run alignment first, verify it looks correct, then build dense cloud and mesh
- Export in the format your client or software needs
Mastering photogrammetry requires understanding the fundamentals and practicing with real data. Our free Drone Mapping course walks you through flight planning, software setup, and real-world mapping missions step by step.