How to Shoot Drone Footage That Sells: 12 Stock-Ready Shots
Stock buyers don't want flashy edits — they want clean, versatile, perfectly executed raw clips. Here are the 12 shots that sell again and again.
Stock buyers want clean, versatile, ungraded 4K clips lasting 10-30 seconds with proper ND filter usage for natural motion blur. Focus on shot types editors need: straight-down push-ins, orbits, dronies, and altitude reveals. Shoot in flat log profiles and leave color grading to the buyer.
Selling drone footage is one of the most lucrative passive income streams for commercial pilots, but most amateurs shoot for social media, not for stock agencies. Stock buyers — filmmakers, advertisers, corporate agencies — don’t want flashy edits or heavy color grading. They want clean, versatile, perfectly executed raw clips they can drop into their own projects.
To maximize sales, shift your mindset from capturing cool moments to capturing useful assets. Master specific, highly sought-after shot types that video editors actively search for.
Non-Negotiable Technical Requirements
Stock agencies have strict quality control. Fail these and your footage gets rejected regardless of how beautiful the subject is.
- Shoot 4K minimum — 1080p is dead in the stock world
- Use ND filters always — Shutter speed must be double your frame rate for natural motion blur
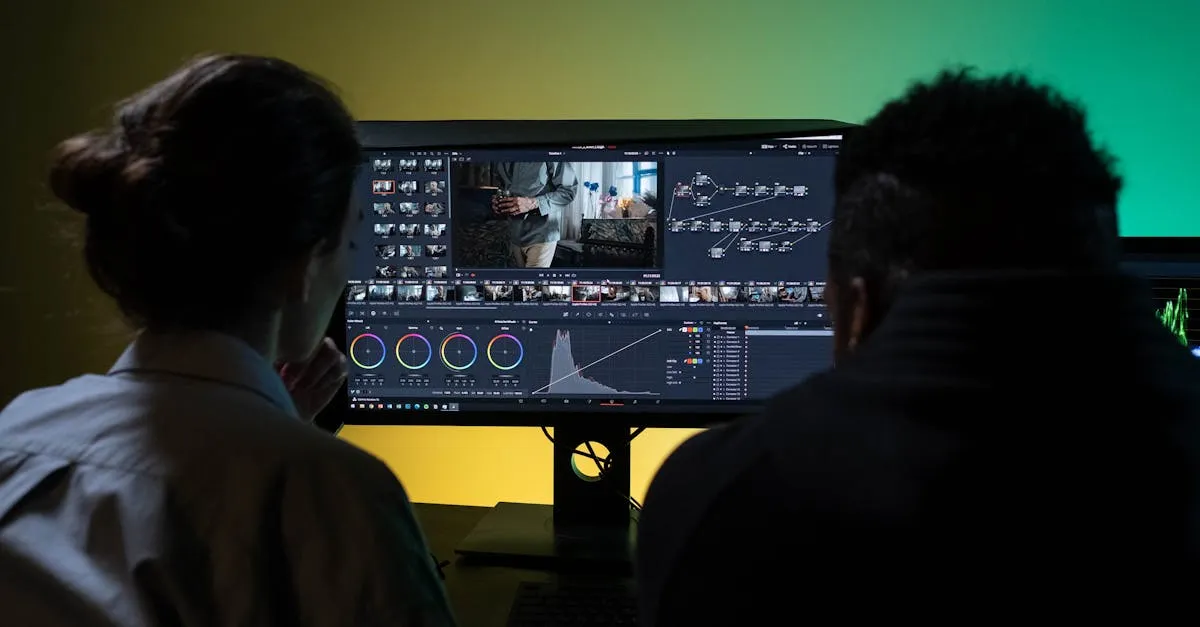
- Don’t color grade — Leave footage in a flat log profile (D-Log, HLG). Buyers prefer flat footage they can match to their own grading
- 10-30 second clips — The sweet spot. Shorter is hard to edit; longer contains too much unusable footage
- Clean, stabilized footage only — No jitter, no prop wash shake, no harsh wind buffeting
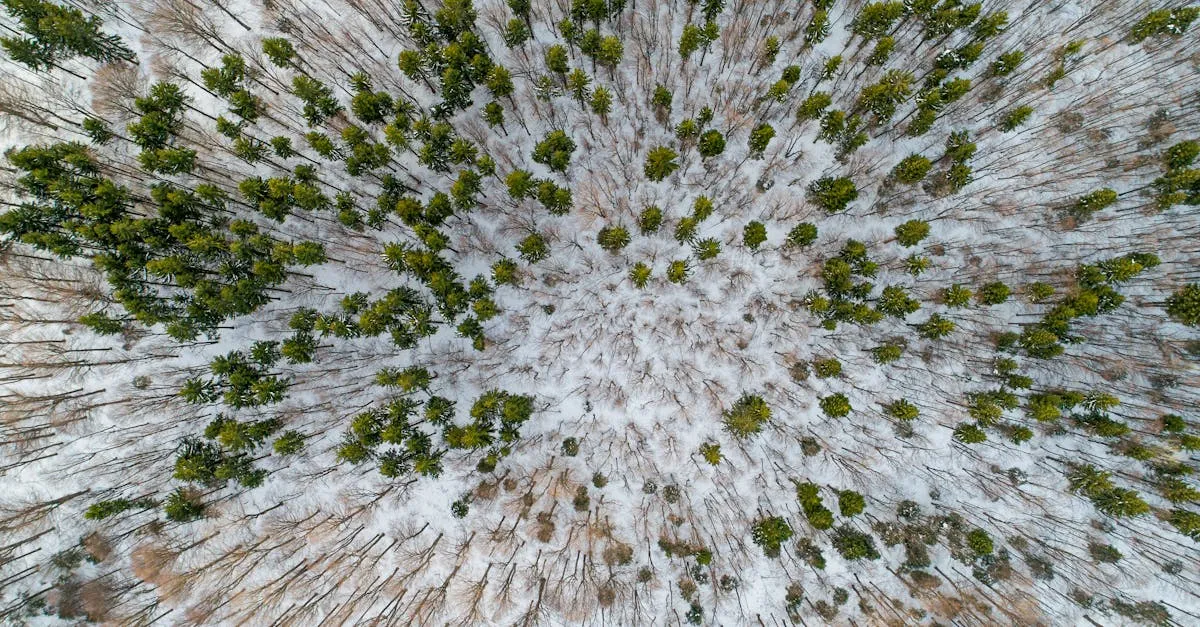
1. The Straight-Down Push-In
Point camera directly down (nadir) and fly forward slowly. Abstracts the landscape into geometric patterns — incredibly versatile for corporate videos, documentaries, and advertisements.
Camera: 90 degrees straight down. Movement: Forward. Speed: Slow (2-3 mph).
Best for: Agricultural fields, winding coastlines, highway interchanges, parking lots.
Avoid: Flying too fast (destroys the abstract effect). Not keeping the drone perfectly level.
2. The Lateral Slide
Creates a smooth, scanning effect that shows scale and establishes location without flying toward or away from the environment.
Camera: Perpendicular to movement, angled 15-30 degrees down. Movement: Sideways. Speed: Slow-medium (3-5 mph).
Best for: Shorelines with waves, endless city blocks, exposed mountain ridges.
Avoid: Drifting forward or backward while sliding. Keep the perspective flat and scanning.
3. The Altitude Reveal
The classic “wow” moment. Hide grandeur behind a foreground obstacle, slowly unveil it. Editors love this as an opening establishing shot.
Camera: 10 degrees down, leveling to 0 as you rise. Movement: Straight up. Speed: Slow (2-4 mph vertical).
Best for: Hills, buildings, treelines, ridges — anything that masks the background.
Avoid: Revealing the subject too early. Start so close the viewer only sees the obstacle. Tilting camera up too much as you rise.
4. The Orbit
Gives the viewer a 360-degree understanding of the subject’s scale and placement within its environment.
Camera: 30-45 degrees down. Movement: Continuous circle. Speed: Slow-medium, constant.
Best for: Isolated buildings, monuments, boats, small islands.
Avoid: Potato-peeling (changing altitude during the orbit). Maintain perfectly constant altitude and speed throughout.
5. The Dronie (Fly-Through Reveal)
The most-requested stock shot in existence. Starts intimate, ends epic. Subject shrinks while landscape dramatically expands.
Camera: Straight forward, locked on subject. Movement: Backward and upward at 45 degrees. Speed: Medium-fast (5-10 mph).
Best for: Person on a cliff edge, car on coastal highway, cabin in mountains.
Avoid: Flying into obstacles behind you. Losing sight of the subject as it gets smaller.
6. The Top-Down Rotation
Mesmerizing and highly sought for abstract backgrounds, transitions, and corporate tech videos.
Camera: 90 degrees straight down. Movement: Yaw rotation in place (no lateral movement). Speed: Slow — full 360 should take 15-20 seconds.
Best for: Traffic roundabouts, circular architecture, round natural features.
Avoid: Any lateral drift while yawing. The drone must act like a spinning top fixed in the sky.
7. The Chase Shot
Inherently provides narrative — an immediate sense of energy, speed, and purpose that buyers need for commercials and action sequences.
Camera: 10-20 degrees down. Movement: Forward, matching subject’s trajectory. Speed: Fast — match the subject.
Best for: Cars on highways, boats on lakes, hikers and bikers on trails.
Avoid: Overtaking or falling too far behind. Subject must remain in a consistent third of the frame.
8. The Sunrise/Sunset Pan
Sky gradients sell extremely well as backgrounds for text, lower thirds, and transitions. Zero forward flight — pure smooth gimbal movement.
Camera: Angled up toward horizon and sun. Movement: None — pure horizontal gimbal pan. Speed: Very slow.
Best for: Last 10 minutes before sunset, first 10 minutes after sunrise. Interesting cloud formations.
Avoid: Any drone drift while panning. Exposing for the sky and turning ground into pure black.
9. The Hyperlapse
Advanced technique that sells at premium prices. Moving clouds + moving shadows + moving camera = pure visual magic.
Camera: Forward, slightly down to include ground shadows. Movement: Slow consistent forward flight. Speed: Slow physical flight (1-2 mph), sped up significantly in post.
Best for: Partly cloudy days, golden hour, city skylines or rugged terrain with strong shadows.
Avoid: Jerky footage — hyperlapses magnify every tiny oscillation. Use automated interval shooting and heavy stabilization in post.
10. The Low-Level Flyover
Skimming above a surface creates incredible speed and drama. Perfect for high-energy commercials and extreme sports.
Camera: Straight forward or 5 degrees down. Movement: Forward, fast and low. Speed: Fast (15-25 mph).
Best for: Calm water, tall grass, wheat fields, just above treetops.
Avoid: Flying without an ND filter — at high speeds, lack of motion blur makes footage stuttery. Misjudging altitude.
11. The City Lights Transition
Captures the precise moment city lights flicker on as daylight fades. Filmmakers use it to establish time passing or set a moody, urban tone.
Camera: Slightly down to capture streetlights and windows. Movement: Slow steady forward flight. Speed: Slow (2-4 mph).
Best for: The 15-minute window immediately after sunset. Deep blue sky + flickering city lights = perfect balance.
Avoid: Shooting too late when sky is pitch black (loses depth). Using auto-exposure (causes pulsing as lights turn on).
12. The Vertical Rise
Powerful for showing scale — transforms the viewer from ground-level to god’s-eye view.
Camera: Straight forward, locked. Movement: Straight up. Speed: Slow-medium (3-6 mph).
Best for: Forests (emerging above canopy), urban canyons (rising between skyscrapers).
Avoid: Tilting the camera up as you rise — you’ll just show sky. Keep camera locked dead forward so the environment rushes down past the lens.
Start Shooting Footage That Sells
Mastering these 12 shots will instantly elevate your stock portfolio from amateur to professional. Stock footage is a volume game combined with strict quality standards — focus on executing these shots flawlessly.
Frequently Asked Questions
What resolution do stock agencies require? 4K minimum. 1080p is dead in the stock world and agencies reject footage below this standard.
Why use ND filters for stock footage? ND filters keep shutter speed at double your frame rate for natural motion blur. Without them, footage appears stuttery, especially during fast movements like low-level flyovers.
What’s the ideal clip length? 10-30 seconds. Shorter clips are hard to edit, while longer clips contain too much unusable footage.
Should I color grade before submitting? No. Leave footage in a flat log profile (D-Log or HLG). Buyers prefer ungraded footage so they can match the color to their own projects.
What makes “The Dronie” the most-requested stock shot? It starts intimate and ends epic by flying backward and upward at 45 degrees. The subject shrinks while the landscape expands, creating versatile opening sequence footage.
When is the optimal time to shoot city lights? During the 15-minute window after sunset when deep blue sky balances with flickering city lights. Shooting too late results in pitch black skies that lose depth.
Ready to turn flights into income? Learn the exact workflows, editing secrets, and agency submission strategies in our free Drone Stock Footage Course. Want to perfect the flying fundamentals for these advanced shots? Enroll in the free Cinematic Drone Video Course and start shooting footage that actually sells.