QGIS for Drone Pilots: How to Process Mapping Data
QGIS is free, powerful, and perfect for drone mapping data. Here's how to import, analyze, and export your orthomosaics.
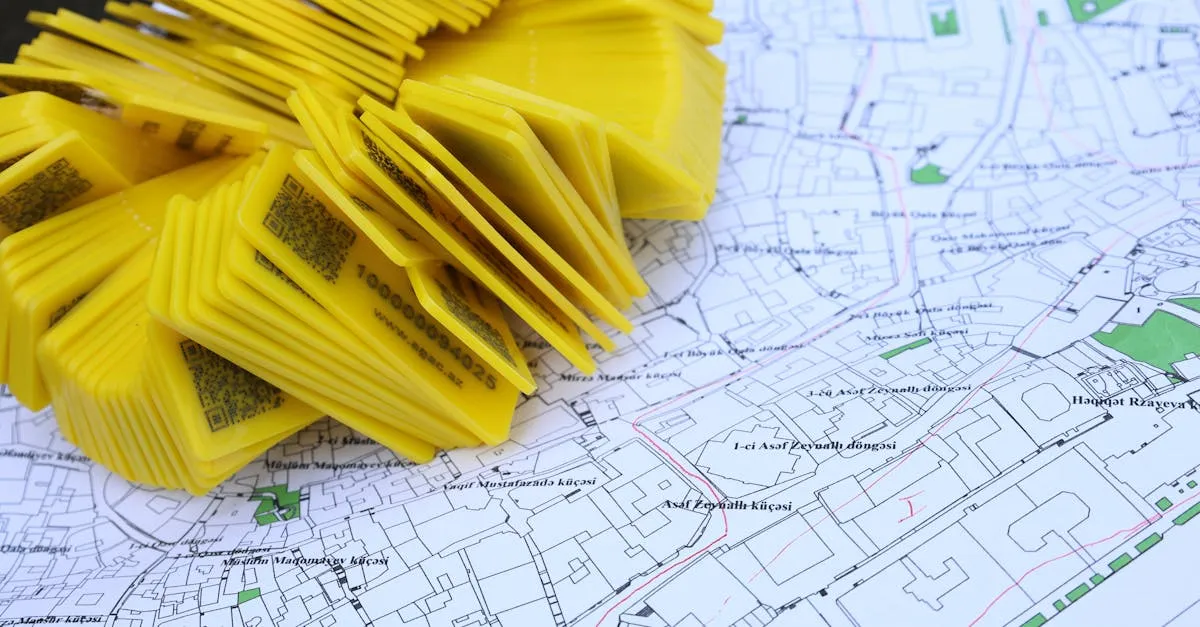
QGIS is a free, powerful geographic information system that helps drone pilots transform raw mapping outputs into actionable insights. Users can import GeoTIFF files, measure distances and areas, generate contour lines, and use specialized plugins for 3D visualization and advanced terrain analysis.
You’ve processed your drone imagery into orthomosaics, point clouds, and elevation models. Now what? QGIS — the free, open-source geographic information system — is where raw mapping outputs become actionable insights.
What is QGIS?
QGIS (Quantum GIS) is a free desktop application for viewing, editing, analyzing, and visualizing geospatial data. Professional-grade GIS capabilities at zero cost, running on Windows, Mac, and Linux.
Importing Orthomosaics (GeoTIFF)
After processing through WebODM, Pix4D, or Agisoft, your orthomosaic arrives as a GeoTIFF:
- Open QGIS → Layer → Add Layer → Add Raster Layer
- Select your GeoTIFF → Add
It appears in the map canvas, automatically positioned by its embedded coordinate reference system (CRS). If alignment looks off, check Project → Properties → CRS to ensure it matches your data.
Importing Point Clouds (LAS)
For basic point cloud visualization, QGIS 3.26+ supports LAS/LAZ natively via Layer → Add Layer → Add Point Cloud Layer.
For advanced work, convert LAS to raster DEM using PDAL or CloudCompare first, then import the resulting GeoTIFF.
Basic Measurement Tools
With your orthomosaic loaded, extract precise distances and areas:
- Measure Line — Click points for distance between features
- Measure Area — Click around a perimeter for enclosed area
- Measure Angle — Determine angles between three points
Measurements use your project CRS units. For stockpile volumes, use raster terrain analysis tools with a DEM.
Creating Contour Lines
Transform elevation data into topographic maps:
- Load your DEM GeoTIFF
- Raster → Extraction → Contour
- Set contour interval (e.g., 0.5 meters)
- Choose output location → Run
Style lines by elevation for professional topographic deliverables.

Useful Plugins
| Plugin | Purpose | Best For |
|---|---|---|
| QuickMapServices | High-quality base maps | Project context |
| PointCloudViewer | Visualize LAS/LAZ files | Point cloud inspection |
| Qgis2threejs | 3D terrain visualizations | Client presentations |
| Profile Tool | Elevation profiles | Cross-section analysis |
| CadTools | CAD-style drawing | Annotation and drafting |
| Temporal Controller | Time-series animation | Change detection |
Getting Started
Start with a single orthomosaic and practice measurements before moving to contours and volume calculations. The learning curve pays dividends.
Frequently Asked Questions
How do I import a drone orthomosaic into QGIS? Navigate to Layer, then Add Layer, and select Add Raster Layer to choose your GeoTIFF. The software automatically positions it using the embedded coordinate reference system.
Can QGIS handle point cloud data? Yes, versions 3.26 and later support native LAS/LAZ visualization. For complex analysis, converting the point cloud to a raster DEM using external tools is recommended.
What measurements can I perform? Precisely measure line distances, calculate enclosed areas, and determine angles between three points using built-in tools with your project’s CRS units.
How are contour lines generated? Load your DEM GeoTIFF and access the Raster extraction menu for the Contour tool. Set your desired interval, such as half a meter, and run the process.
Which plugin for 3D terrain visualizations? The Qgis2threejs plugin generates interactive 3D terrain models, particularly useful for creating visual presentations to show clients.
Why might my orthomosaic appear misaligned? Usually when the project’s coordinate reference system doesn’t match the embedded CRS of your GeoTIFF. Fix this by checking and adjusting CRS settings in project properties. Learn the entire mapping workflow — from flight planning through QGIS analysis — in our free Drone Mapping course.