How to Create Orthomosaics from Drone Photos: Step-by-Step
Turn hundreds of drone photos into one seamless, distortion-free map. Here's the complete orthomosaic creation workflow.
An orthomosaic is more than a stitched panorama. A panorama blends images together with warped buildings and distorted distances. An orthomosaic is geometrically corrected — optical distortion, terrain distortion, and camera tilt are all removed. Every pixel is assigned a real-world geographic coordinate.
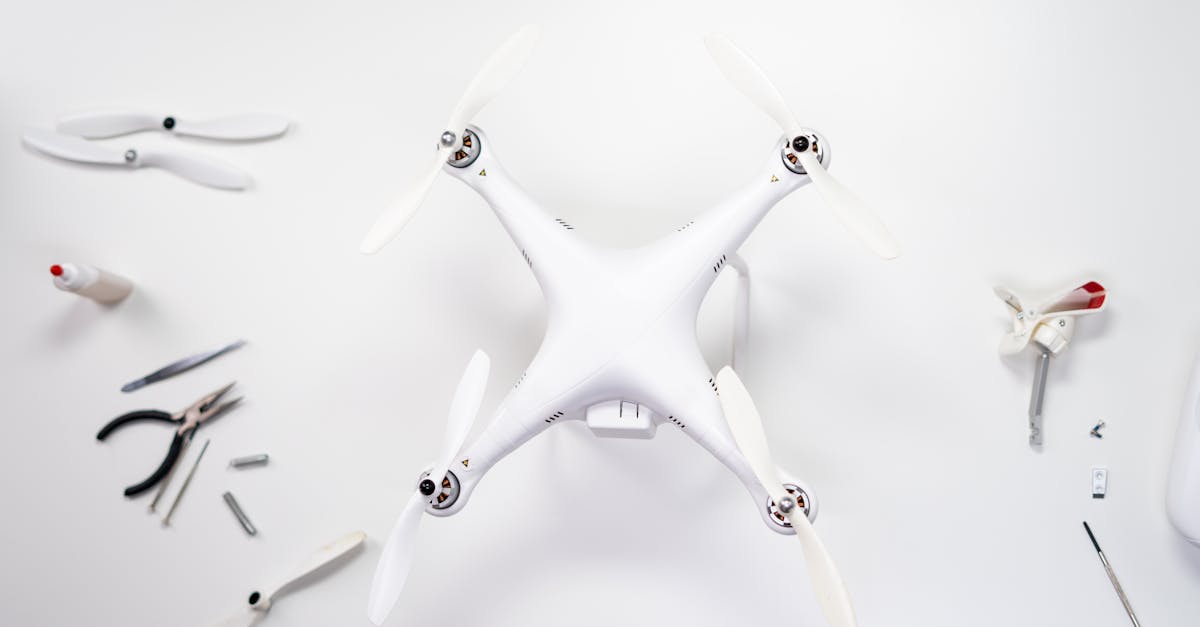
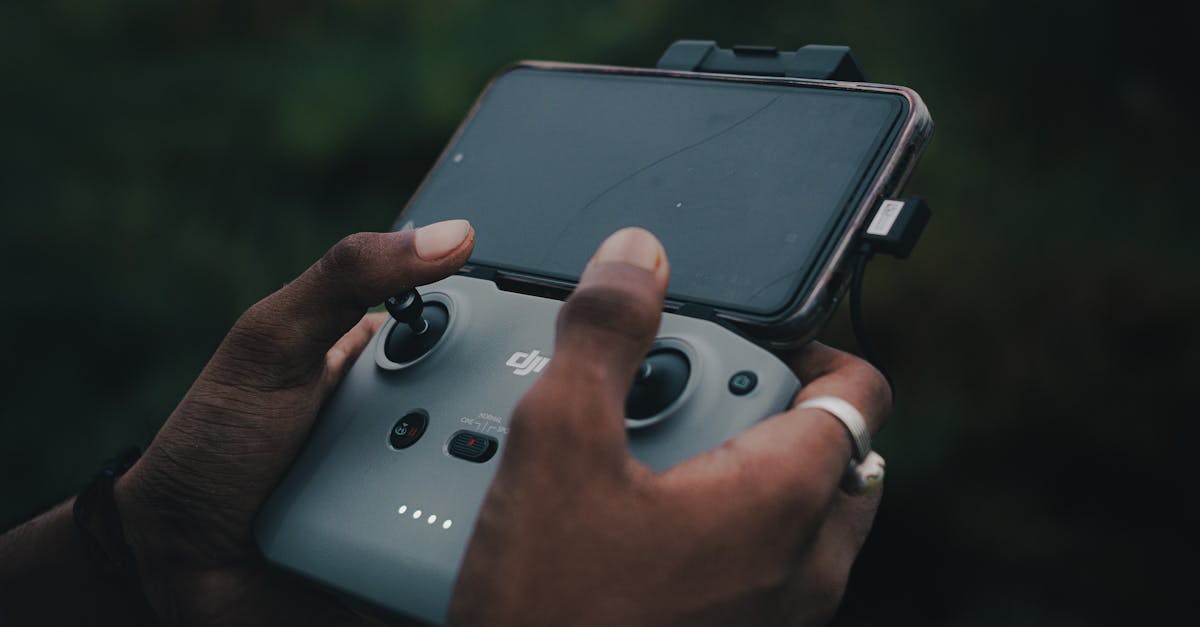
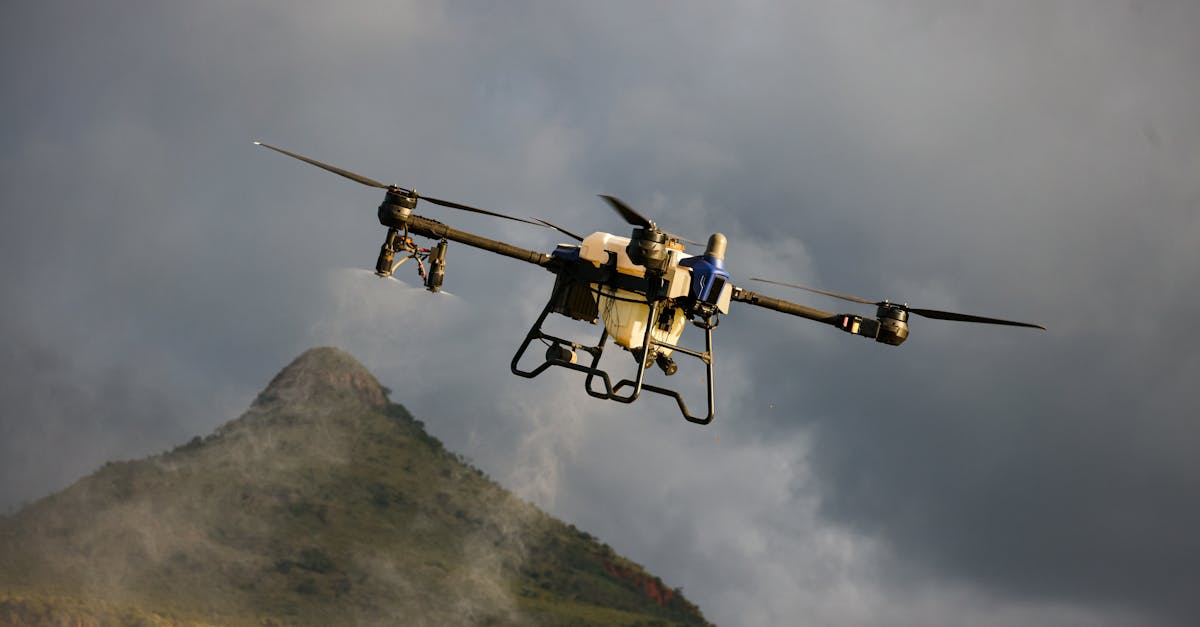
Before You Process: Capture Quality Data
- Overlap: 75% front, 65% side minimum. More overlap = better accuracy.
- Consistent altitude: Steady flying height. Use terrain following if available.
- Good lighting: Overcast days are ideal — clouds diffuse light and reduce harsh shadows.
- GCPs: Non-negotiable for survey-grade accuracy. Visible targets surveyed with RTK GPS.
The Step-by-Step Workflow
Step 1: Import Photos
Drag and drop your folder of JPEGs into your photogrammetry software. The software reads EXIF metadata — GPS coordinates, camera sensor dimensions, focal length, and lens distortion parameters. Verify all images loaded and the camera model was detected correctly.
Step 2: Align Photos (Feature Matching)
The software analyzes every image to find matching visual features — building corners, rocks, pavement changes — across overlapping photos. Once “tie points” are identified, geometry calculates the exact 3D position and orientation of the camera for every shot.
Output: a sparse point cloud and camera alignment visualization. Poor results here usually mean insufficient overlap, blurry images, or featureless terrain.
Step 3: Build Dense Point Cloud
The sparse cloud is a basic framework. Building a dense cloud goes further — calculating depth for every pixel in every image. The result is millions or billions of 3D points representing the true shape and topography of the terrain.
Step 4: Generate 3D Mesh
The software connects dense cloud points into a continuous surface of triangles (TIN — Triangulated Irregular Network). Think of stretching tight digital fabric over the point cloud. For top-down mapping, a height-field mesh is most efficient.
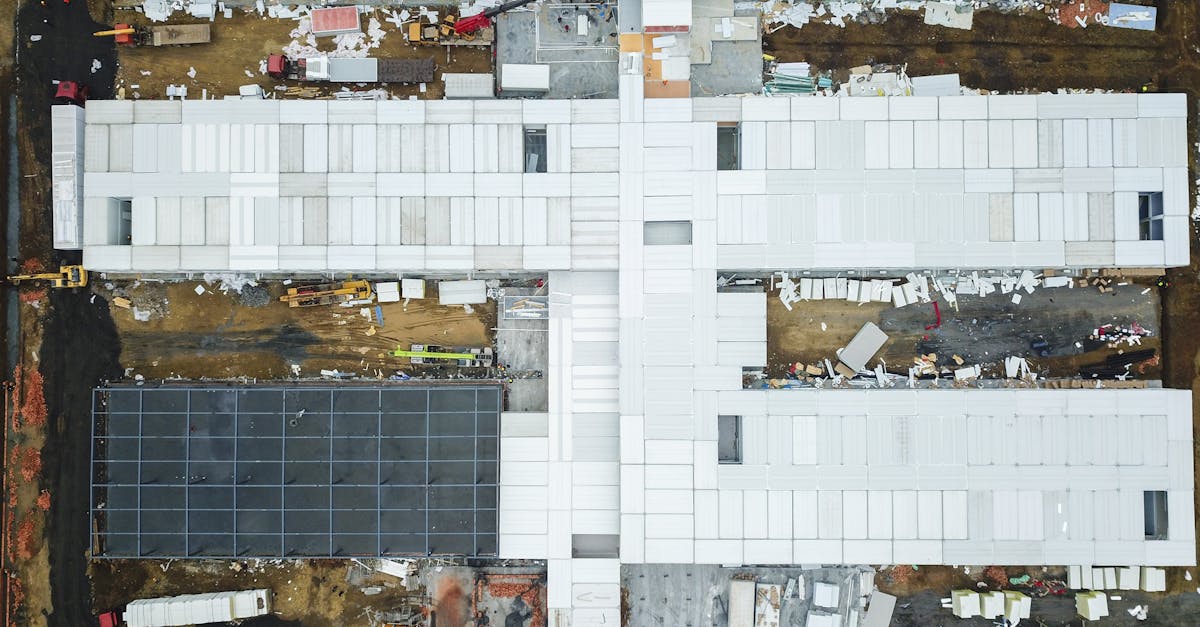
Step 5: Create Orthomosaic Projection
The software projects original 2D photos onto the 3D mesh. Because the mesh accounts for terrain elevation and camera tilt, all distortions are corrected. The result: one seamless, geometrically accurate, uniform-resolution 2D map.
Step 6: Export GeoTIFF
Export as GeoTIFF — the industry standard for geographic data. Unlike JPEG/PNG, GeoTIFF embeds spatial metadata including the Coordinate Reference System (CRS). When opened in QGIS or ArcGIS, it drops into the correct location automatically. Use LZW compression to reduce file size without quality loss.

Recommended Processing Settings
| Step | Parameter | Setting | Notes |
|---|---|---|---|
| Align Photos | Key Point Limit | 40,000 | Balances speed and detail |
| Align Photos | Tie Point Limit | 4,000 | Keeps sparse cloud clean |
| Dense Cloud | Quality | Medium | Use High for small sites |
| Dense Cloud | Depth Filtering | Moderate | Removes noise from moving objects |
| 3D Mesh | Surface Type | Height Field | Best for top-down maps |
| Orthomosaic | Blending Mode | Mosaic | Prevents ghosting |
| Export | Format | GeoTIFF | Standard for GIS |
| Export | Compression | LZW | Lossless, smaller files |
Master the complete mapping pipeline in our free Drone Mapping course — from flight planning to final export.