Editing Drone Photos in Lightroom: Complete Workflow
From import to export, here's the exact Lightroom workflow professional drone photographers use to turn flat RAW files into stunning aerial images.
A complete Lightroom workflow for drone photos starts with importing and automatic lens corrections, then organizing with a star-based triage system. Adjust exposure and tonal range in the Basic panel, add cinematic contrast with the Tone Curve, balance noise reduction with sharpening for small drone sensors, and use Transform tools to correct perspective distortion in architectural shots.
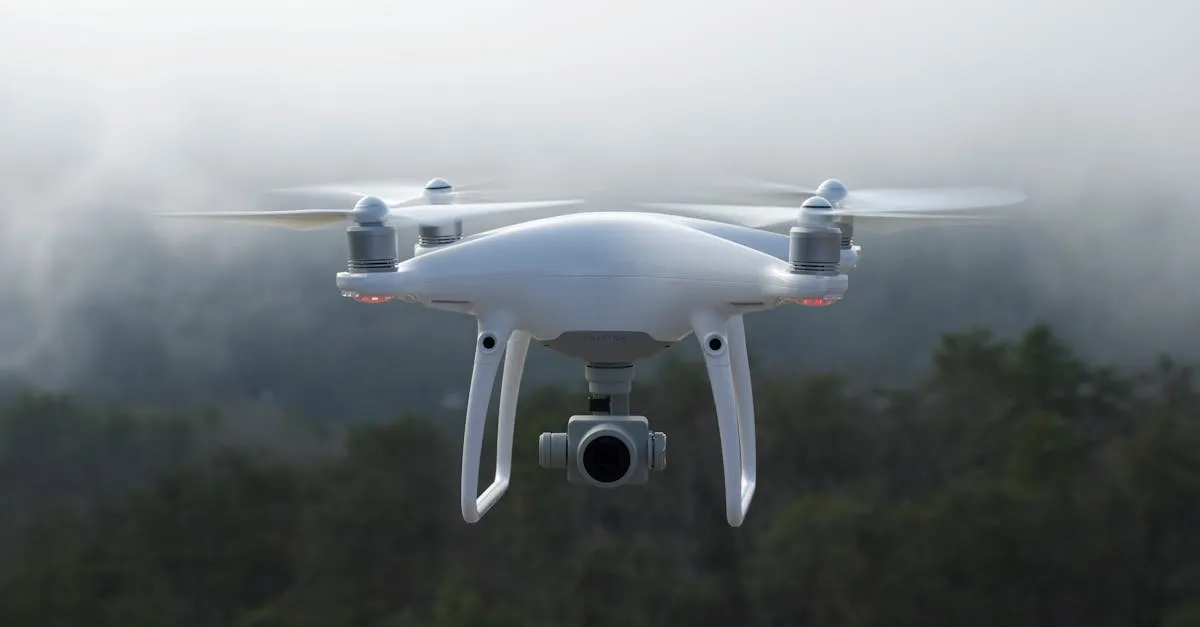
Capturing the image is only half the battle. The real magic happens in post-processing. Adobe Lightroom provides a powerful, non-destructive workflow specifically suited for drone imagery. Here’s the complete editing workflow, from import to final export.
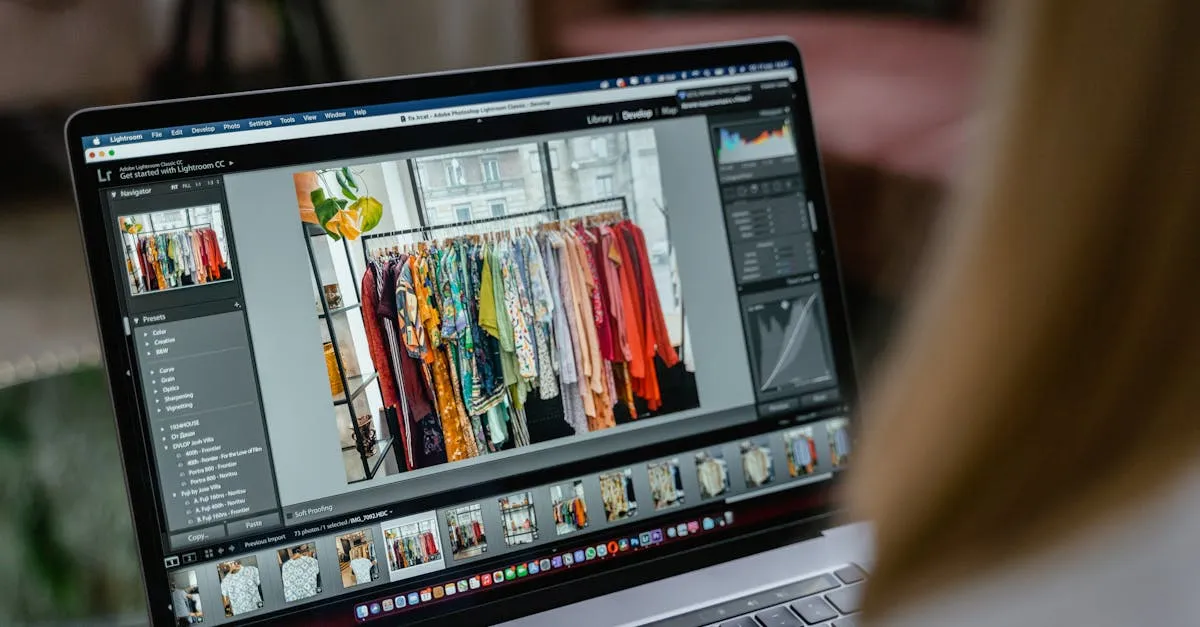
1. Import and Organize
Apply lens corrections at import. Lightroom includes profiles for most DJI drones — barrel distortion and vignetting are corrected automatically before you touch a single slider.
Use the flag and star system efficiently. Reject obvious duds (X key), flag potential winners (P key), and rate with stars. Three stars = “worth editing,” four = “standout,” five = “portfolio worthy.” This triage saves hours.
2. Basic Panel: The Foundation
Start with Exposure to set overall brightness. Add Contrast conservatively.
The real power: Highlights, Shadows, Whites, and Blacks.
- Pull down Highlights to recover blown-out skies
- Lift Shadows to reveal ground detail drones often underexpose
- Set Whites and Blacks using Alt/Option threshold view
Keep your eye on the histogram. Healthy distribution without spikes at either end. The histogram is your objective truth — it doesn’t care about your monitor’s brightness.
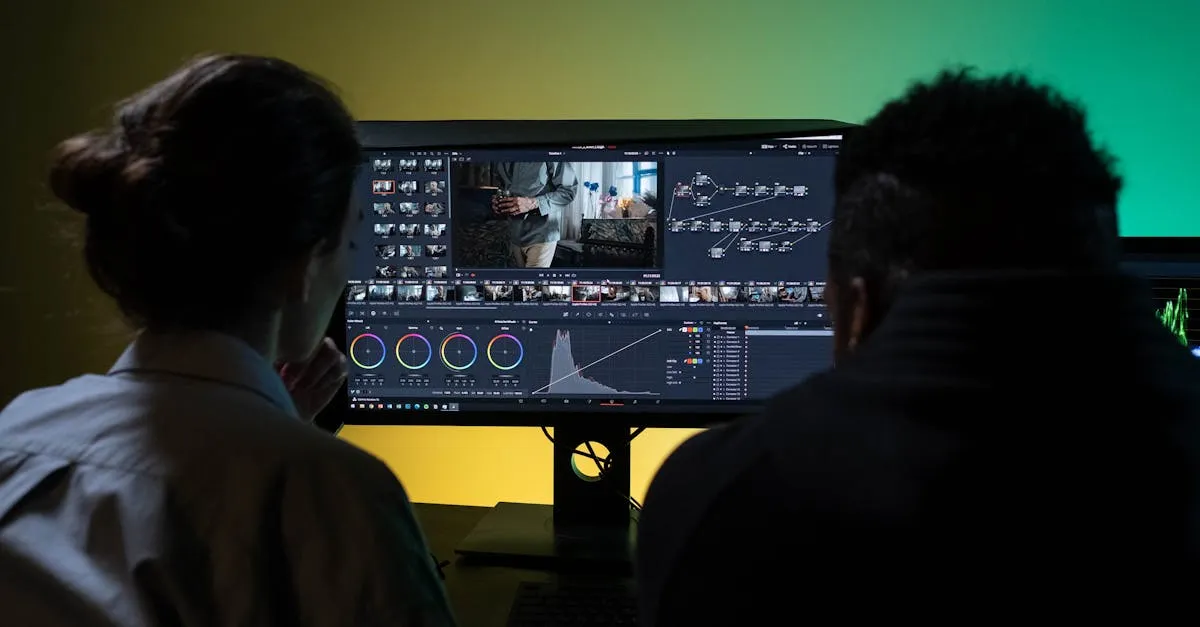
3. Tone Curve
A slight S-curve adds cinematic midtone contrast. Pull down the shadows quarter and lift the highlights quarter.
For color grading, switch to individual RGB channels. The classic teal-and-orange look: lift blue in shadows (teal shadows), lift red in highlights (warm highlights). Keep adjustments subtle — 5-10 points of movement.
4. Detail: Sharpening and Noise Reduction
Drone sensors are small. Noise is inevitable, especially in shadows you’ve lifted. The critical rule: noise reduction first, then sharpening.
Luminance Noise Reduction: Start at 20-40. Slide up until noise diminishes, then back off slightly. Over-smoothing creates a waxy, plastic look.
Sharpening: Amount 40-60. Hold Alt/Option while adjusting the Masking slider — white areas get sharpened, black areas don’t. Increase masking until only edges are white, keeping skies and smooth surfaces black.
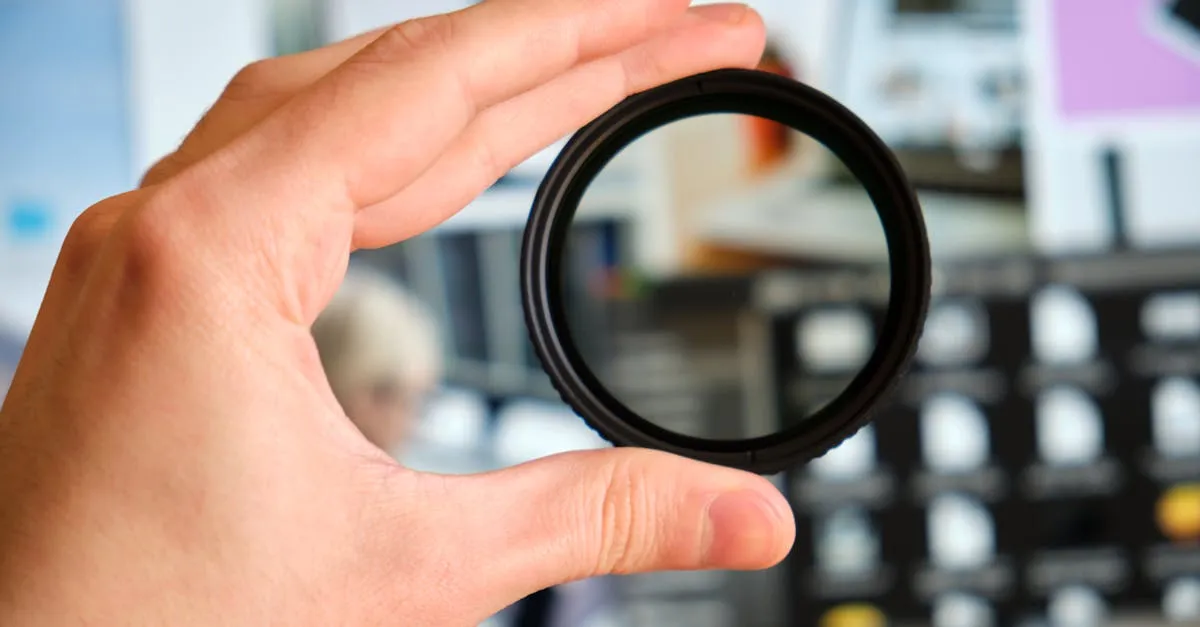
5. Lens Corrections and Transform
Check Enable Profile Corrections and select your drone model. Check Remove Chromatic Aberration to fix color fringing around bright edges.
For architectural work, use the Transform panel. Converging vertical lines happen when shooting downward at an angle. Use Auto or Guided Upright to correct perspective. A level, properly proportioned building looks far more professional.
6. Effects and Finishing
- Clarity (+10 to +20): Adds midtone contrast. Don’t overdo it — the over-processed “HDR look” has fallen out of favor.
- Dehaze: Cuts through atmospheric haze common at altitude. Start low, increase gradually.
- Vignette (-10 to -15): Subtle edge darkening draws the viewer’s eye toward the center.
7. Export Settings
For web: JPEG, sRGB, 80% quality, long edge 2048px.
For print: JPEG or TIFF, AdobeRGB, 300 DPI, full resolution.
Create export presets for your common scenarios to ensure consistency and save time.
Frequently Asked Questions
Why should lens corrections be applied at import? Lightroom includes built-in profiles for most DJI drones that automatically fix barrel distortion and vignetting. Applying corrections upfront ensures you’re editing a properly corrected image from the start.
What’s the recommended order for noise reduction and sharpening? Always apply noise reduction before sharpening. Drone sensors are small and produce noise, especially in lifted shadows, and removing noise first prevents sharpening from amplifying grain.
How can the Tone Curve be used for color grading? Switch to individual RGB channels to create the teal-and-orange look by lifting blue in shadows and red in highlights. Keep movements subtle at 5-10 points to maintain a natural appearance.
What does Alt/Option reveal when adjusting Whites and Blacks? Holding Alt/Option while moving the Whites or Blacks sliders activates threshold view, showing exactly where clipping occurs. This helps you set precise tonal limits without losing detail.
When should you use the Transform panel? The Transform panel is essential for architectural drone shots where converging vertical lines appear from angled perspectives. Use Auto or Guided Upright to correct this distortion.
What export settings for web versus print? For web, use JPEG with sRGB color space, 80% quality, and 2048px long edge. For print, choose JPEG or TIFF with AdobeRGB, 300 DPI, and full resolution. Ready to master the complete workflow? Learn every panel, develop your personal style, and process images efficiently in our free Lightroom Editing Workflow lesson.