Drone HDR: How to Use AEB Bracketing
One exposure can't capture bright sky and dark ground simultaneously. AEB bracketing solves this — here's the complete workflow from capture to Lightroom merge.

AEB bracketing captures 3-5 separate RAW exposures at different brightness levels, unlike in-camera HDR which outputs a single JPEG. After importing to Lightroom, you merge the frames with Auto Align and De-ghosting enabled, creating a DNG file with dramatically more dynamic range for revealing sky detail and ground texture without noise.
Have you ever taken a drone photo where the sky looks perfect but the ground is completely black? Or the landscape is vibrant but the clouds are a washed-out mess? This happens because drone sensors have limited dynamic range. In a single exposure, a drone simply cannot capture a brilliantly bright sky and a deeply shadowed ground simultaneously.
HDR solves this by combining multiple exposures into one image with the full tonal range preserved.
HDR vs AEB — What’s the Difference?
HDR mode takes three photos (dark for highlights, neutral for midtones, bright for shadows) and combines them in-camera. The output is a JPEG — the drone’s algorithm makes all the decisions. Convenient but limited control.
AEB (Auto Exposure Bracketing) takes three to five images at different exposures but keeps them separate. You manually blend them in Lightroom. The output is RAW files with significantly more data, color depth, and flexibility.
For professional drone photography, AEB is always the recommended choice.
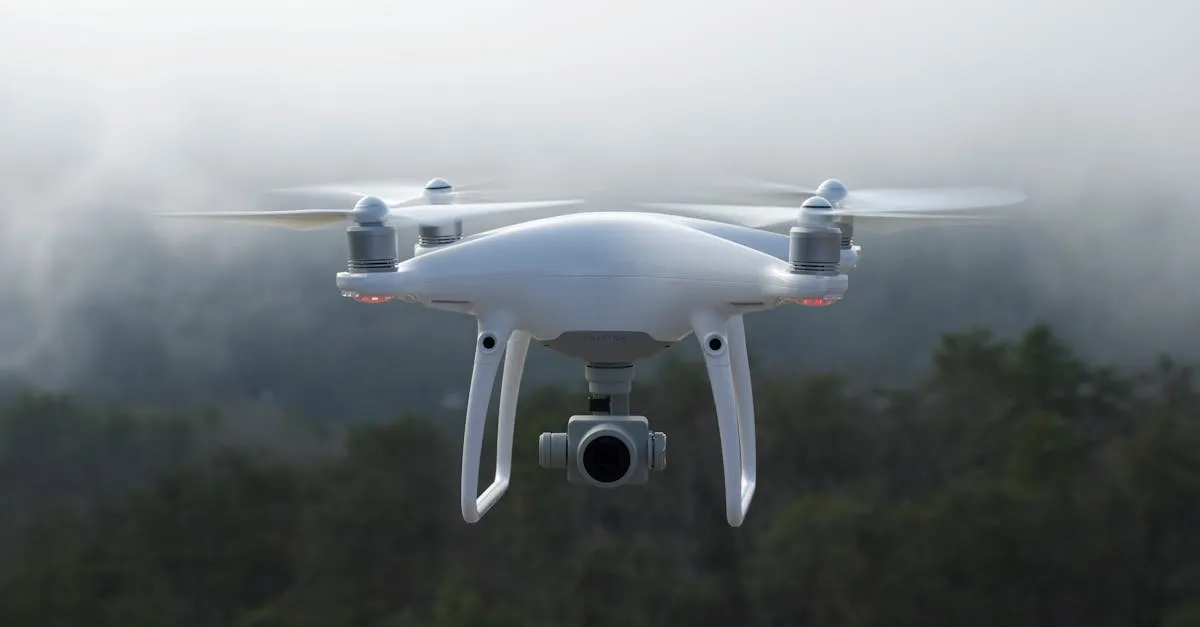
How to Set Up AEB on DJI Drones
- Open camera settings on your controller
- Ensure you are in Photo mode (not video)
- Tap the shooting mode icon near the shutter button
- Select AEB
- Choose 3-frame (standard) or 5-frame (extreme contrast)
- Make sure image format is set to RAW
- Frame your shot and press the shutter — the drone fires the bracket automatically
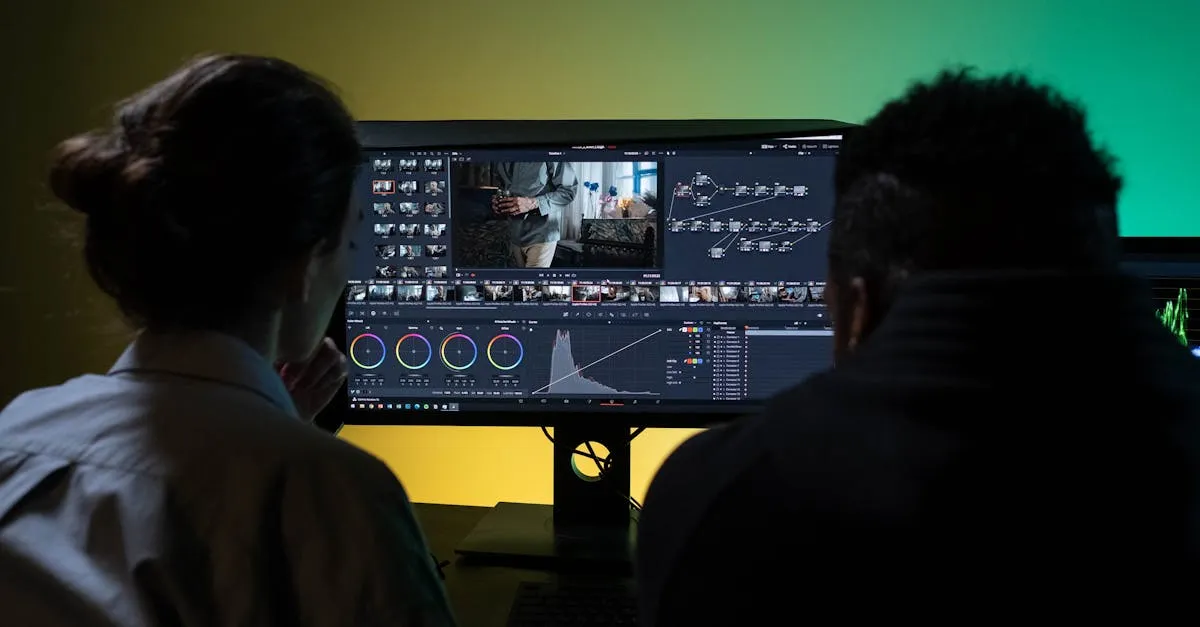
Merging AEB in Lightroom
After importing your images:
- Select the three or five bracketed images from the same set
- Right-click → Photo Merge → HDR
- Enable Auto Align (corrects tiny hover movements between frames)
- Enable De-ghosting (removes artifacts from moving elements like cars or boats)
- Click Merge — Lightroom generates a new DNG file
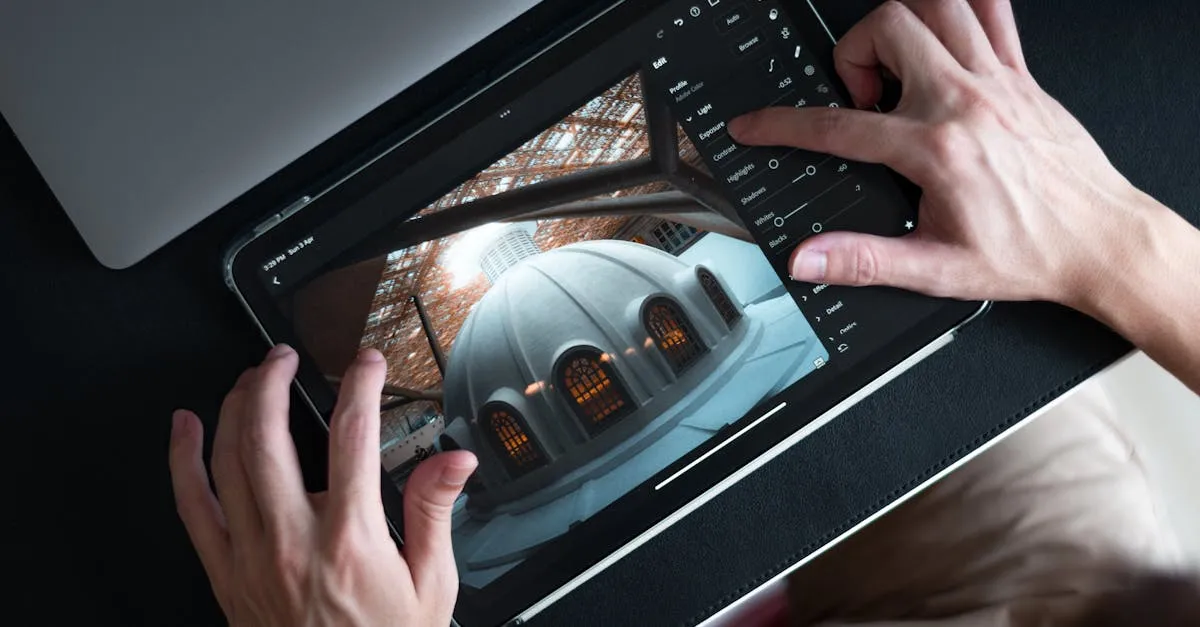
- Edit the resulting DNG with full RAW flexibility
That merged DNG contains dramatically more dynamic range than any single frame. You can pull down highlights to reveal sky detail and lift shadows to show ground texture — all without noise or banding.
When to Use HDR/AEB
Use AEB when:
- Sunrise or sunset (extreme contrast between sky and ground)
- Bright sky with dark foreground
- Real estate interiors with bright windows
- Any high-contrast scene
Skip AEB when:
- Moving subjects (ghosting artifacts)
- Perfectly balanced, overcast light
- Quick social media posts with no editing planned
Pro Tips
- Always take a single normal shot as backup before or after your AEB sequence
- Use 5-frame AEB for extreme contrast — the extra data is worth the card space
- Keep the drone still during the bracket — hover in calm conditions, avoid wind gusts
- RAW + AEB = maximum flexibility — never shoot AEB in JPEG format
Frequently Asked Questions
What’s the key difference between HDR mode and AEB on drones? HDR mode processes three photos in-camera and outputs a JPEG with limited control. AEB keeps 3-5 separate RAW files, giving you significantly more data and flexibility when blending in Lightroom.
How do I set up AEB on a DJI drone? Open camera settings in Photo mode, tap the shooting mode icon near the shutter, select AEB, choose 3-frame or 5-frame, ensure image format is RAW, then press the shutter to fire the bracket automatically.
What do Auto Align and De-ghosting do during the Lightroom merge? Auto Align corrects tiny hover movements between frames while the drone is floating. De-ghosting removes artifacts from moving elements like cars or boats that appear in different positions across your bracketed exposures.
When should I skip AEB bracketing? Avoid AEB when shooting moving subjects since they create ghosting artifacts, during perfectly balanced overcast light where contrast is low, or for quick social media posts with no editing planned.
Why take a single normal shot alongside the AEB sequence? A normal shot serves as a backup in case the bracket fails or produces unexpected results. It’s also useful if you decide later that a single exposure adequately captured the scene.
What’s the benefit of 5-frame over 3-frame AEB? Five-frame AEB provides extra exposure data for scenes with extreme contrast, like sunrise or sunset where sky brightness differs drastically from shadowed ground. The additional files consume more card space but deliver more latitude during editing. Ready to master the complete aerial photography workflow? Learn capture, merge, and edit techniques in our free HDR and Panoramas lesson.