10 Cinematic FPV Shots Every Pilot Should Master
Cinematic FPV isn't about throwing tricks at a wall. It's about joining maneuvers into a seamless flow that tells a story through motion.
Cinematic FPV isn’t about throwing tricks at a wall and hoping something sticks. It’s about intention. About joining flips, rolls, and gaps together in a logical manner that keeps viewers glued to their screens.
As you develop your skills, you’ll discover what experienced pilots call “the flow” or “the line” — that magical sequence where maneuvers connect seamlessly, telling a story through motion. The goal isn’t to be flashy. It’s to be smooth. A perfectly executed simple shot beats a sloppy complex one every time.
Here are 10 cinematic FPV shots that will elevate your footage from amateur to professional.
Camera Setup for Cinematic FPV
Before the shots, get your gear right:
- Camera position: GoPro on top of your drone, not underneath. Cleaner profile for gaps, less chance of catching on obstacles.
- Tilt angle: 15-30 degrees. Lower tilt (15-20°) for landscapes and reveals. Higher (25-30°) for faster, aggressive flying.
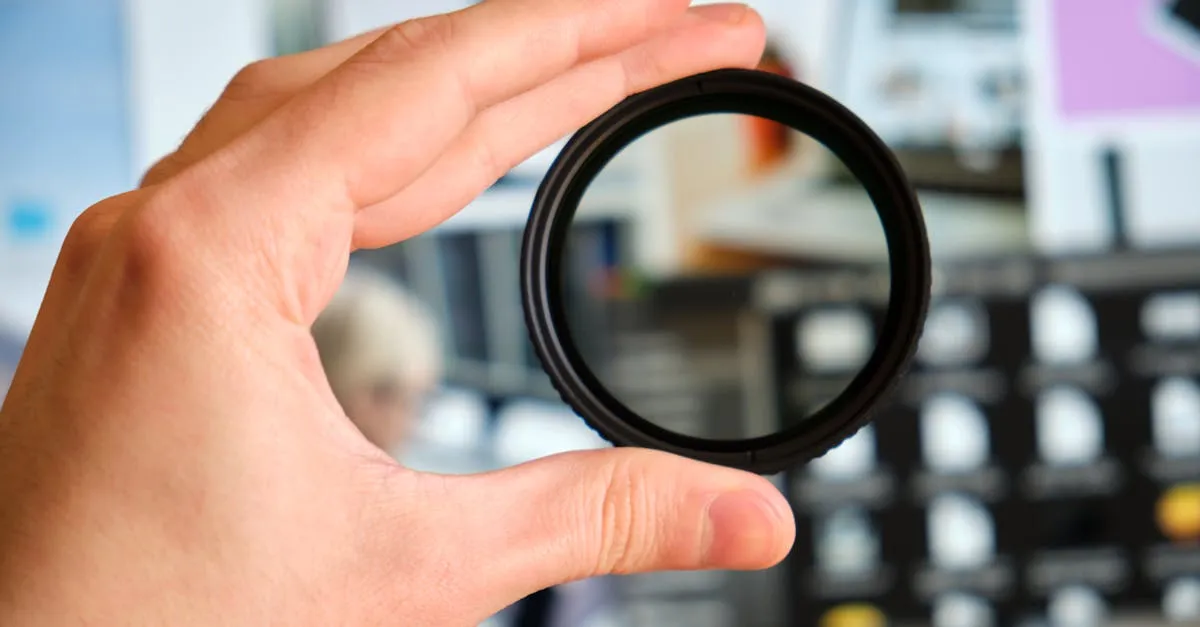
- ND filters: Non-negotiable. Always fly with an ND filter appropriate for your lighting.
- Stabilization: ReelSteady GO or Gyroflow in post. Raw FPV footage is too jittery for cinematic work — stabilization transforms it.
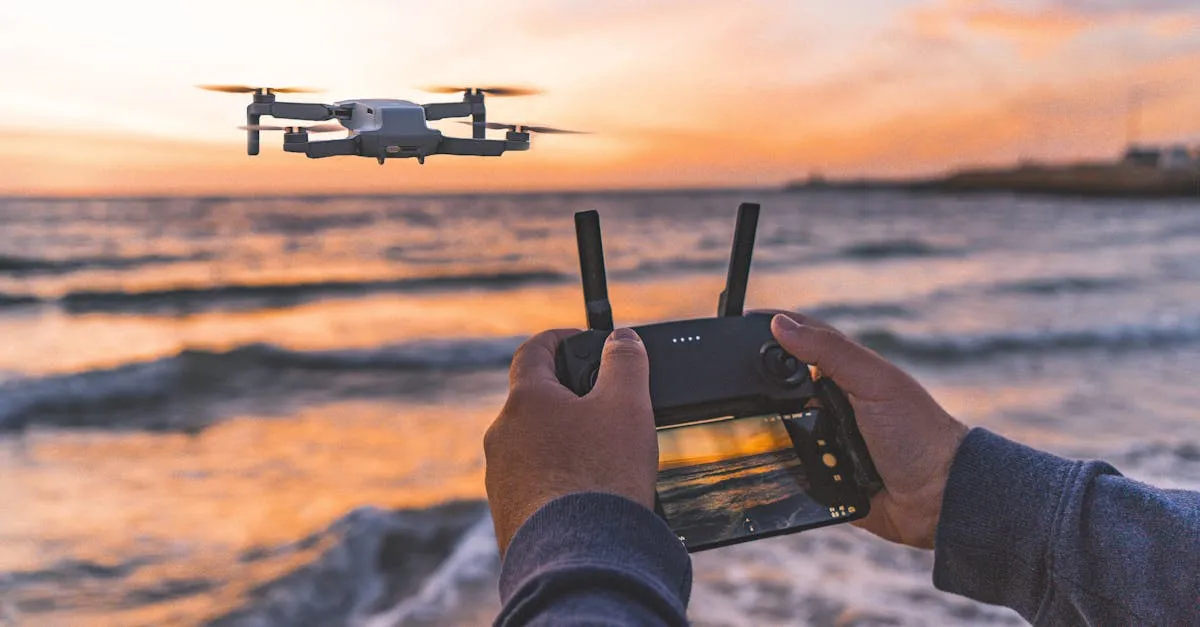
New to FPV? The DJI Avata 2 is the easiest cinematic FPV entry point, offering stabilized footage out of the box.
1. The Power Loop
Difficulty: Intermediate | Speed: Medium-fast (40-60 mph)
Fly forward past a tall object, pull full throttle up and over in a complete loop, come back the way you came. A dramatic orbit showcasing both control and environment.
Stick inputs: 60-70% throttle approach → full throttle + pull pitch past the object → complete the loop → smooth throttle reduction on exit.
Avoid: Pulling too early (wait until past the object). Chopping throttle at the top. Inconsistent pitch rate.
2. The Split S
Difficulty: Intermediate | Speed: Fast entry (50-70 mph)
Roll 180° to inverted, immediately pull elevator to dive and level out. Dramatic direction change that works brilliantly as a transition between scenes.
Stick inputs: Roll to inverted → immediate full elevator pull → add throttle as you level out.
Avoid: Pausing between roll and pull (breaks the flow). Not pulling enough elevator (wide, sloppy arc). Losing altitude awareness.
Shines when flying along a treeline, then reversing to reveal something behind you.
3. The Dive
Difficulty: Advanced | Speed: Slow at top → 80-100+ mph at bottom
Climb 150-200 feet above your subject, cut throttle, dive straight down. Pull out smoothly at the bottom. Nothing creates that stomach-dropping feeling like a dive.
Stick inputs: Climb to apex → cut throttle completely → full forward pitch → let gravity accelerate → smooth pull-out → add throttle on exit.
Avoid: Misjudging altitude (practice with extra margin). Pulling out too late or too hard. Adding throttle on the way down (overspeeds and loses control).
Safety: Always practice with significant altitude margin. Depth perception on FPV is unreliable. Pull out early if unsure.
4. The Proximity Flyby
Difficulty: Intermediate | Speed: Fast (60-80 mph)
Fly fast and low past a subject — car, building, person. Camera just misses the subject. Speed + proximity = visceral impact.
Stick inputs: High speed straight approach → level flight → 3-5 feet from subject → straight through, no immediate turn.
Avoid: Random rolls or wobbles during the pass. Pulling away too early (commit to proximity). Looking at the subject instead of your flight path.
The key is stability. A smooth pass three feet from a car looks incredible. A wobbly pass one foot away looks like you almost crashed.
5. The Gap Shoot
Difficulty: Intermediate-Advanced | Speed: Medium (30-50 mph)
Fly through a narrow gap — trees, doorway, bridge. The narrower the gap, the more dramatic. FPV’s signature move.
Stick inputs: Line up from distance → steady approach speed → keep camera level (no roll) through the gap → minimal corrections inside → continue straight after exit.
Avoid: Lining up too late. Rolling through the gap (keep level). Looking at gap edges instead of through to your exit.
Always practice new gaps in your simulator first. No shot is worth crashing into a tree.
6. The Rising Orbit
Difficulty: Beginner-Intermediate | Speed: Slow-medium (15-30 mph)
Circle a subject while slowly gaining altitude. Creates a spiraling reveal. One of the most usable cinematic shots.
Stick inputs: Position 20-30 feet from subject → constant yaw → gradual throttle increase (5-10% over 5-10 seconds) → maintain consistent yaw rate.
Avoid: Inconsistent yaw rate (jerky footage). Gaining altitude too fast (lose the subject). Drifting closer or further during orbit.
Perfect for introducing subjects, especially with golden hour lighting.
7. The Matty Flip
Difficulty: Advanced | Speed: Medium (35-50 mph)
Named after FPV pioneer Matty Starr. Forward flip while maintaining forward travel. Technically demanding but stunning on camera.
Stick inputs: Forward flight at medium speed → sharp pitch pull to initiate flip → brief throttle blips during rotation for forward momentum → time rotation stop when level → resume forward flight.
Avoid: Stopping forward momentum during flip (altitude loss). Over/under-rotating. Attempting in wind.
Master power loops and basic flips first. When executed properly, this shot elevates entire sequences.
8. The Inverted Hang Time
Difficulty: Intermediate-Advanced | Speed: Slow-medium (20-35 mph)
Fly upside down over a scenic landscape for several seconds. Simple but surreal and eye-catching.
Stick inputs: Roll to inverted at altitude → 50-60% throttle to maintain altitude (inverted, throttle pushes up) → gentle yaw to pan → neutral pitch → roll back upright when done.
Avoid: Not enough throttle (rapid descent inverted). Overcorrecting altitude. Staying inverted too close to obstacles.
Works best over visually rich environments: forests, coastlines, cityscapes. The unusual perspective immediately signals something special.
9. The Rubber Band
Difficulty: Intermediate | Speed: Medium (35-50 mph)
Fly toward something, overshoot slightly, then snap back like a rubber band. Creates a satisfying snap effect in edits.
Stick inputs: Approach subject → pass slightly to one side → immediately apply yaw + roll together toward subject → the combo creates a snapping pivot → stabilize and continue.
Avoid: Using only yaw (roll creates the snap). Overshooting too far. Snapping back too aggressively (lose stability).
Particularly effective combined with a beat drop in your soundtrack.
10. The Low Rider
Difficulty: Advanced | Speed: Moderate (25-40 mph)
Fly inches above ground or water for extended periods. Terrifying to execute, incredible to watch.
Stick inputs: Descend to desired altitude (start at 3 feet) → absolutely level pitch and roll → very small, smooth throttle adjustments → fly over consistent terrain.
Avoid: Altitude oscillations (exposes every input flaw). Flying over uneven terrain too fast. Not using a spotter.
Use a spotter. This is the one shot where a spotter is mandatory. Eyes outside the goggles, no exceptions.
Post-Production Essentials
Even perfect flying needs polish:
- Stabilization: Gyroflow or ReelSteady GO. Learn to dial in settings — over-stabilized looks artificial.
- Color: Shoot flat, grade in post. Maximum dynamic range and creative control.
- Editing: Remember flow. Power loop → gap shoot → proximity flyby creates narrative. Random shots cut together create chaos.
Ready to Master Cinematic FPV?
Film every flight, review footage critically, identify what works. These ten shots are your foundation — mastery comes from repetition and intentional practice.
For structured learning, our free FPV Drone Flying Course builds fundamentals, then the Cinematic FPV Shots module breaks down these techniques in detail. Want the complete workflow? The free Cinematic Drone Video Course covers everything from planning to final export.
Cinematic FPV relies on connecting maneuvers into seamless flow rather than random tricks. Master ten essential shots from power loops to proximity flybys using proper GoPro positioning (top-mounted, 15-30 degree tilt), ND filters, and post-production stabilization via Gyroflow or ReelSteady GO.
Fly smooth. Fly intentional. Tell stories.
Frequently Asked Questions
Why should the GoPro be mounted on top rather than underneath? A top-mounted GoPro provides a cleaner profile when flying through narrow gaps, reducing the chance of the camera catching on obstacles.
What makes the Split S effective as a transition? It creates a dramatic direction change by combining a 180-degree roll with an immediate elevator pull, reversing your flight path. Works especially well along a treeline to reveal something behind you.
How much throttle is needed during inverted flight? 50-60% to maintain altitude. When upside down, thrust direction reverses, so throttle pushes up. Less throttle causes rapid descent.
What’s the common mistake during proximity flybys? Adding random rolls or wobbles. A smooth, stable pass at three feet looks incredible, while a wobbly pass at one foot looks like a near-crash.
Why is a spotter mandatory for the Low Rider shot? Flying inches above ground eliminates your margin for error, and FPV depth perception is unreliable. A spotter can warn you of obstacles you can’t see in your feed.
What causes over-stabilized footage to look artificial? Over-stabilizing removes natural motion cues our brains expect, creating a floating effect. Proper Gyroflow or ReelSteady settings preserve organic movement while eliminating jitters.