How to Remove Noise from Drone Footage
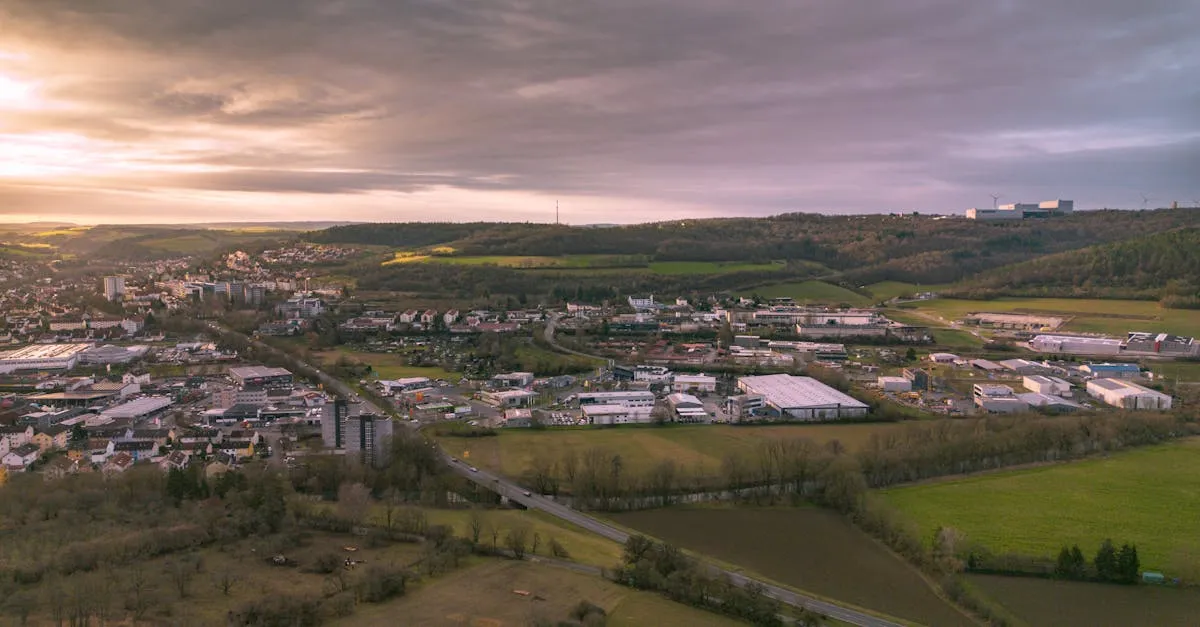
You captured a golden hour sunset but the shadows are grainy. Here's how to prevent noise in-camera and remove it in post with the right tools and workflow.

Drone footage gets noisy due to small sensors that struggle in low light, especially when lifting shadows in post. Prevent noise by keeping ISO at base, exposing to the right, and shooting in log profiles. For existing noise, tools like DaVinci Resolve’s built-in NR, Neat Video, or Topaz Video AI can reduce it when applied at the end of your color pipeline.
You captured a breathtaking sunset but the shadows are grainy and muddy. If you have spent any time flying drones, you know this frustration. Noise is the enemy of cinematic footage — but it doesn’t have to ruin your project.
Why Drone Footage Gets Noisy
Drone sensors are small. Even premium 1-inch sensors are tiny compared to full-frame cameras. Physics dictates that larger pixels gather more photons. Small sensors have lower signal-to-noise ratios.
The moment you push ISO above base level, digital noise creeps in. This is exponentially worse during golden hour — bright highlights and dark shadows mean noise hides in the shadows, waiting to be revealed when you lift them in post.
Even the most expensive drones produce noise in challenging light.
Prevention Is Better Than Cure
- Keep ISO at base (100-200) whenever possible
- Expose To The Right (ETTR) — slightly overexpose without clipping highlights to keep shadows clean
- Shoot D-Log for maximum dynamic range and flexibility
- Avoid lifting dark areas aggressively in post — this is the primary noise culprit
- Use ND filters instead of high shutter speed to maintain proper exposure at base ISO
Software Solutions
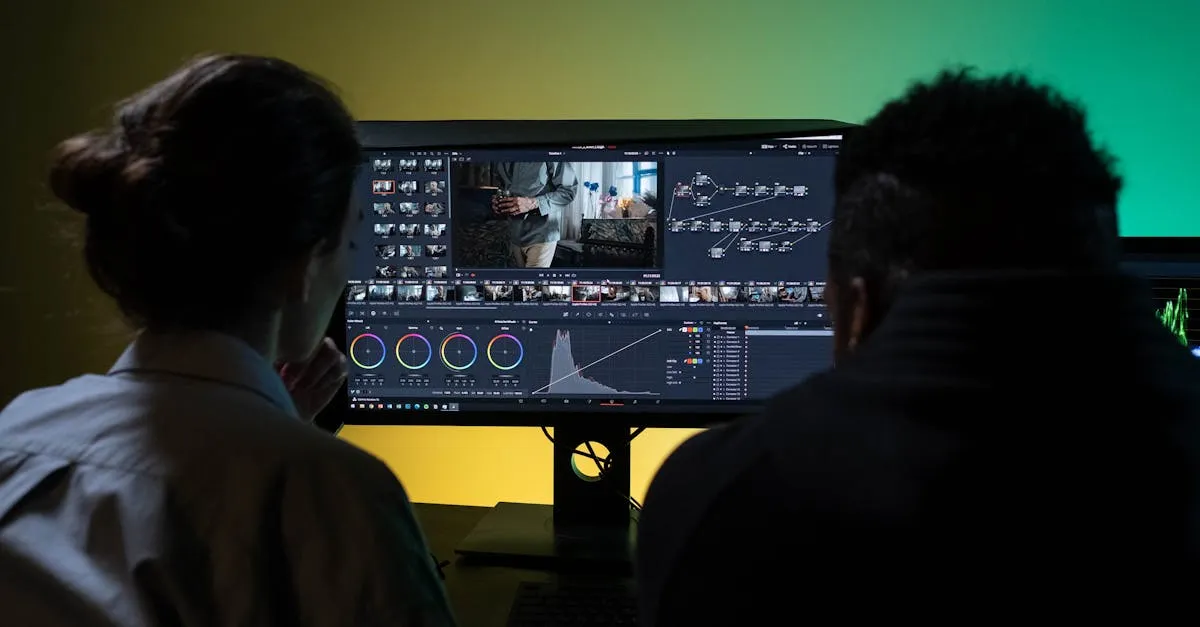
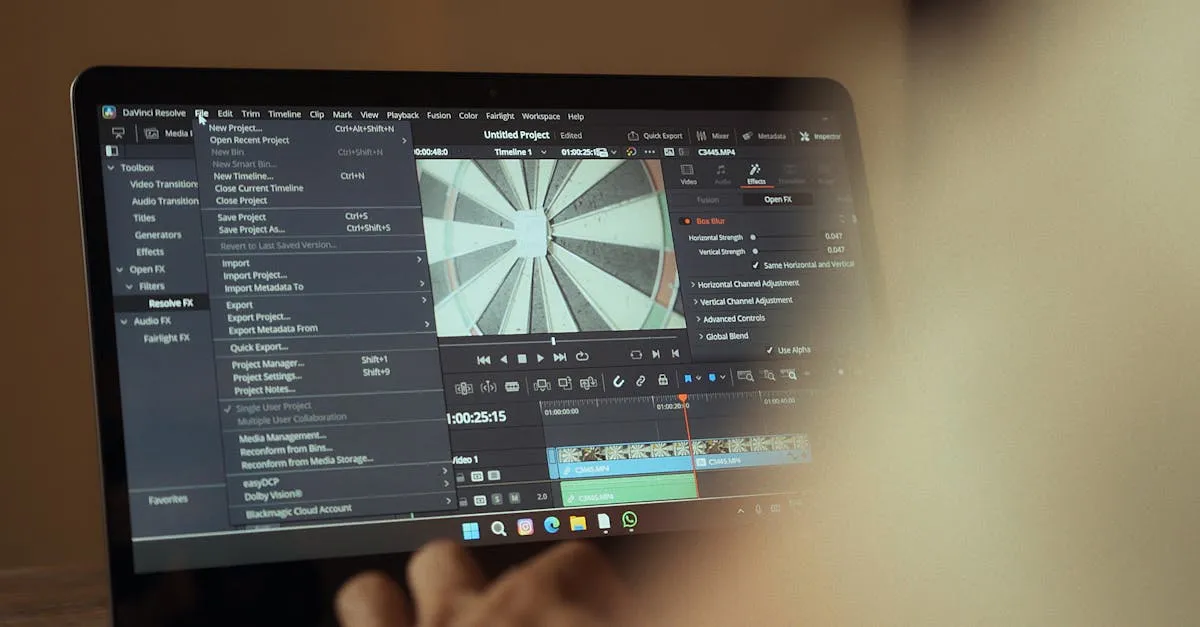
DaVinci Resolve (Built-in, Free)
Spatial and Temporal noise reduction. Spatial smooths within a frame, Temporal blends multiple frames together. Effective and more than enough for most situations.
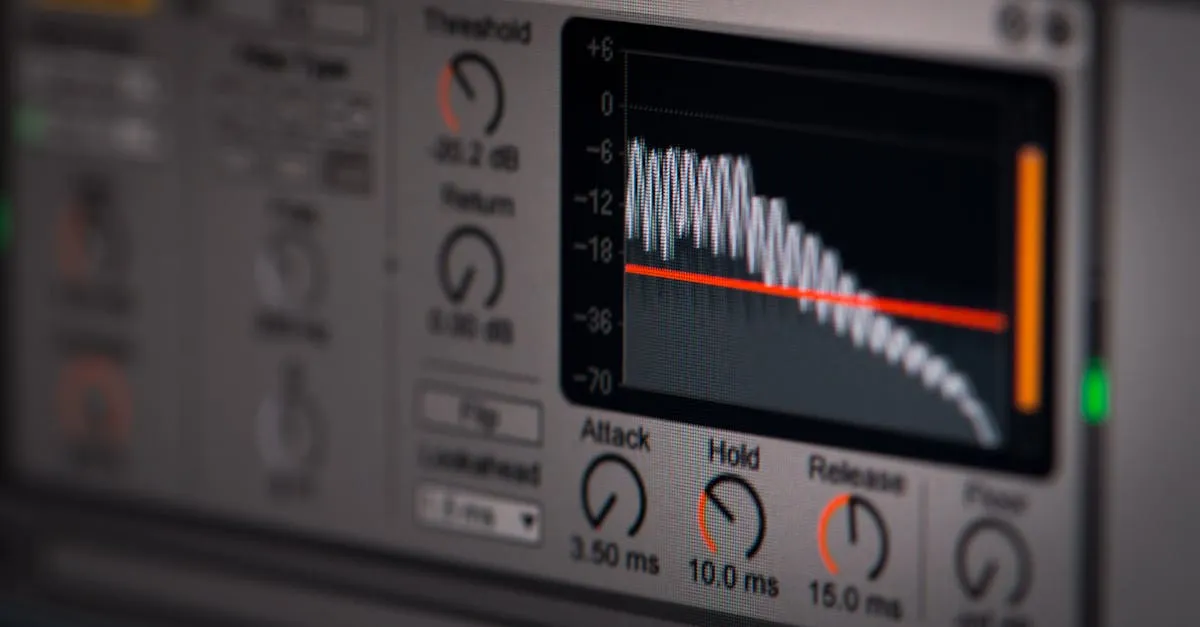
Neat Video Plugin
Industry favorite for Premiere, Resolve, and FCPX. Advanced profiling analyzes your exact noise pattern. Set resolution to Full, drag a box over a noisy area, hit auto profile, then fine tune. Best results on the market but slow render times.
Topaz Video AI
AI-based noise reduction. Can sharpen while denoising. GPU-intensive but excellent quality.
Premiere Pro Lumetri
Basic noise reduction in the Lumetri panel. Quick and easy but limited compared to dedicated tools.
Step-by-Step: Denoising in DaVinci Resolve
Critical: Denoising happens LAST in your color grading pipeline. If you denoise before grading, pushing colors later can reintroduce noise.
- Finish your entire color grade
- Create a new node at the end of your chain
- Add Spatial NR — set Frames to 10-15, Motion Estimation to Auto
- Add Temporal NR in a subsequent node
- Adjust sliders gently — too much NR destroys organic texture
- Toggle before/after to check for detail loss
When Noise Reduction Goes Wrong
Over-smoothing creates waxy, plastic footage. Skin loses texture, grass turns into a smeared mess, water ripples disappear. The telltale sign of over-processed footage.
Always compare at 100% zoom. Check fine details — hair, leaves, water texture. It is universally better to have slight organic noise than plastic, artificial-looking video. The goal is to tame noise, not erase reality.
Frequently Asked Questions
Why do drone cameras produce more noise than traditional cameras? Drone sensors are significantly smaller than full-frame cameras, meaning individual pixels gather fewer photons. This lower signal-to-noise ratio means noise becomes visible much faster when you increase ISO.
What does Expose To The Right mean? ETTR involves slightly overexposing your footage without clipping highlights. This keeps shadow areas brighter and cleaner in-camera, reducing the need to lift dark areas aggressively in post where noise is most visible.
Should I denoise before or after color grading? Always denoise last in your color pipeline. If you reduce noise before grading, pushing colors and exposure later can reintroduce noise that was previously removed.
How do I know if I’ve applied too much noise reduction? Over-smoothed footage looks waxy and artificial. Skin loses texture, grass appears smeared, and water details disappear. Always check at 100% zoom on fine details, as slight organic noise is preferable to plastic-looking footage.
What makes Neat Video different from built-in tools? Neat Video creates a custom noise profile by analyzing a specific patch of your footage. This targeted approach produces better results than generic settings, though it significantly increases render times.
Can ND filters help reduce noise? Yes. ND filters allow you to maintain proper exposure at base ISO by reducing light entering the sensor. This keeps you at optimal ISO settings where noise is minimal. Master the complete finishing pipeline in our free Denoising and Final Export lesson.