Drone Roof Inspection: Complete Guide for Pilots and Homeowners
Why drones are replacing ladders for roof inspections, how to do them right, and how to charge for them.
Climbing a ladder to check a roof is nobody’s idea of a good time. For homeowners, it’s nerve-wracking. For roofing professionals, it’s a daily hazard that eats time and drives up insurance premiums. Drone roof inspections have completely taken over because they’re safer, faster, and cheaper. Plus, no ladder needed.
What You Need
Part 107 certificate. Non-negotiable for commercial inspections.
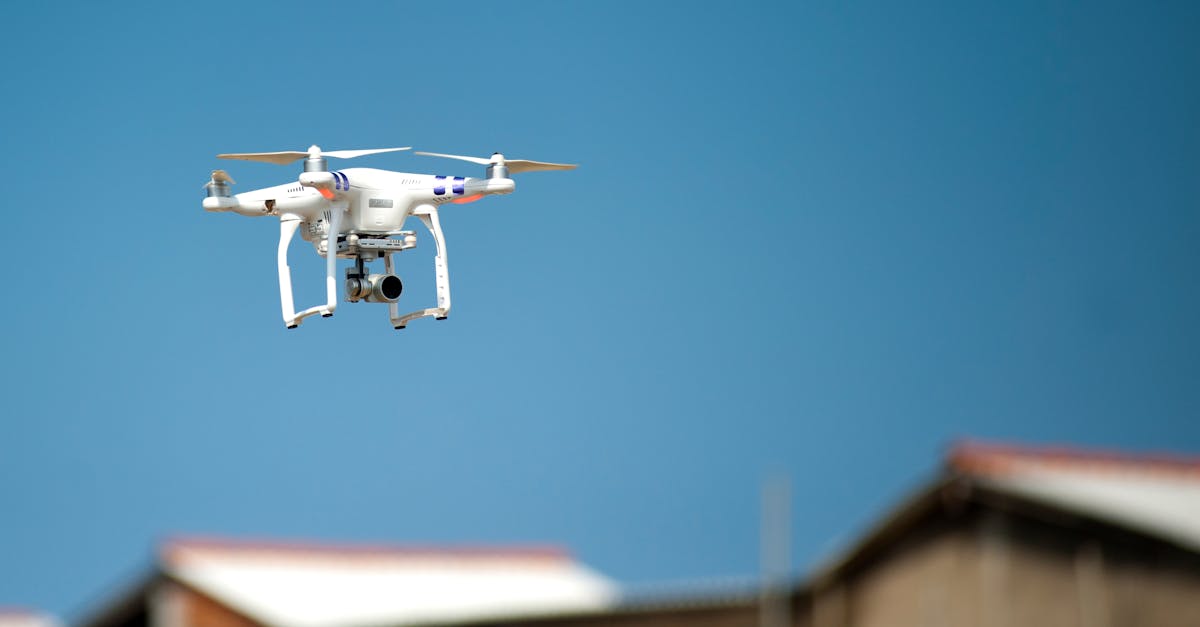
A drone with a 4K camera. Roof damage can be subtle — standard HD doesn’t have the pixel density to spot a hairline fracture in flashing.
Ideally a zoom lens. Drones like the DJI Mavic 3 Enterprise or Autel EVO II let you capture the full roof wide, then zoom in on suspect areas without flying dangerously close to shingles.
How to Execute the Inspection
Don’t just fly up and wing it. Use a systematic approach.
Grid pattern. Start at the ridgeline and fly back and forth with about 70% overlap between passes. This ensures complete coverage with no gaps.
Close-ups on suspects. When you spot something — a dark patch, lifted shingle, debris — pause the grid and fly in for detailed close-ups.
Capture everything. Shoot both 4K video (smooth cinematic overview) and high-resolution stills (document specific damage). Focus on shingles, flashing around chimneys and vents, gutters, and skylights.
Take notes. Jot down problem areas as you fly so you don’t forget during the edit.
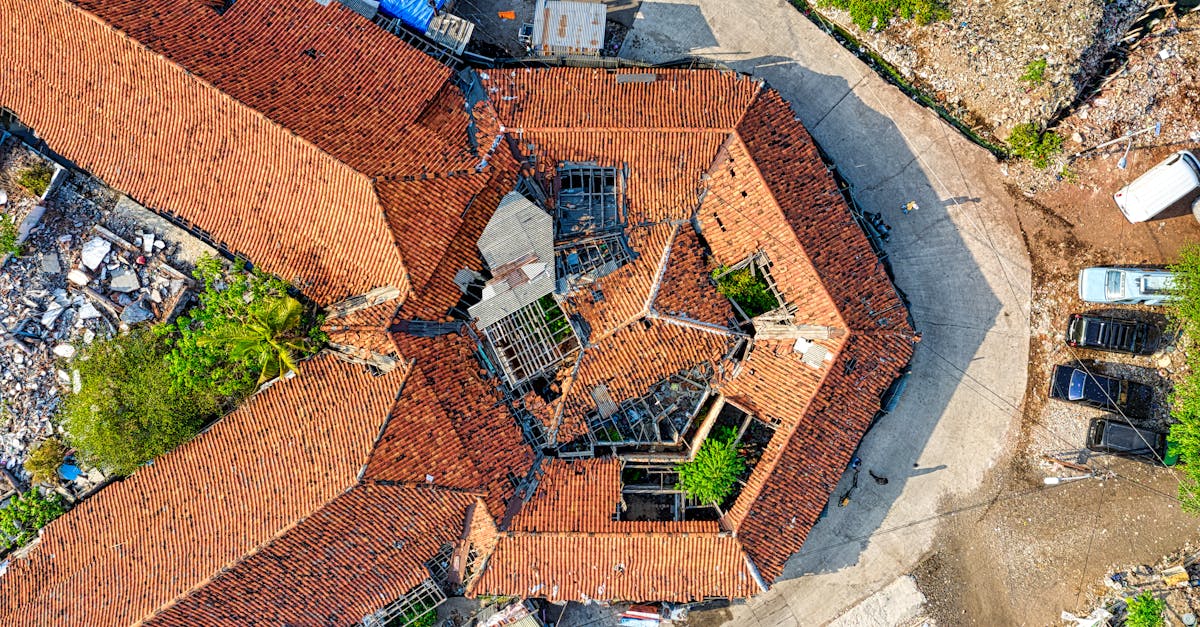
What to Look For
You’re the eyes of a roofer or insurance adjuster.
- Missing or damaged shingles — dark patches or jagged edges
- Cracked or separated flashing — metal pieces around vents, chimneys, valleys
- Clogged gutters — pooling water or vegetation sprouting from troughs
- Moss or algae growth — dark streaks that eat away shingle granules
- Storm damage — impact marks from hail or fallen branches
- Sagging areas — wavy lines or sunken planes indicating structural issues beneath decking
Deliverables
Don’t hand the client an SD card full of raw files. You’re selling an inspection, not a photo session.
- Annotated photos with clear damage markers (circles, arrows pointing to issues)
- Short video overview (2 minutes) showing the roof’s general condition
- Written report summarizing findings in plain language
This is what separates a $50 hobbyist from a $300 professional.
Pricing
Standard residential drone roof inspections run $150-400, depending on house size, roof pitch, and required detail. Commercial buildings command higher rates.
Insurance Required
You need commercial drone liability insurance. If your drone crashes through a skylight or drops onto a car, you must be covered. Many roofing companies and insurance adjusters require a Certificate of Insurance before hiring you.
Marketing
The demand is already there. Get in front of the people who need roofs inspected:
- Roofing companies — offer one free inspection to prove your value
- Real estate agents — inspections for home sales
- Insurance adjusters — storm damage claims
- Homeowners — local Facebook groups and Google Ads, emphasizing safety and speed
Drone roof inspections are one of the most accessible and profitable entry points into commercial drone work.
Our free Drone Business Course covers insurance, pricing, finding clients, and building a sustainable drone operation.