Betaflight Setup Guide: How to Configure Your First DIY Drone
Your drone is built — now it needs a brain. Here's the complete Betaflight setup walkthrough from firmware flash to first flight.
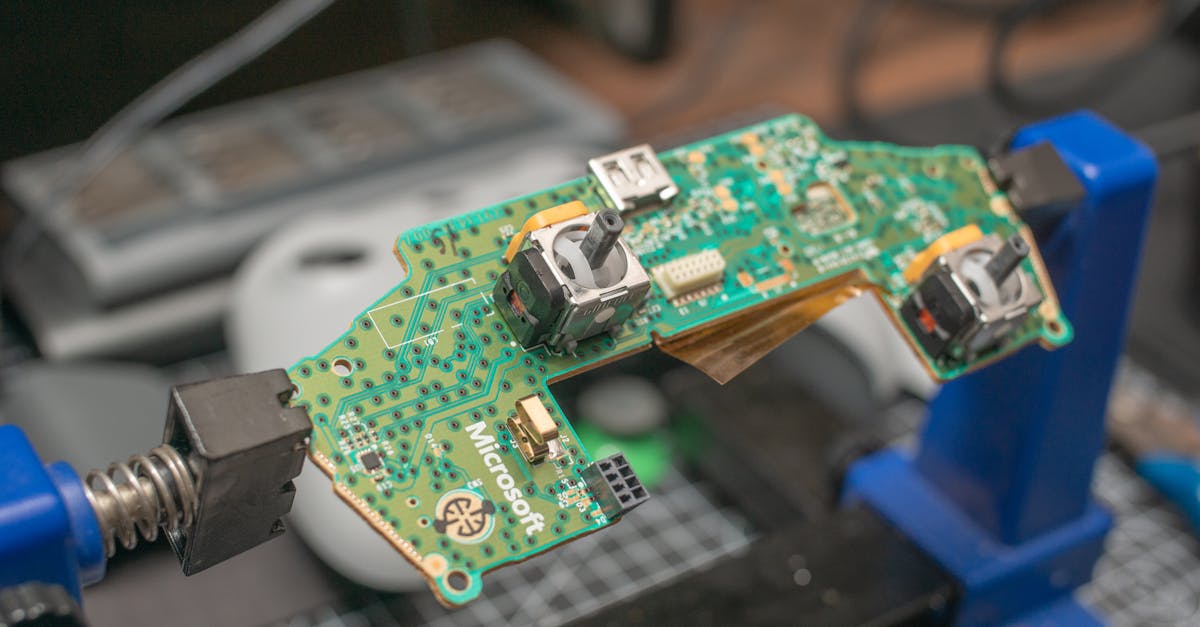
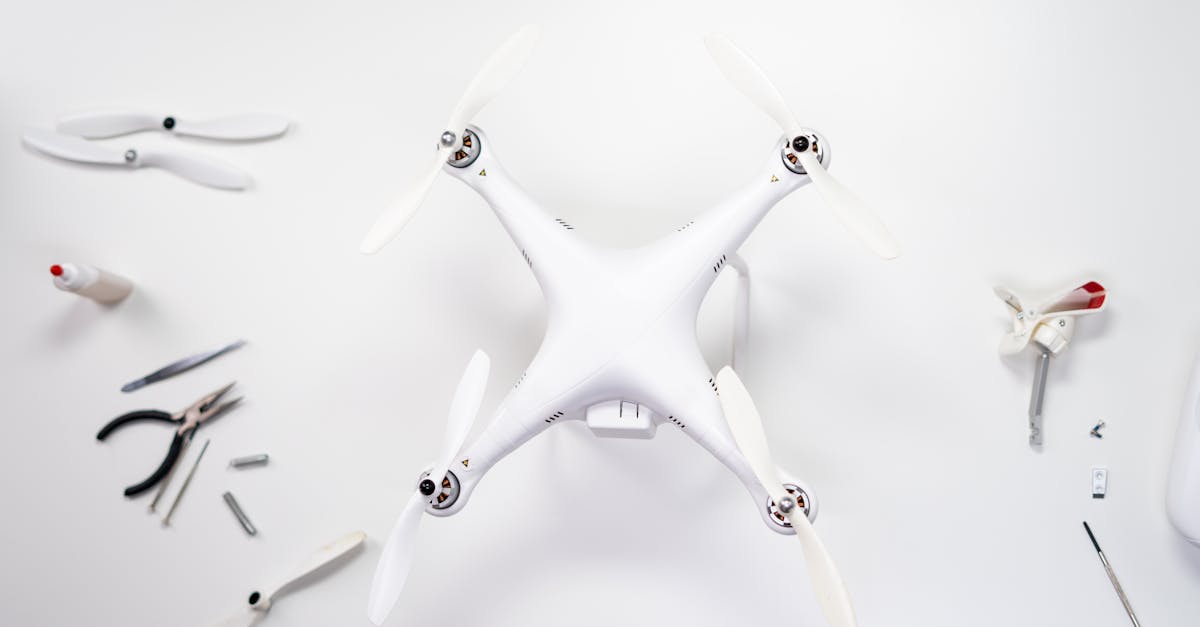
Your drone is built — frame, motors, ESCs, flight controller, all soldered up. Now comes the part that makes it actually fly: Betaflight configuration.
Betaflight is the standard flight controller firmware for FPV drones. It processes your stick inputs 4000 times per second, reads the gyroscope, and adjusts motor speeds to keep you in the air. Without it, your quad would instantly flip and crash.
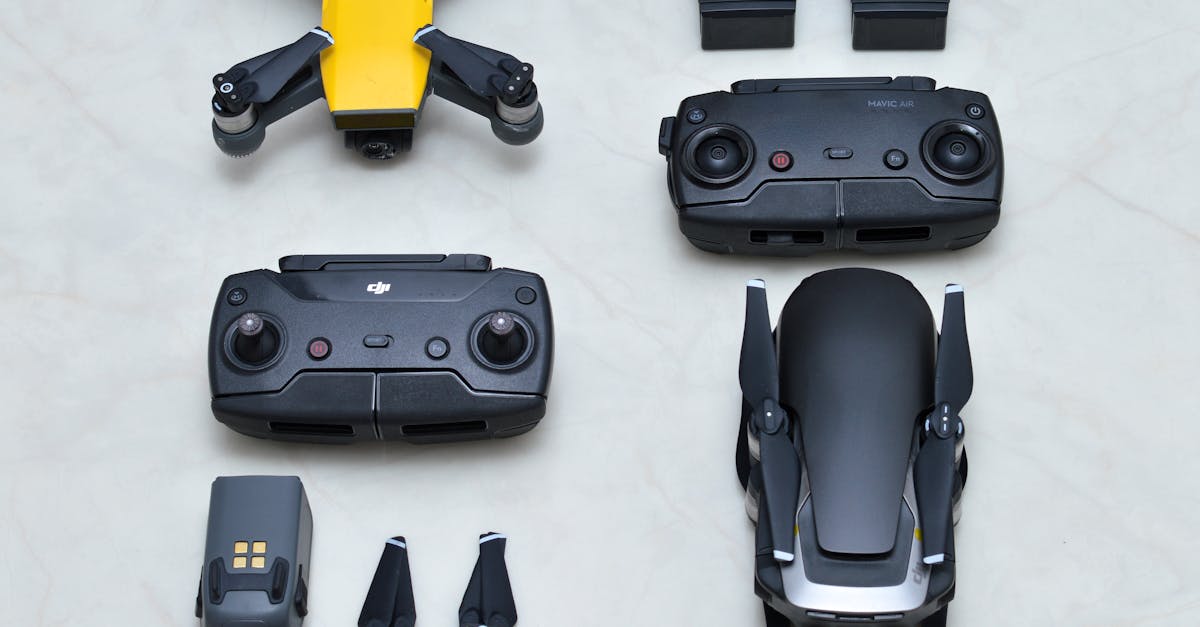
What You Need
- Flight controller (F4 or F7 recommended)
- Micro-USB or USB-C cable
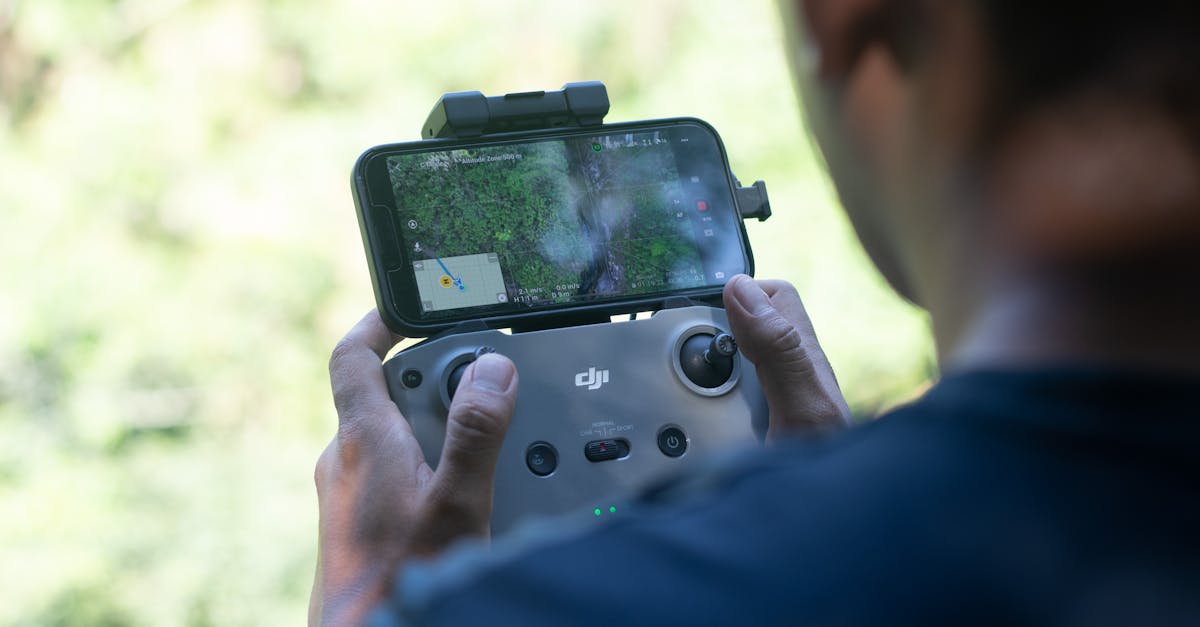
- Betaflight Configurator (desktop app from GitHub)
- Radio transmitter (bound to your receiver)
- Propellers OFF for the entire setup process
Step 1: Install Betaflight Configurator
Download from the official Betaflight GitHub releases page. Available for Windows, macOS, and Linux. Install like any desktop application, then open it. You’ll see a dashboard with a grayed-out “Connect” button.
Step 2: Connect and Flash Firmware
Plug your flight controller into your computer via USB. The “Connect” button activates. Click it — the status indicator turns green.
Navigate to the Firmware Flasher tab. Select “Stable” release. Betaflight auto-detects your board — verify the target matches your FC model (e.g., STM32F7X2 for an F7 board). Check “Full chip erase” if switching major versions. Click Flash Firmware and wait.
Step 3: Configure Motor Protocol and Direction
Go to the Configuration tab. Under ESC/Motor Features, set your protocol:
| Protocol | Best For |
|---|---|
| DSHOT150 | Micro builds, 2-3” |
| DSHOT300 | Standard 5” builds — most common |
| DSHOT600 | Racing, fastest response |
Now go to the Motors tab. Check “I understand the risks” and enable test mode. Push each slider to ~5% and verify spin direction:
- Front Right: Counter-clockwise
- Rear Right: Clockwise
- Rear Left: Counter-clockwise
- Front Left: Clockwise
Wrong direction? Check the “Reverse” box for that motor in software, or swap any two motor wires at the ESC for a hardware fix.
Step 4: ESC Calibration
Modern ESCs running BLHeli_S or BLHeli_32 with DSHOT protocol are essentially auto-calibrating — set the protocol and you’re done.
For older analog ESCs, the manual procedure: disconnect USB, power on via battery with throttle at maximum, wait for beep pattern, drop throttle to minimum, wait for confirmation. Always with props off.
Step 5: Bind and Configure Receiver
Binding varies by protocol:
- ExpressLRS (ELRS): Often auto-binds. Put TX in bind mode, power on drone.
- Crossfire: Bind button on receiver + bind mode on TX.
- FrSky: Hold bind button while powering on receiver.
Go to the Receiver tab. Select your protocol (CRSF, SBUS, etc.). Move sticks and verify the channel bars respond. Map channels: Roll (A), Pitch (E), Throttle (T), Yaw (R).
Step 6: Configure Flight Modes
In the Modes tab, assign modes to your auxiliary switches:
| Mode | What It Does | Best For |
|---|---|---|
| Angle | Self-leveling, max tilt angle | Beginners |
| Horizon | Self-levels at center, full flips at extremes | Transitioning |
| Acro | No self-leveling, full control | All experienced pilots |
Recommended setup: Angle on switch position 1, Acro on position 2. This lets you bail out to self-leveling if you lose orientation.
Step 7: Set Up OSD
The On-Screen Display overlays flight data on your FPV feed. Go to the OSD tab and enable:
Essential elements: Main voltage, average cell voltage, RSSI/LQ (signal strength), timer, throttle position.
Nice to have: Current draw, mAh consumed, max speed, artificial horizon.
Drag elements to position them. Keep voltage warnings prominent — you don’t want to fly blind.
Step 8: Final Pre-Flight Checklist
- Motor directions verified
- Receiver bound, channels mapped correctly
- Arm/disarm switch works
- Low voltage warning set (3.3V/cell for LiPo)
- VTX on legal channel
- Props on correct motors, pushing air DOWN
Common First-Timer Mistakes
- Wrong firmware target — double-check your board model before flashing
- Props on during motor testing — seriously, take them off
- Reversed yaw — drone turns opposite to stick input
- No arm switch assigned — drone won’t spin motors
- Forgetting to save — click “Save and Reboot” after changes
Ready to configure your first build? Our free Build Your Own Drone course walks you through every step with detailed instruction. When you’re ready to fly, the free FPV Drone Flying course takes you from first hover to confident freestyle.