How to Create a Drone Hyperlapse: Settings and Workflow
A hyperlapse adds movement through space to time compression — and drones are the perfect tool for it. Here's the complete workflow.
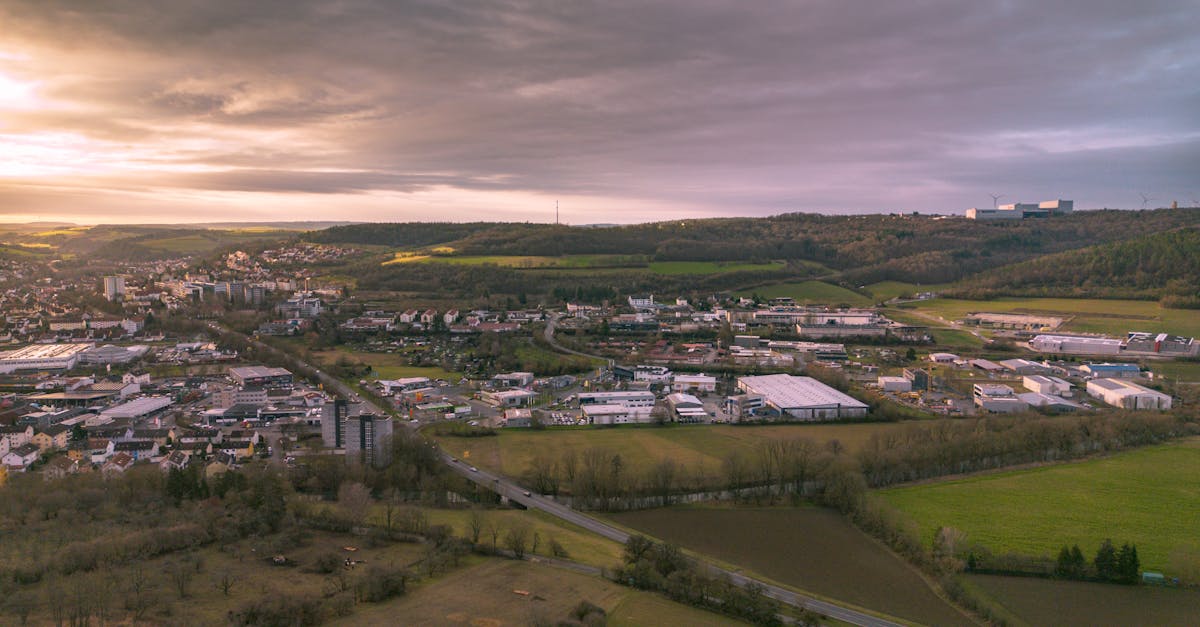
A well-executed hyperlapse makes people stop scrolling. The world speeds by while the camera glides through space. Clouds swirl, traffic flows like rivers of light, shadows stretch — and you’re flying through all of it.
Drones are arguably the perfect hyperlapse tool. They move smoothly through 3D space in ways that would require elaborate dollies and stabilizers on the ground.
What Makes a Hyperlapse Different
A standard timelapse compresses time — the camera stays still while the world moves. A hyperlapse adds movement through space to that compression. The camera physically relocates between frames, creating a dynamic flying-through-the-scene feeling.
The key is smooth, consistent movement. Any jerkiness between frames becomes obvious at high speed. Drones excel here — they maintain perfectly smooth trajectories that are nearly impossible handheld.
DJI’s Built-in Hyperlapse Modes
Free mode — Full control. Fly wherever you want while the drone captures frames at your interval. Most flexible but requires smooth stick inputs.
Circle mode — Orbits a subject automatically. Great for showcasing a focal point while the environment changes around it.
Course Lock — Locks flight direction so you move in a straight line while focusing on framing.
Waypoint mode — Set waypoints and the drone flies the path automatically. Most repeatable, consistent results. Start here as a beginner.
Essential Camera Settings
Shoot RAW+JPEG. RAW gives maximum post-processing flexibility. JPEG lets you quickly preview in the DJI app.
Interval: 2 seconds for clouds and traffic, 1 second for faster action. Slower intervals mean more time compression. Faster intervals give smoother results.
Manual exposure (AEV lock). Even slight exposure shifts between frames become flickering in the final hyperlapse. Set exposure for the brightest part, lock it.
Shutter speed: 1/50 to 1/100. You want motion blur on moving elements — it creates that dreamy, flowing quality. Shutter speeds that are too fast look stuttery and harsh. Use ND filters to slow down if needed.
Processing: Two Paths
Quick — DJI app. Automatically compiles your hyperlapse into a shareable video. Decent results. Use for immediate social media posts.
Professional — Manual workflow:
- Import RAW frames into Lightroom
- Edit one frame to perfection (exposure, color, contrast)
- Sync settings across all frames
- Export as high-quality JPEGs
- Import image sequence into DaVinci Resolve or Premiere Pro
- Set timeline to 24fps
- Adjust clip speed to taste
Manual processing gives significantly better results than in-camera processing.
Pro Tips
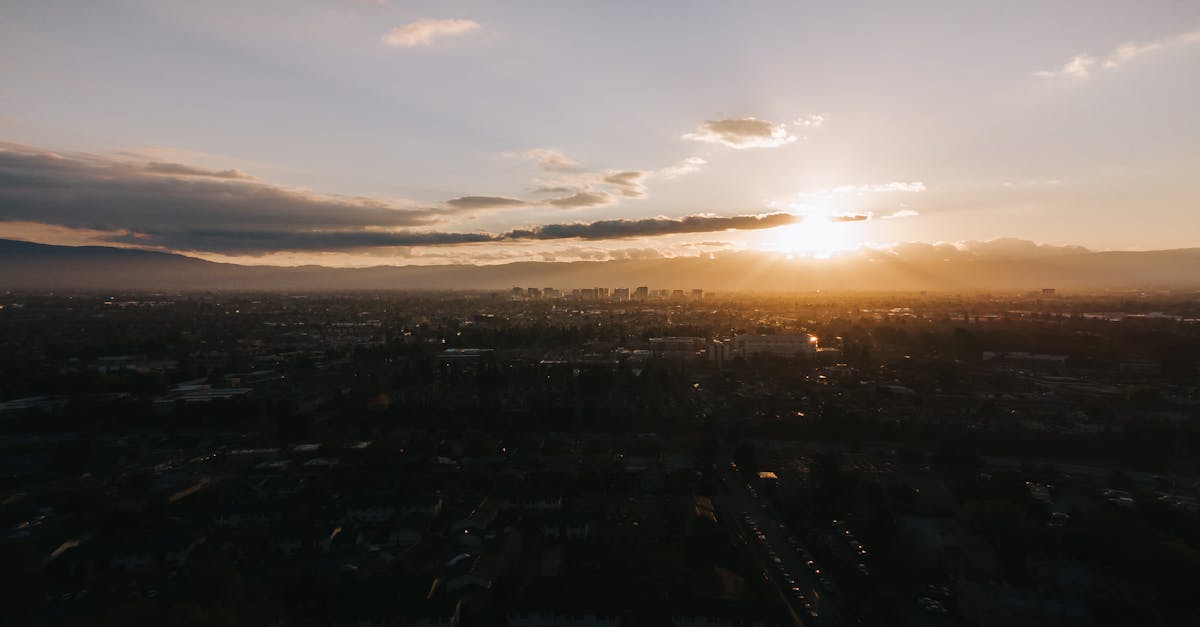
Shoot at golden hour. Changing light during sunrise or sunset adds incredible dimension. Shadows stretch, colors shift, the scene feels alive.
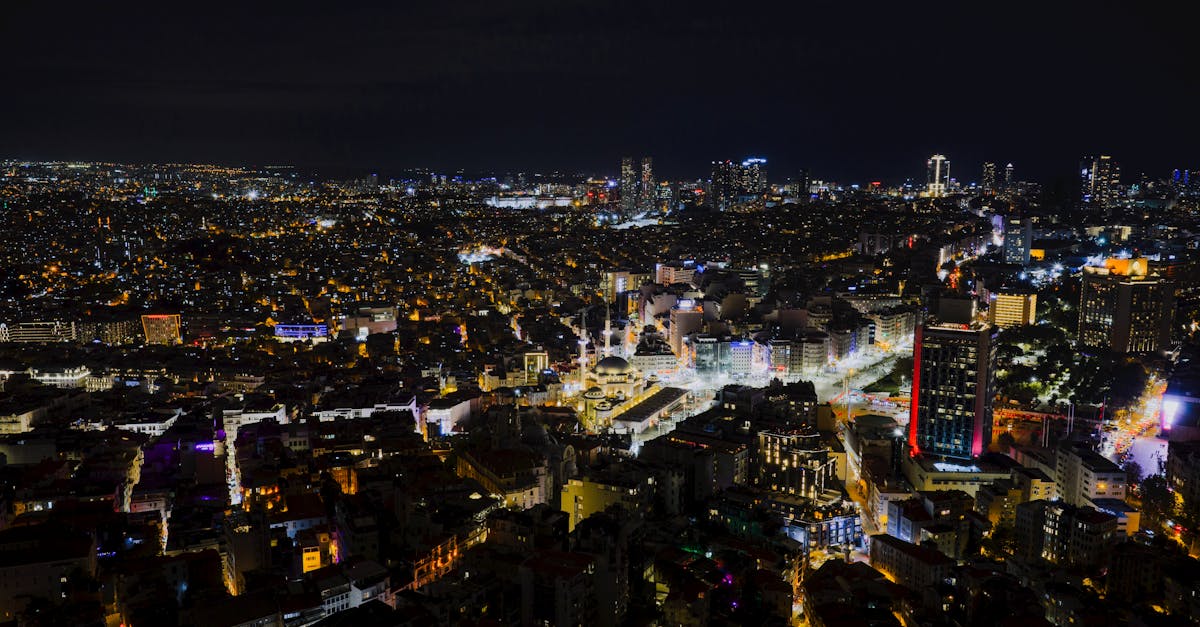
Find motion. A hyperlapse of a static scene is just a video. You need moving elements — clouds, traffic, water, people. The contrast between smooth camera movement and chaotic scene motion is what makes hyperlapses captivating.
Fly slowly. Counterintuitive, but slower movement creates more dramatic hyperlapses. Time compression amplifies your movement, so what feels painfully slow while flying often looks perfect in the final product.
Use Waypoint mode for repeatable paths. Want to try different settings on the same shot? Waypoints fly the exact same path again.
Shoot longer than you think. Five minutes at 2-second intervals gives 150 frames — about 6 seconds at 24fps. Plan for 10+ minutes of capture for a usable clip.
Our free Cinematic Drone Video Course covers hyperlapses, speed ramping, color grading, and the complete editing workflow.